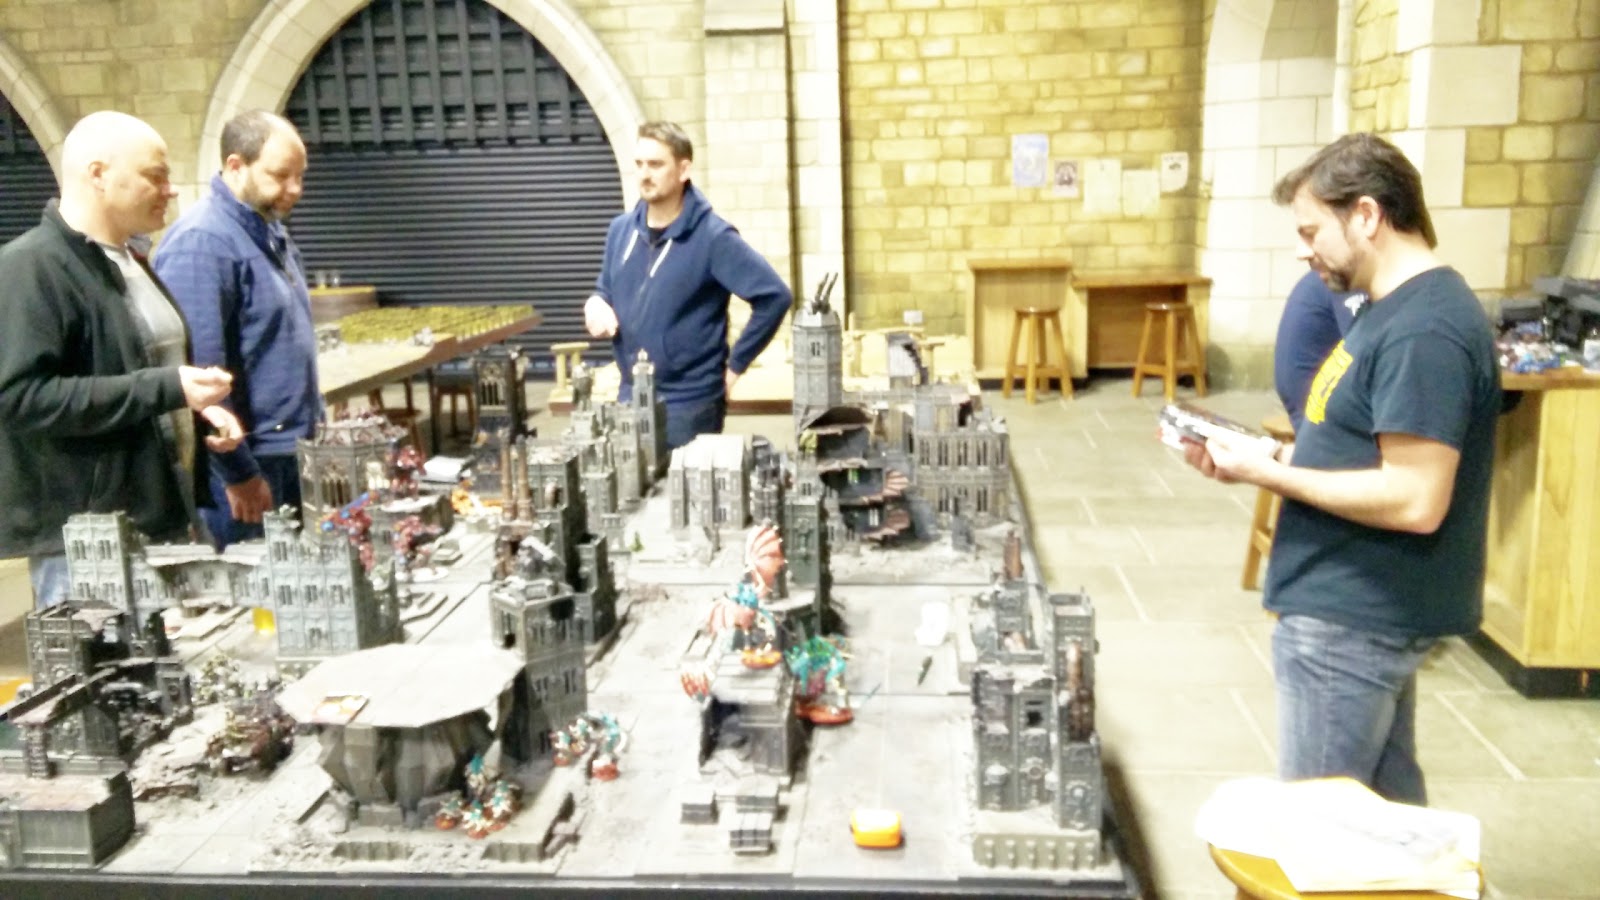
Liam and I haven’t had a battle since Throne of Skulls, we never even finished that properly thanks to the early closing at Warhammer World. It’s odd really as he lives only about 20 minutes away from the train station I get to work so as I’m half way there anyway I just take my stuff and go straight from work, he even made me tea – spaghetti and meatballs which was pretty awesome.
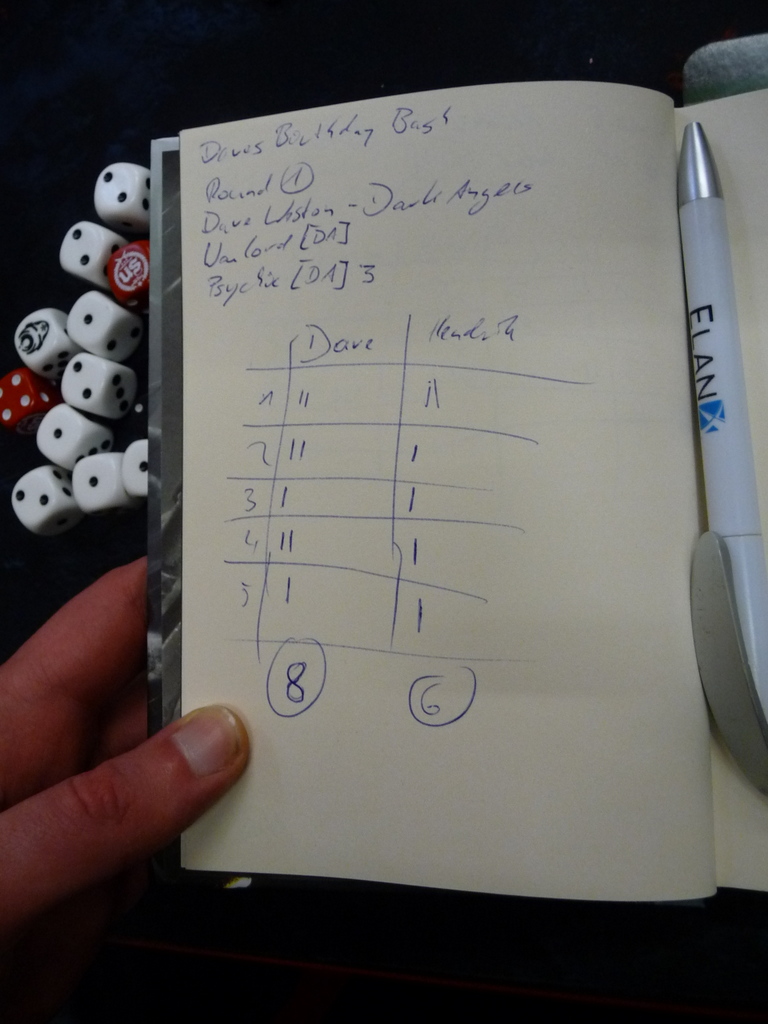
The low down:
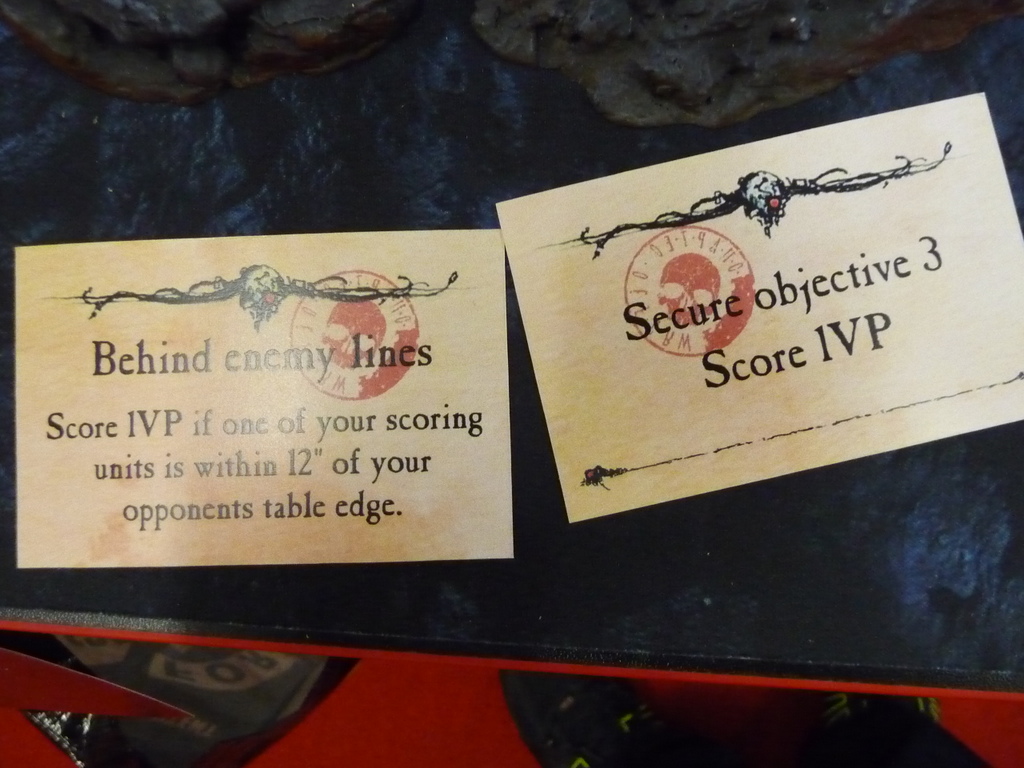
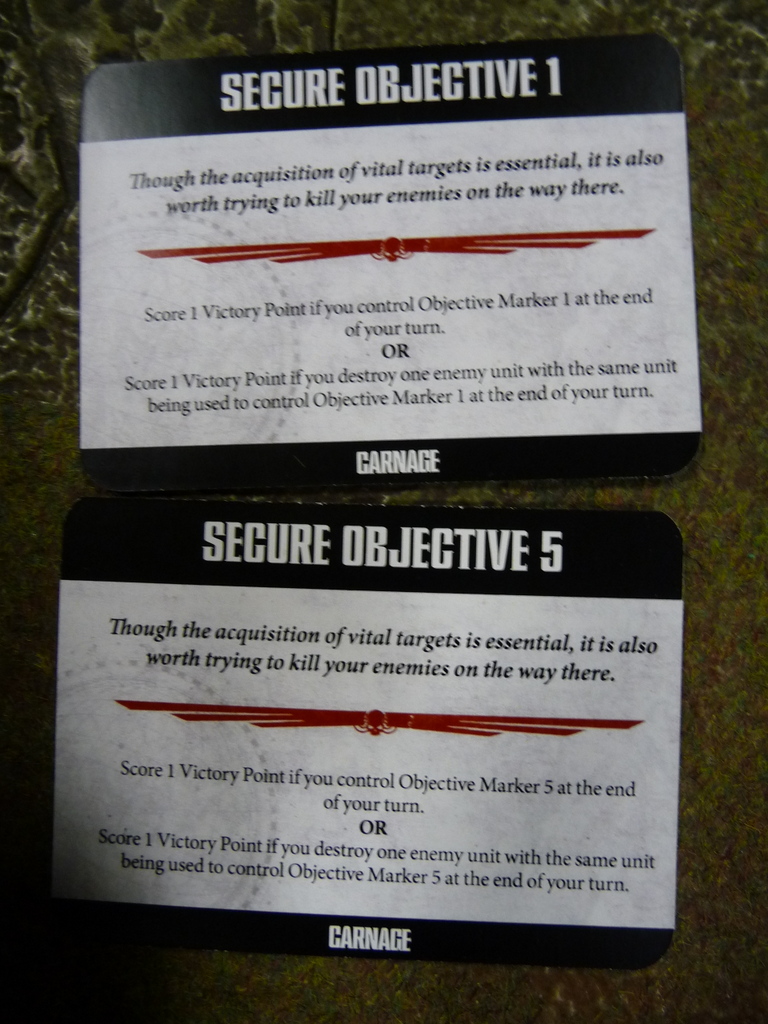
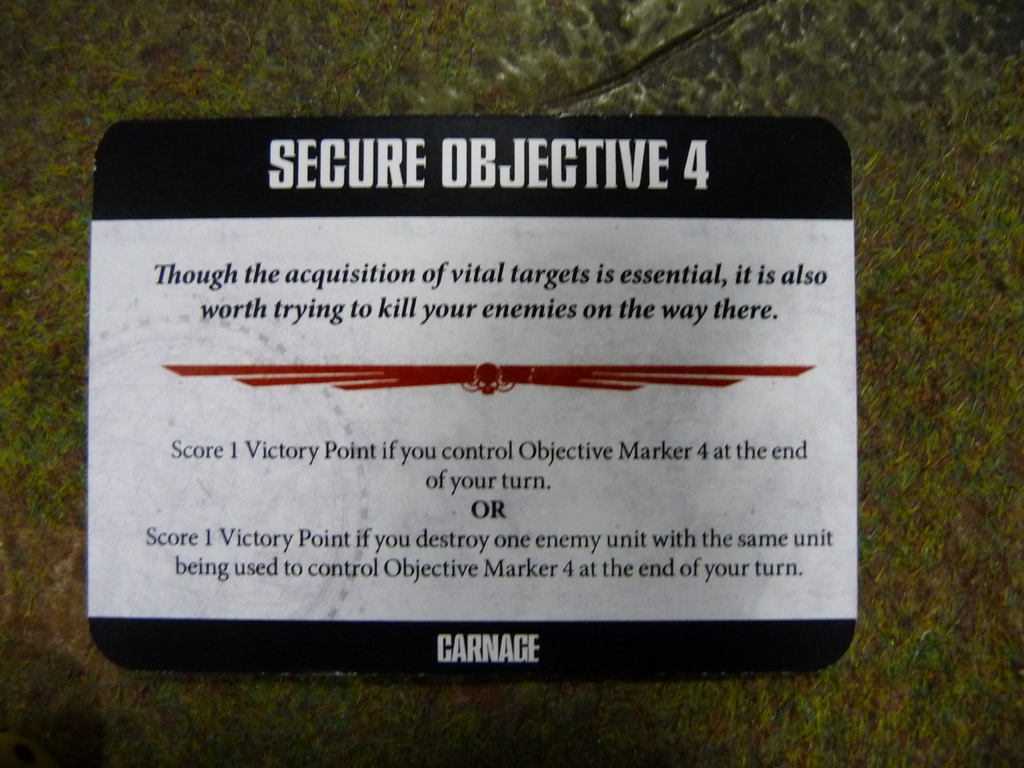
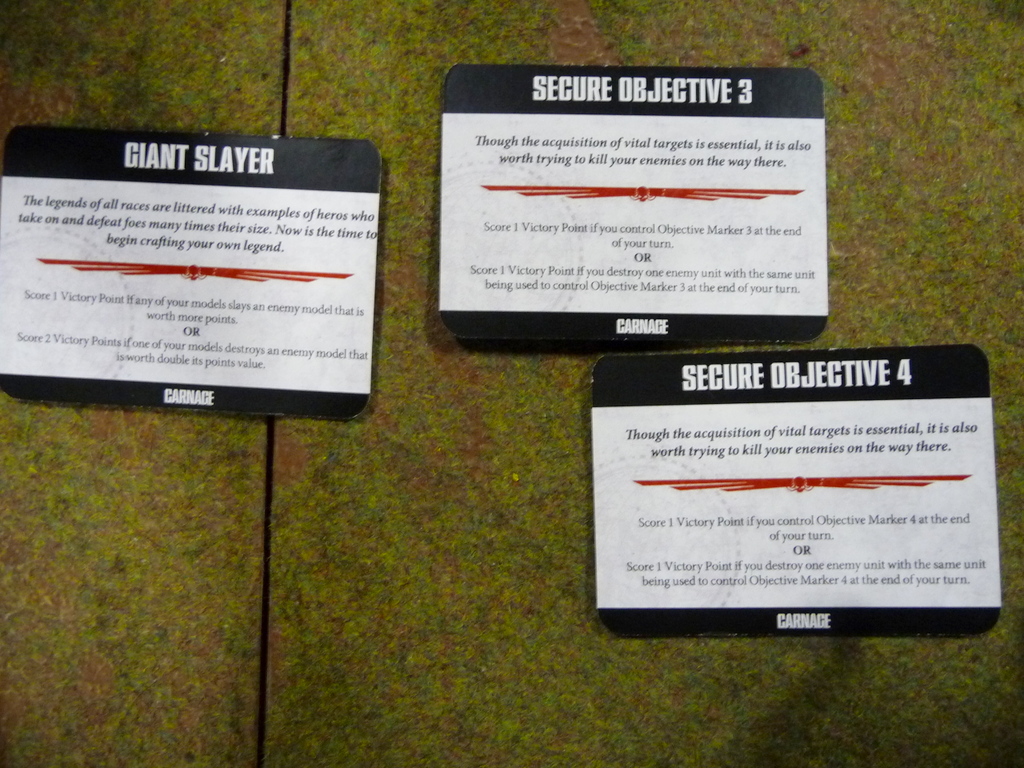
- One of the Maelstrom missions – 3 cards per turn cannot discard numbered objectives, opponent can ‘steal’ them from you.
- Dawn of War
- Warlord Trait – +1 to Seize the Initiative, re-roll reserves
- Liam got a Maelstrom Warlord Trait that allowed him to discard even the numbered objectives
- I lost deployment and set up second but seized the initiative without need to use my Warlord Trait!
- No night fighting.
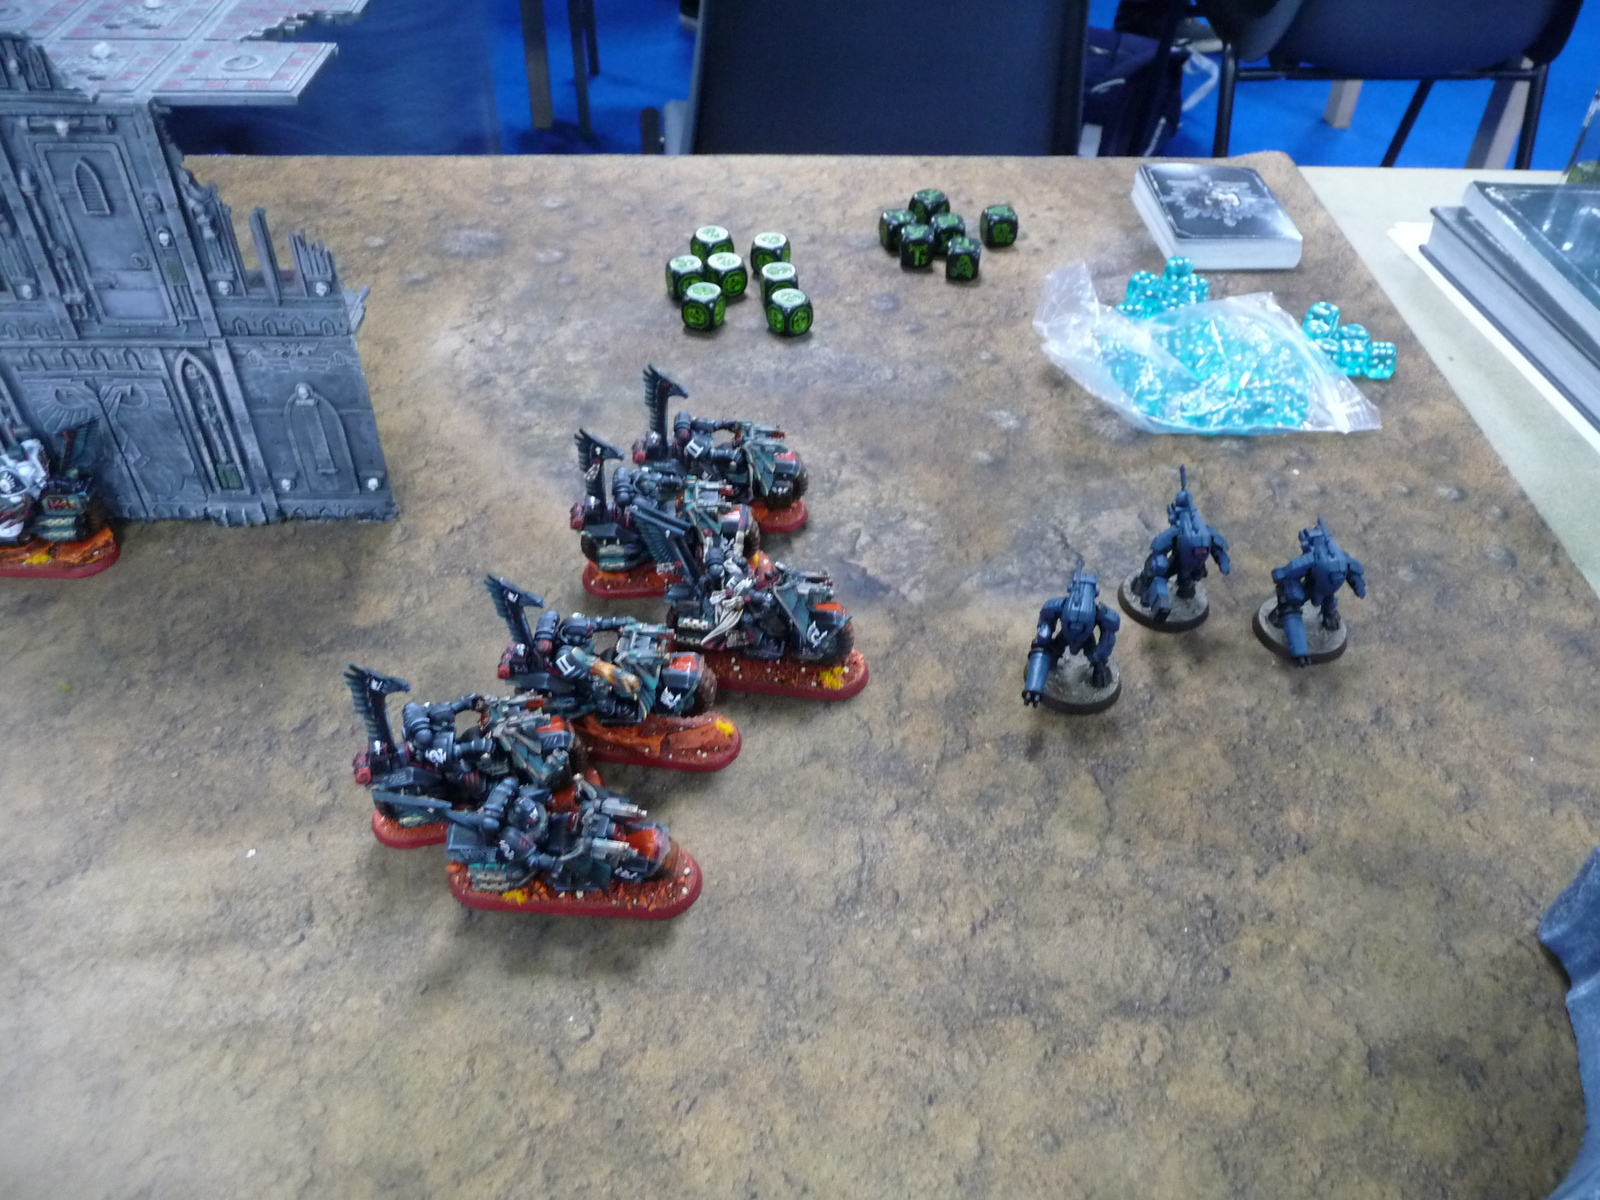
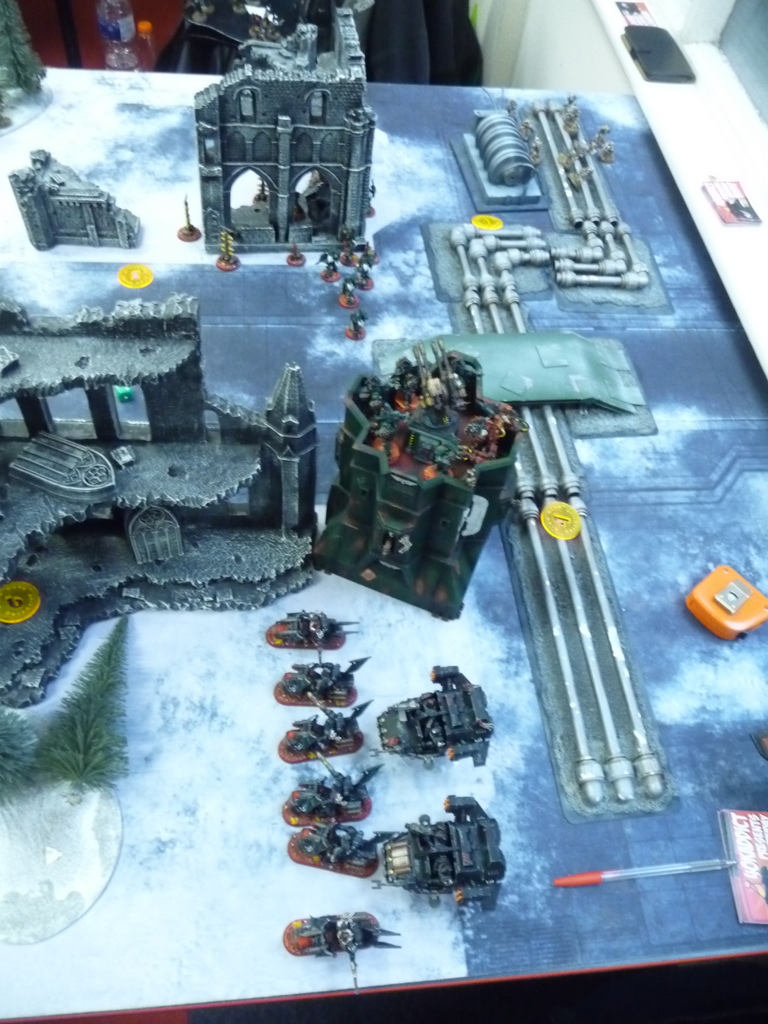
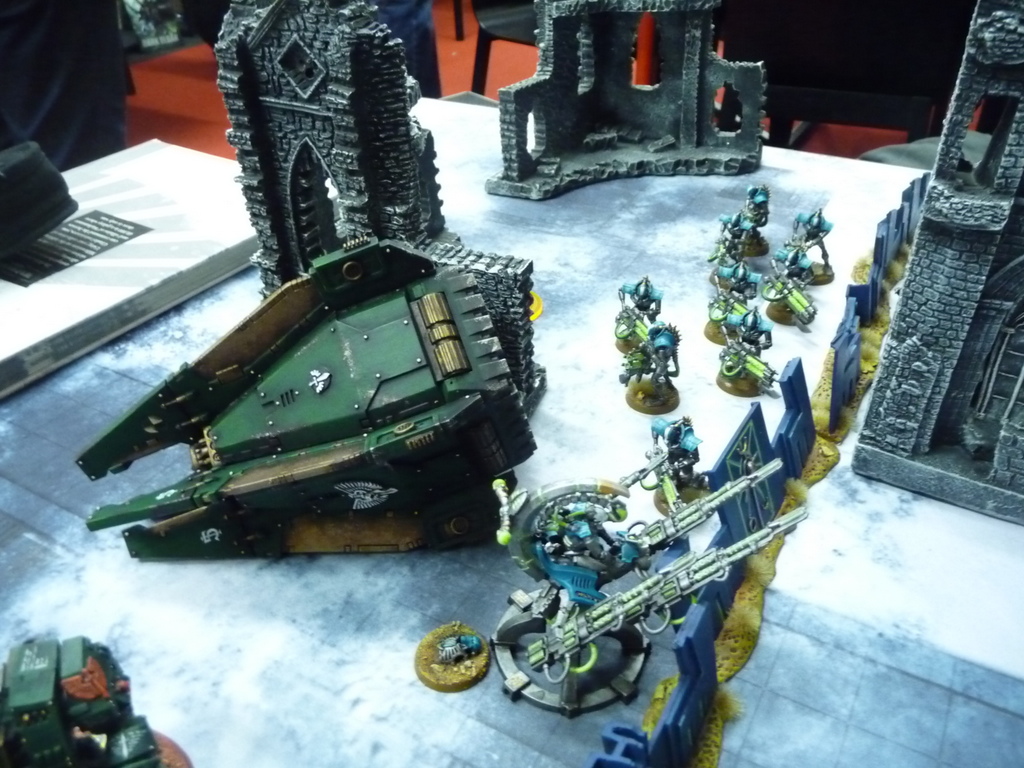
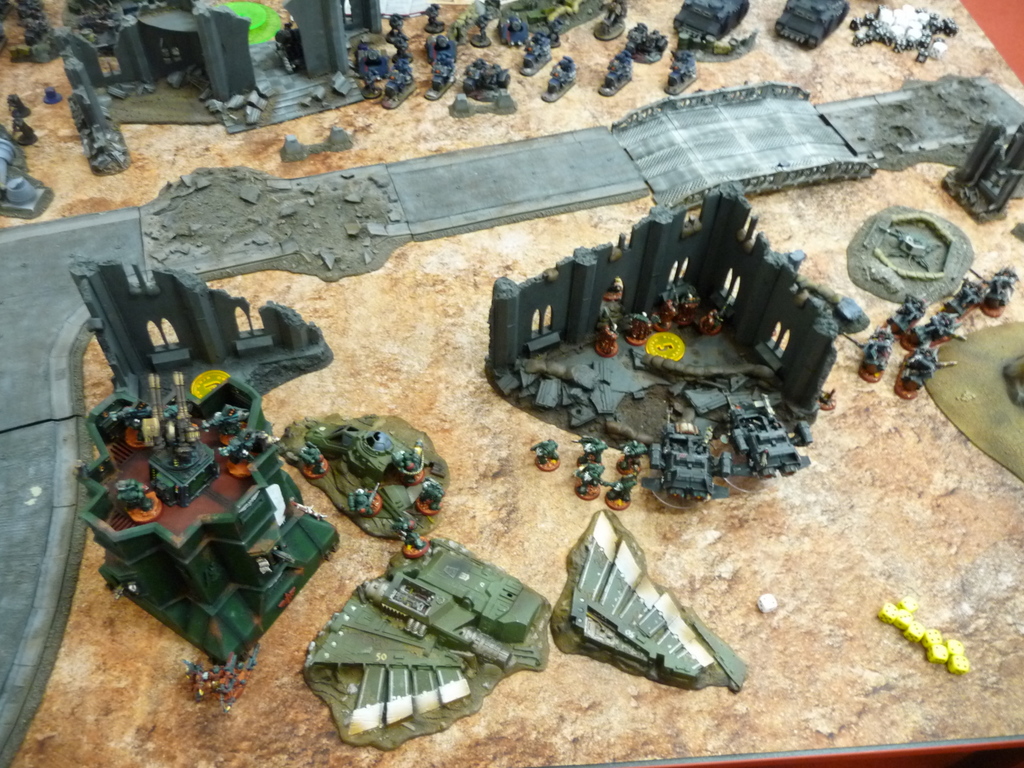
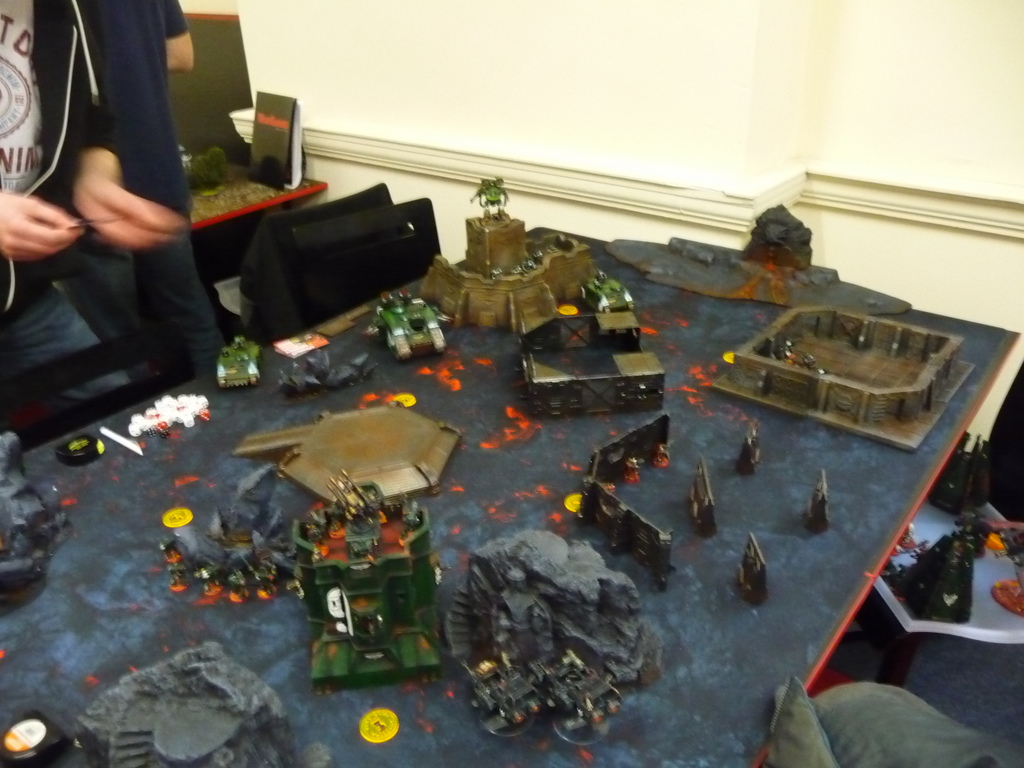
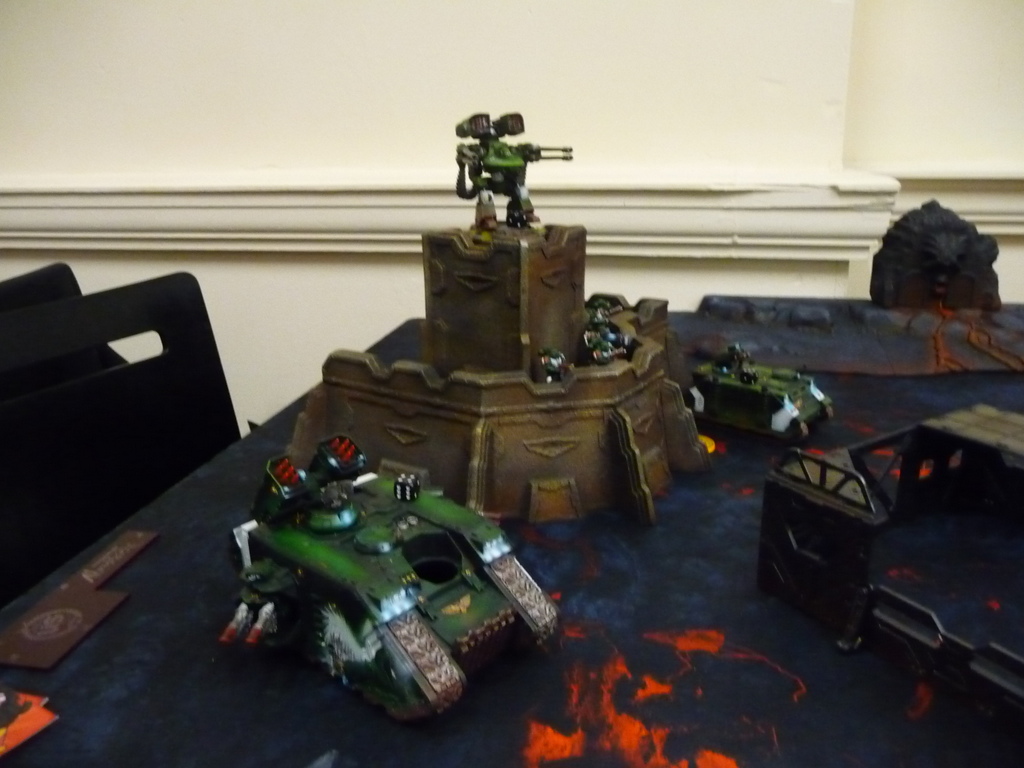
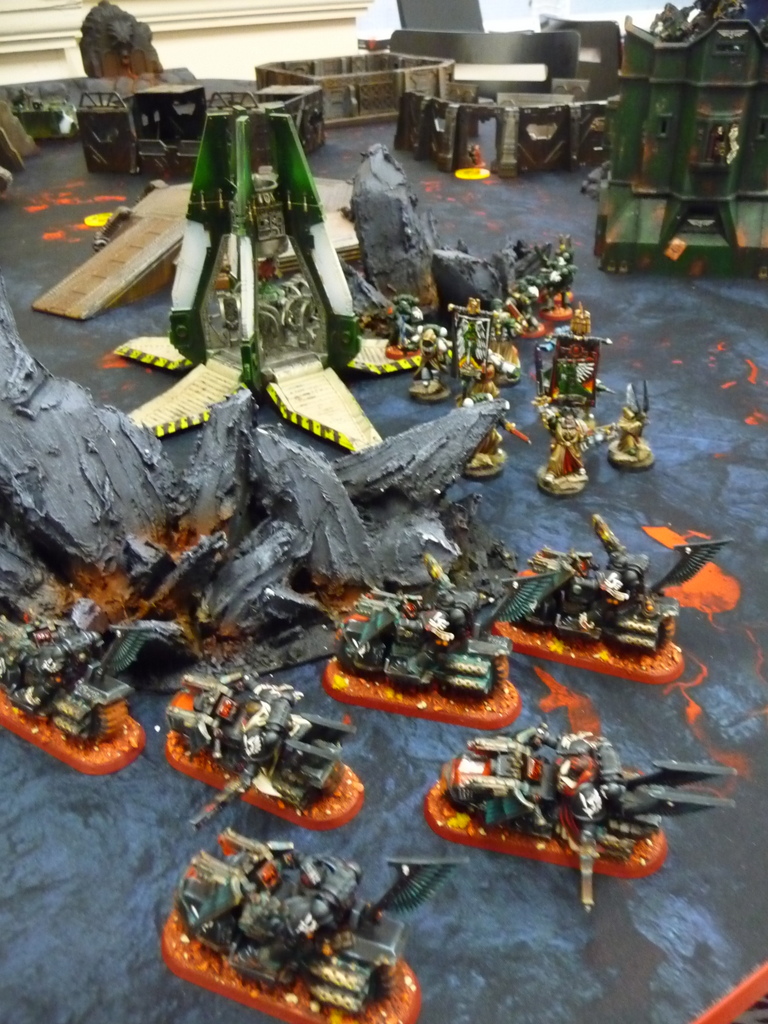
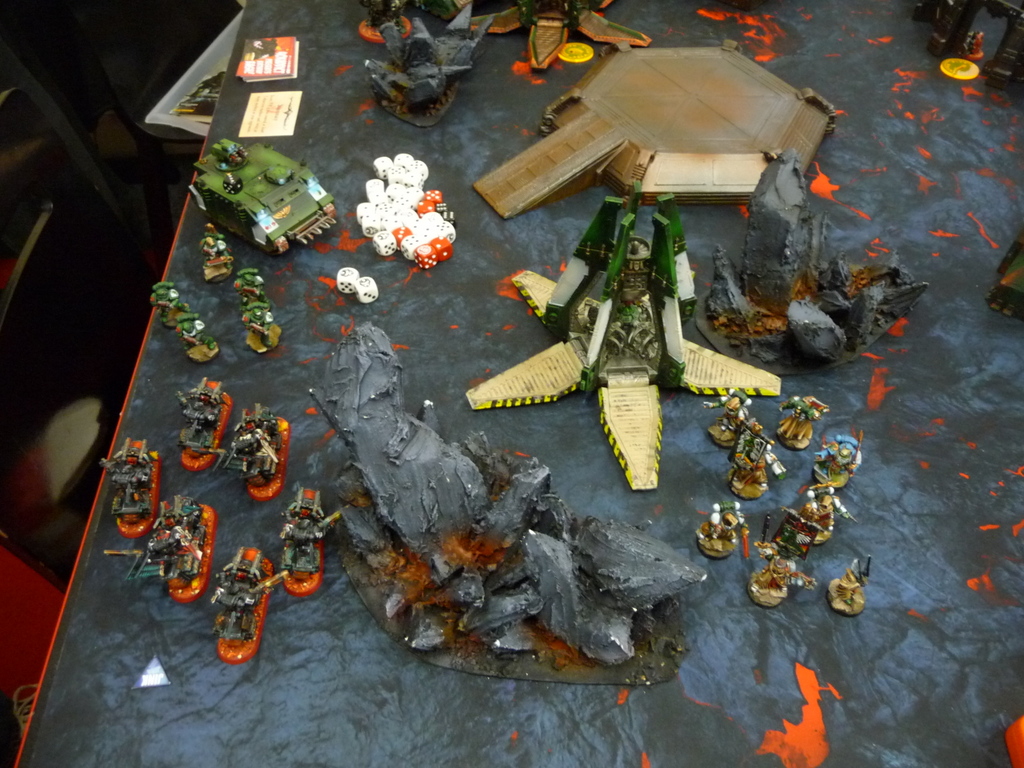
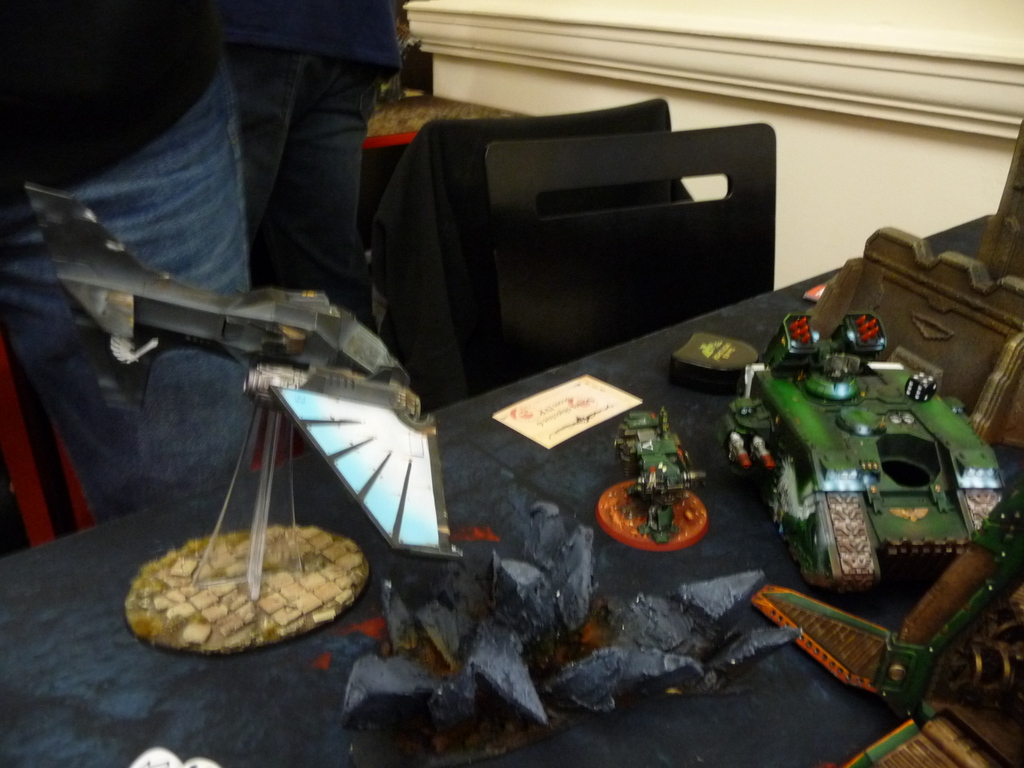
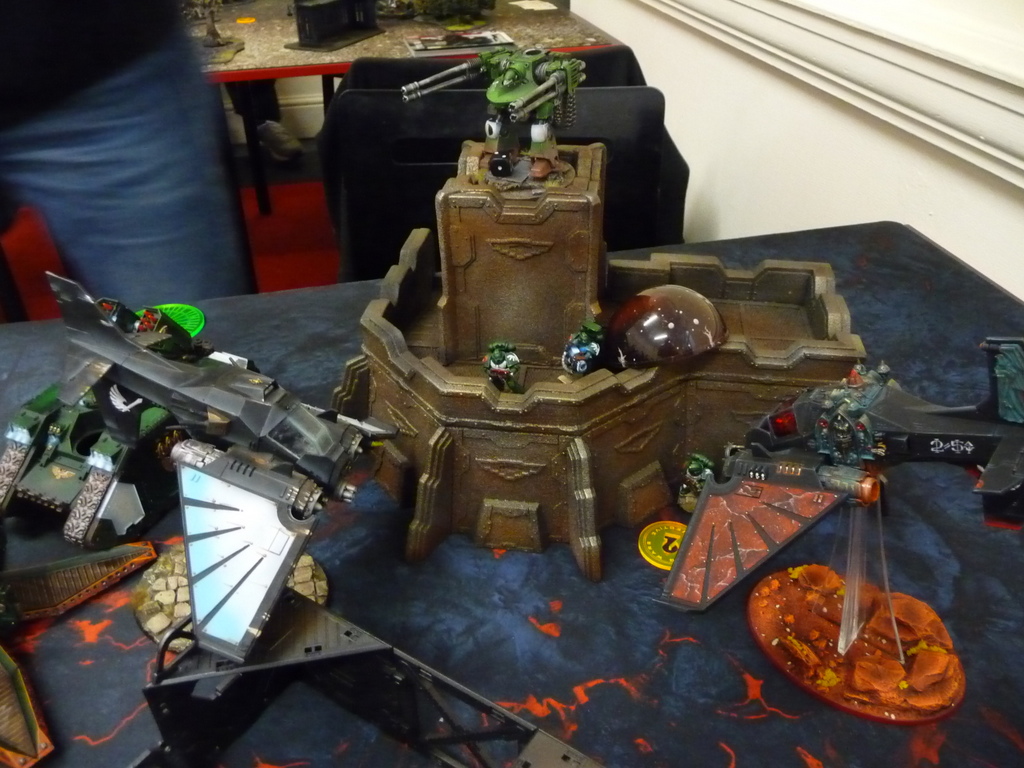
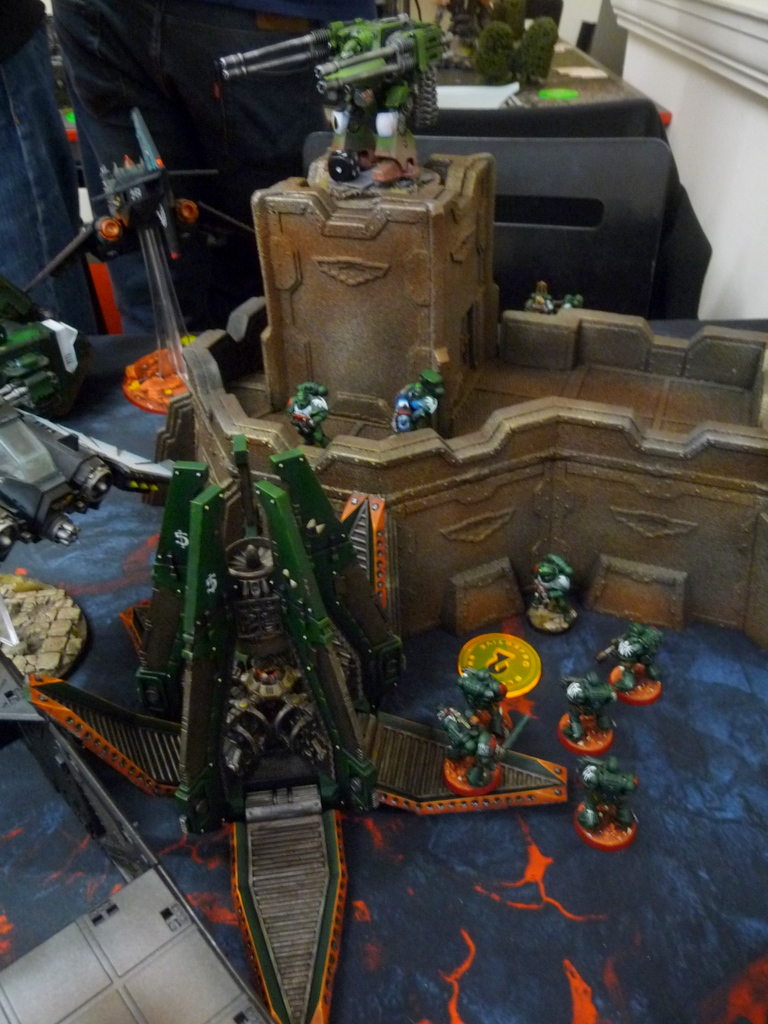
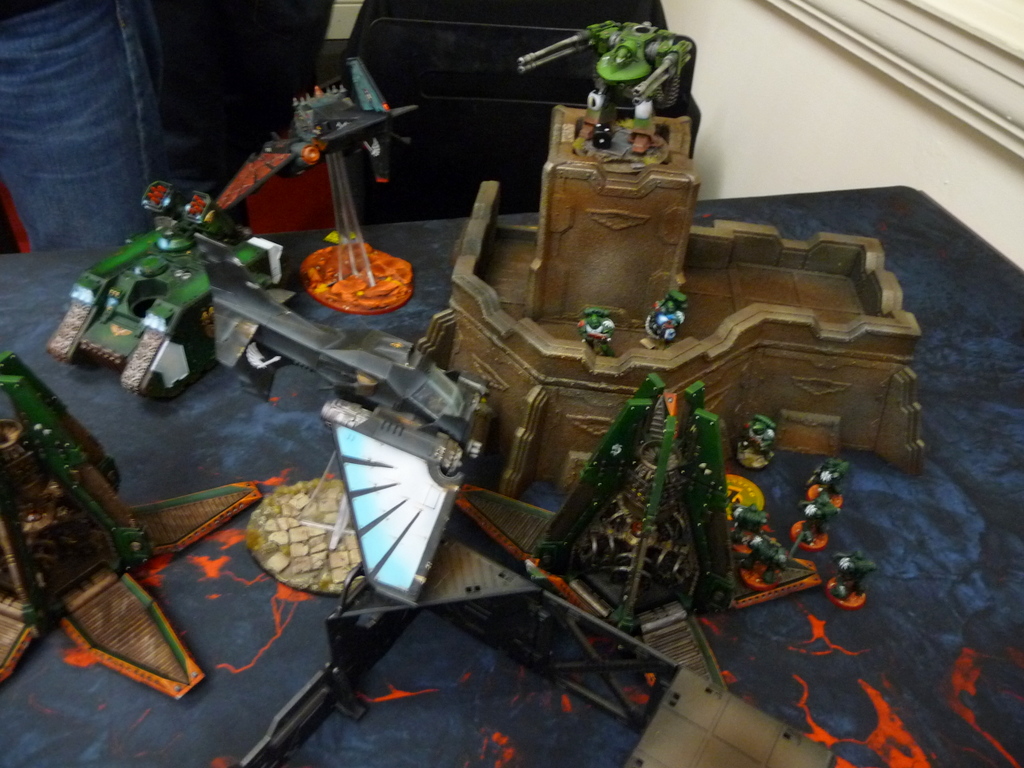
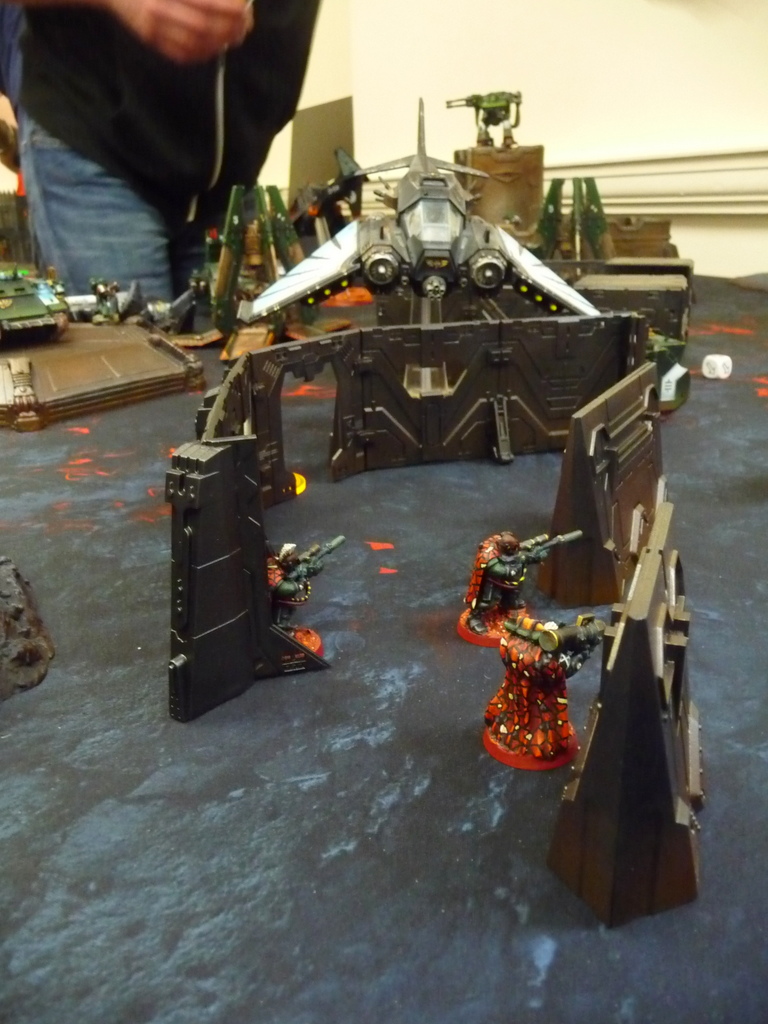
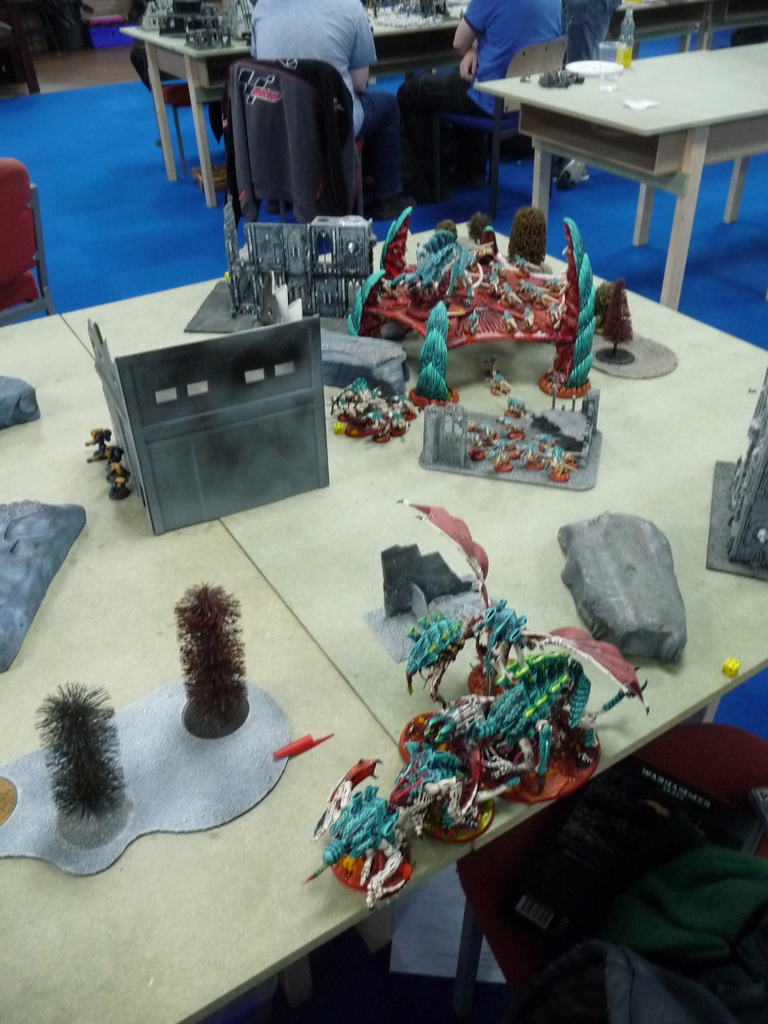
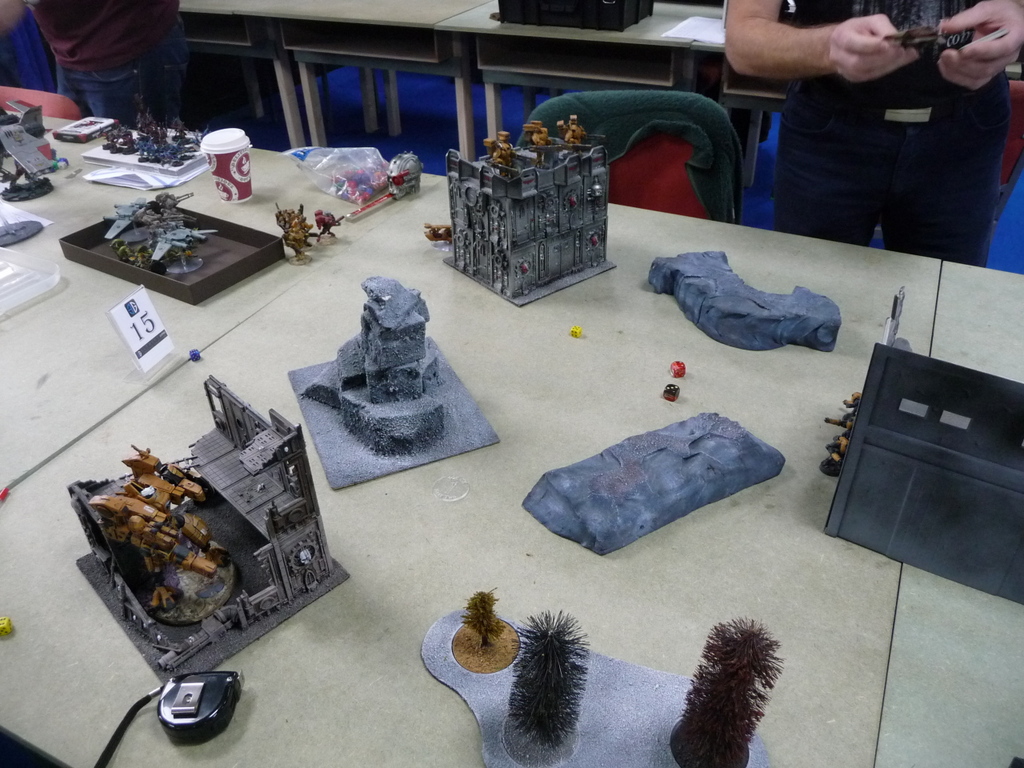
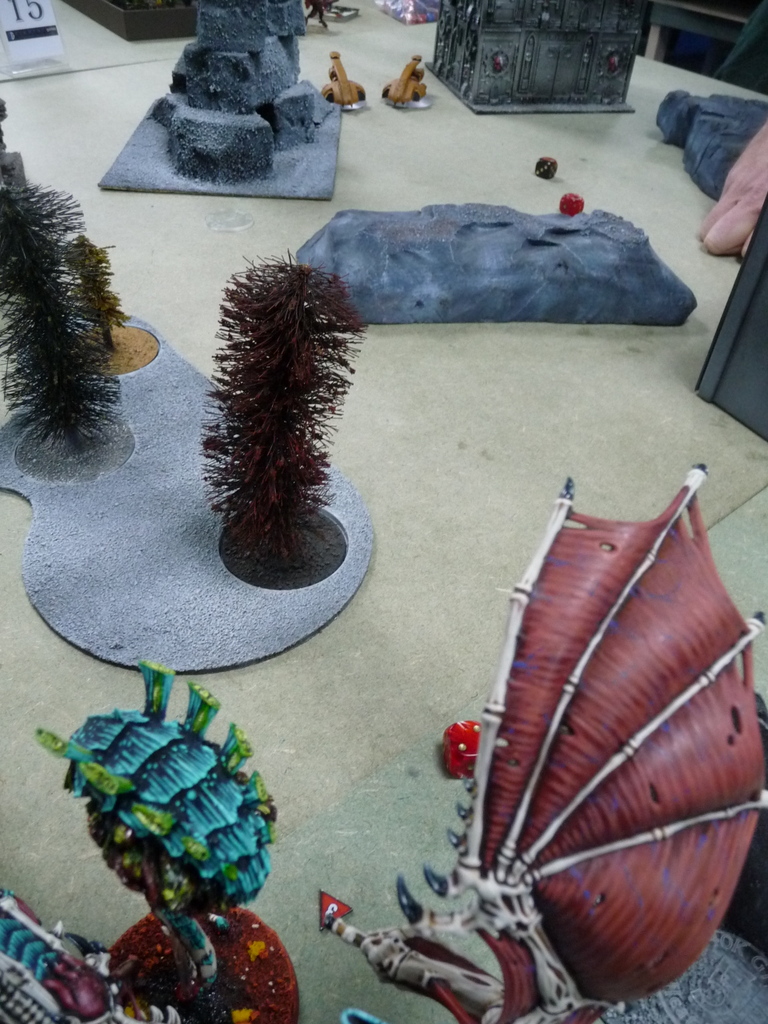
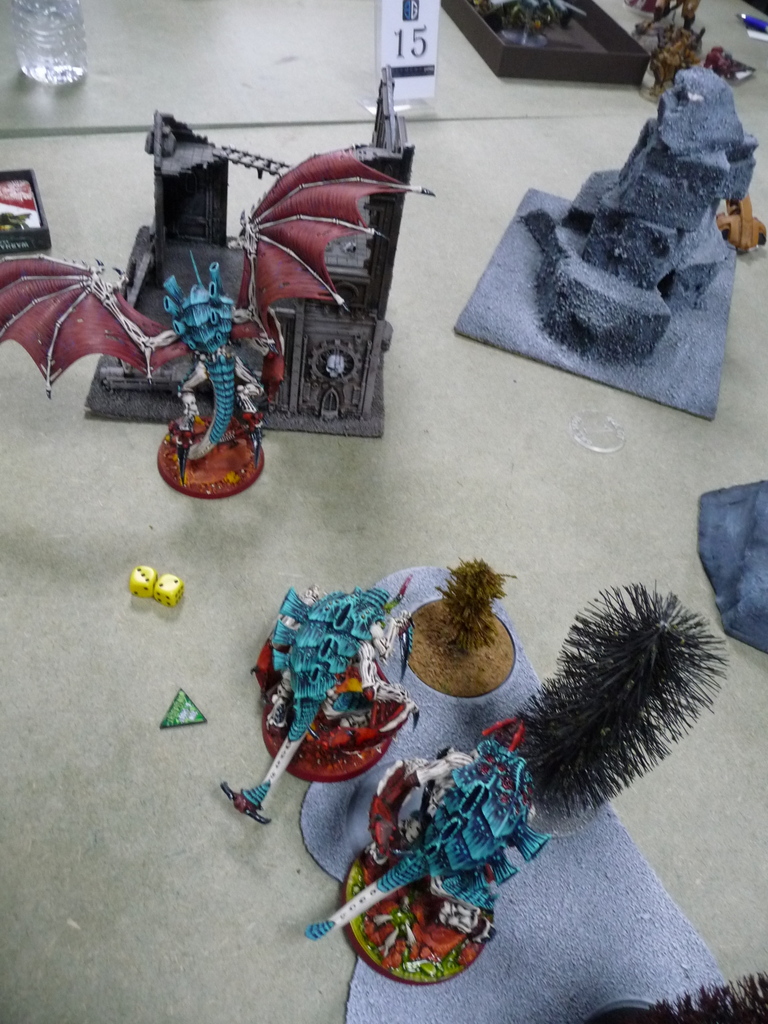
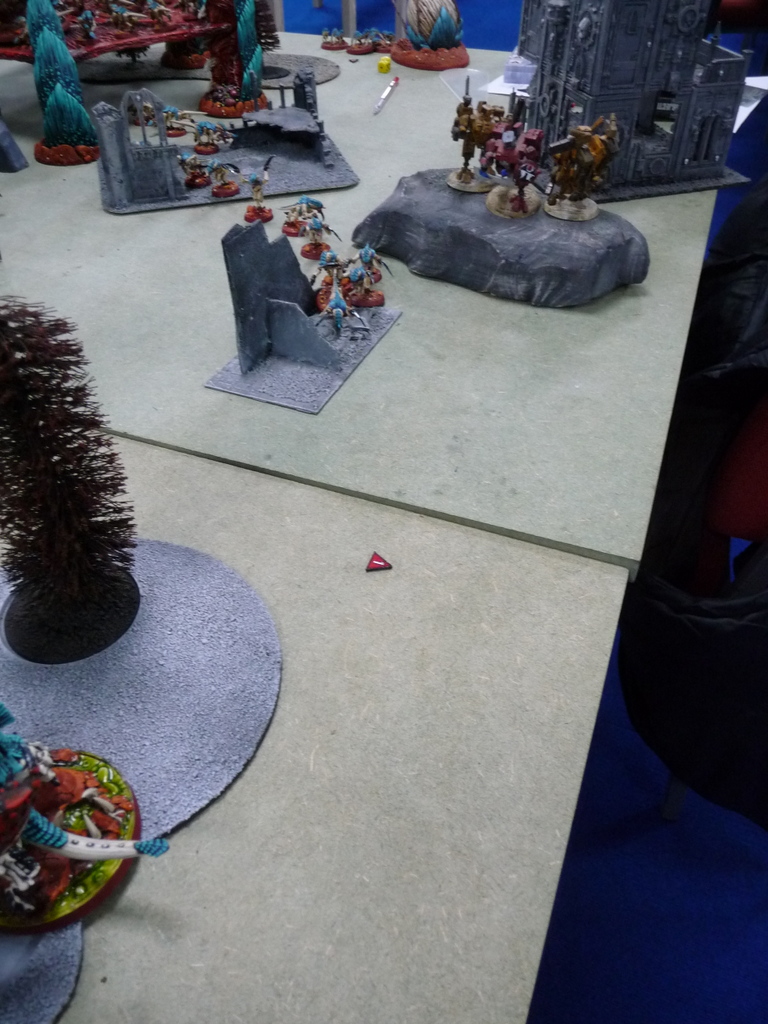
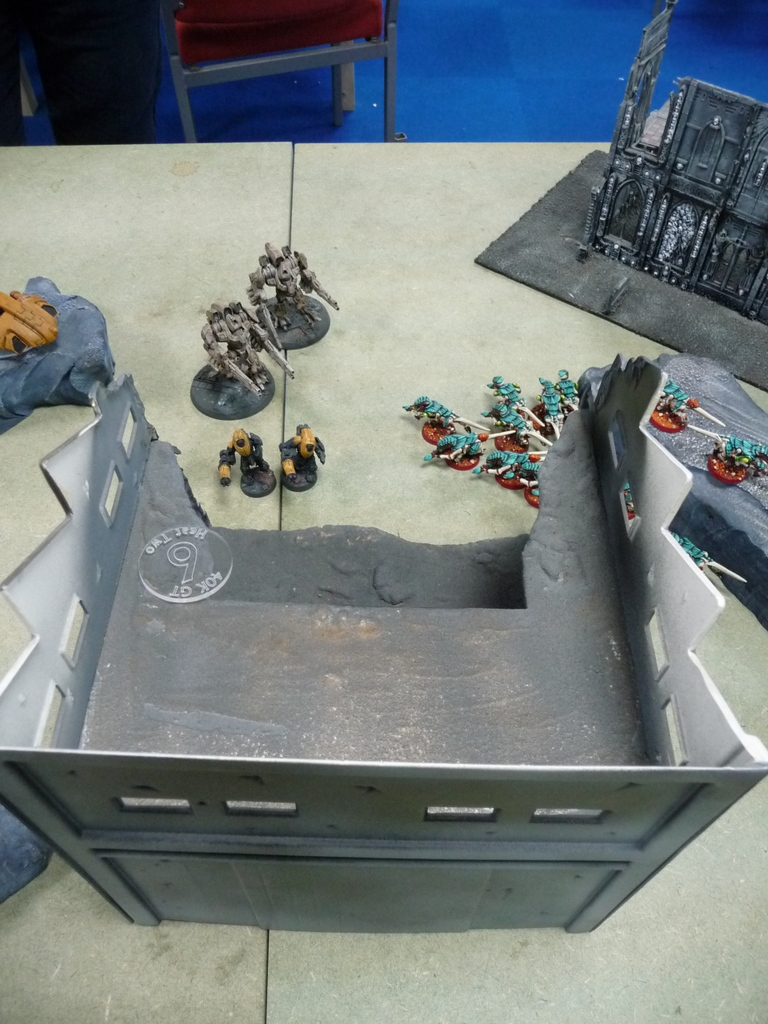
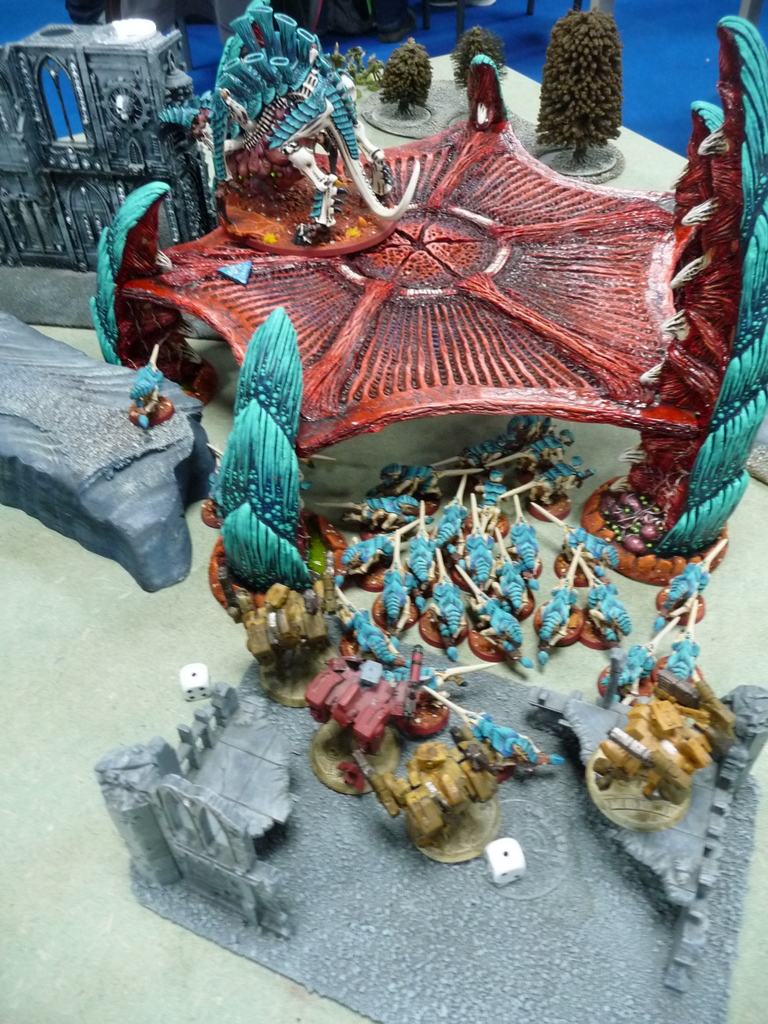
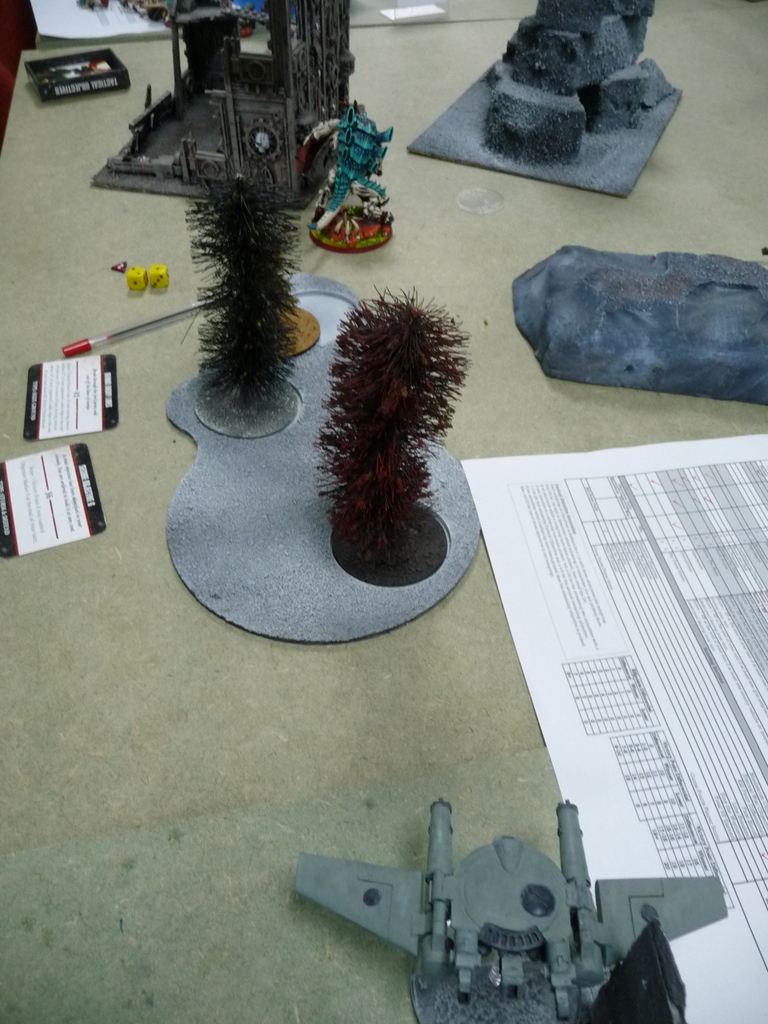
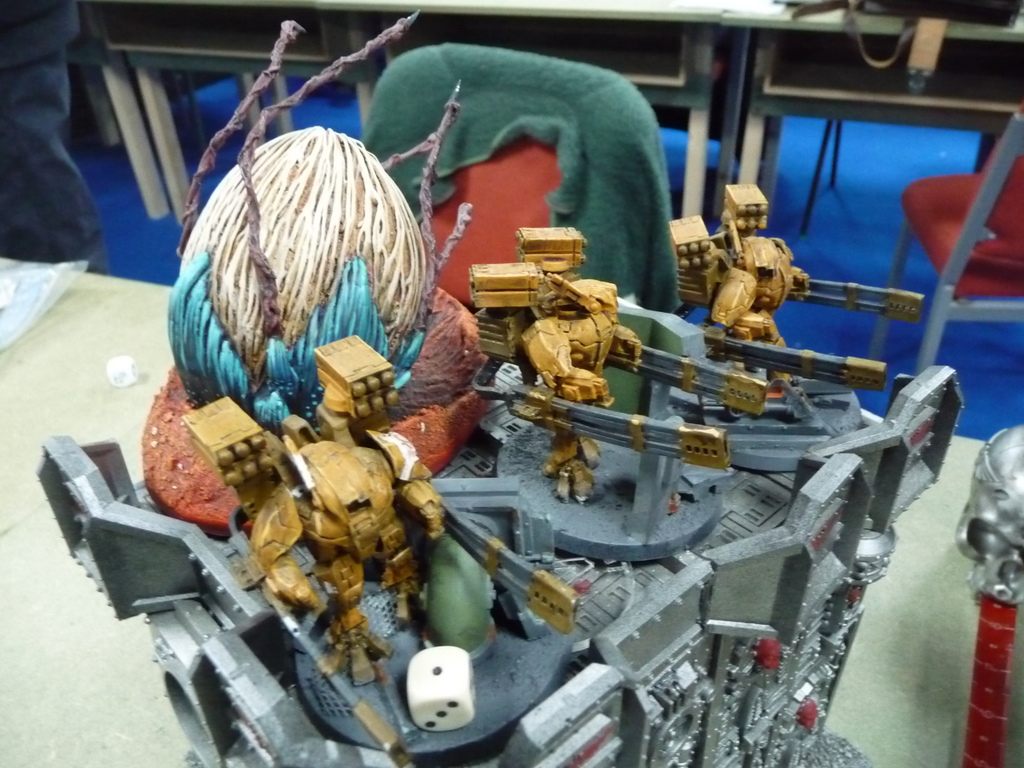
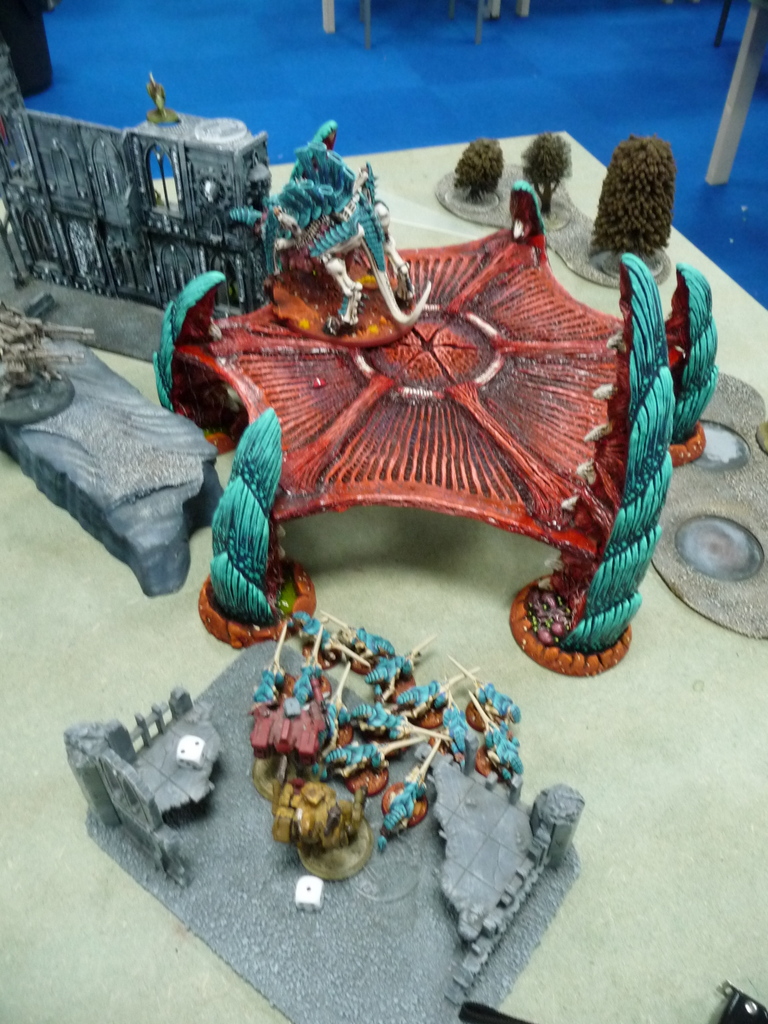
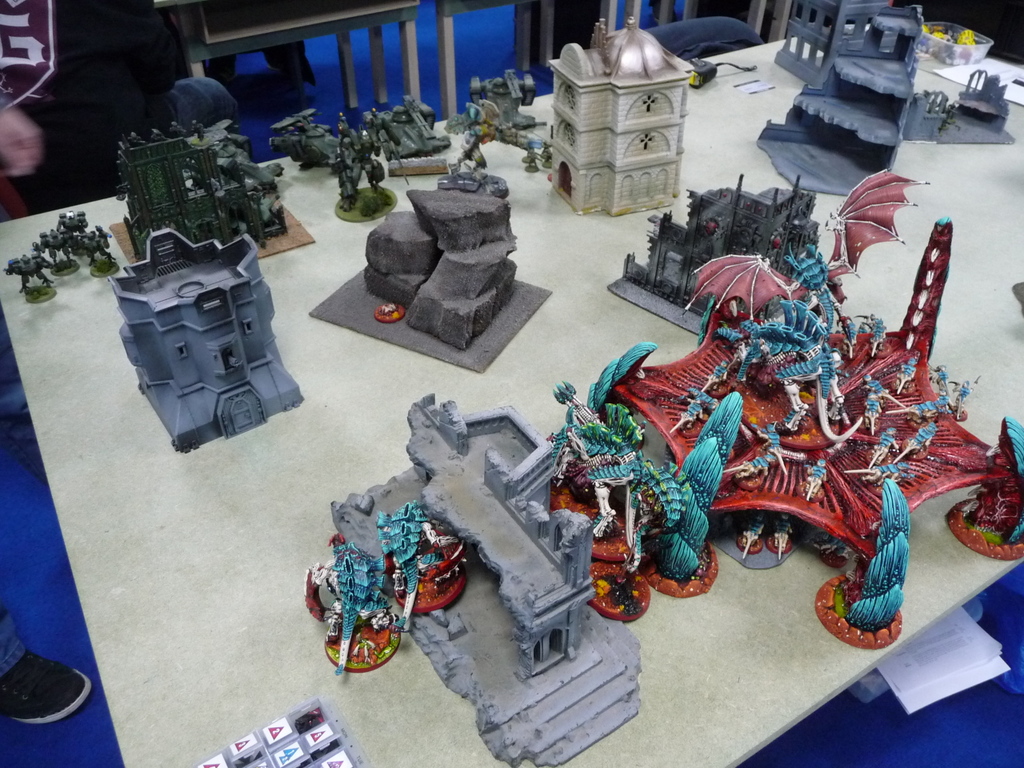
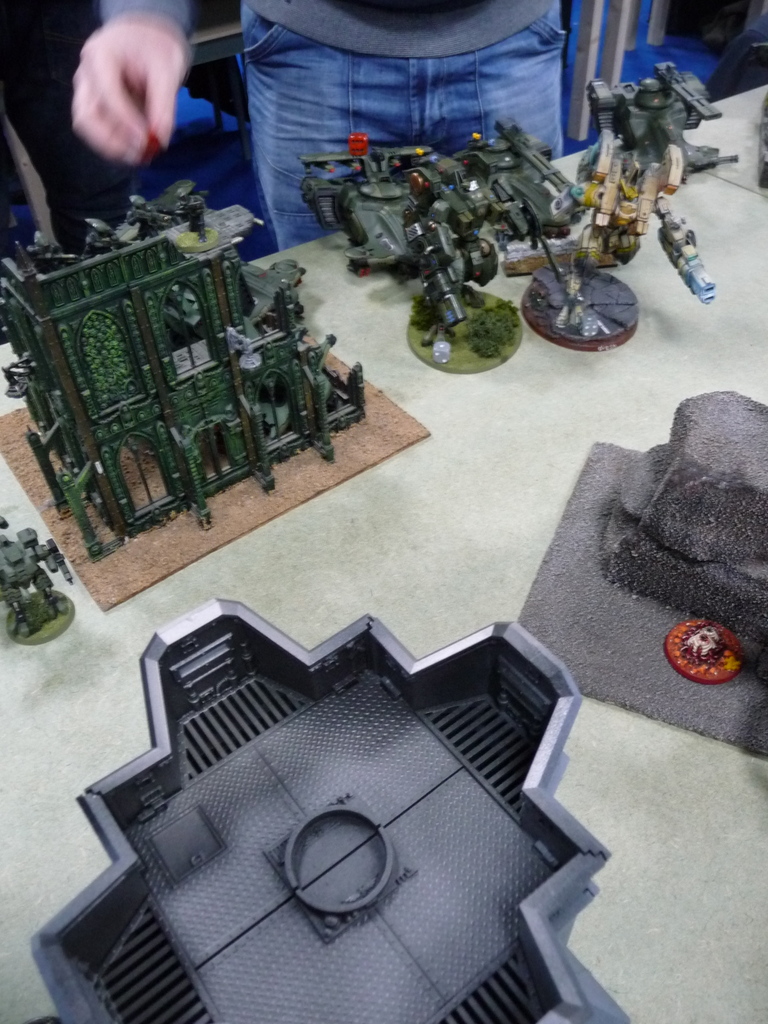
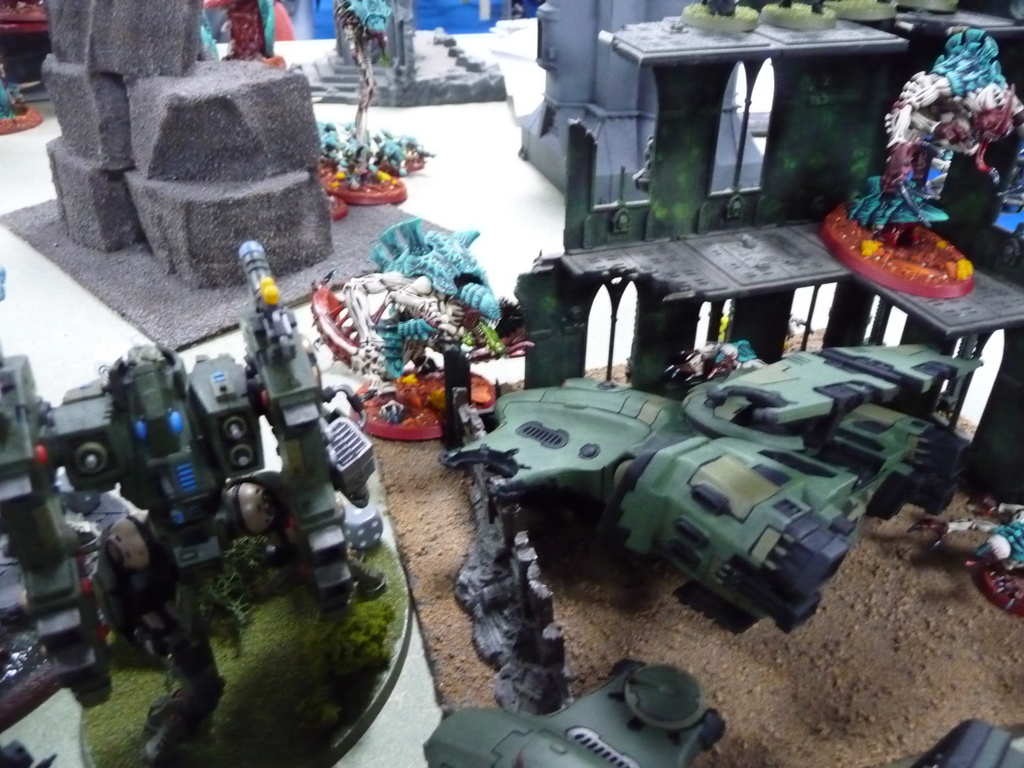
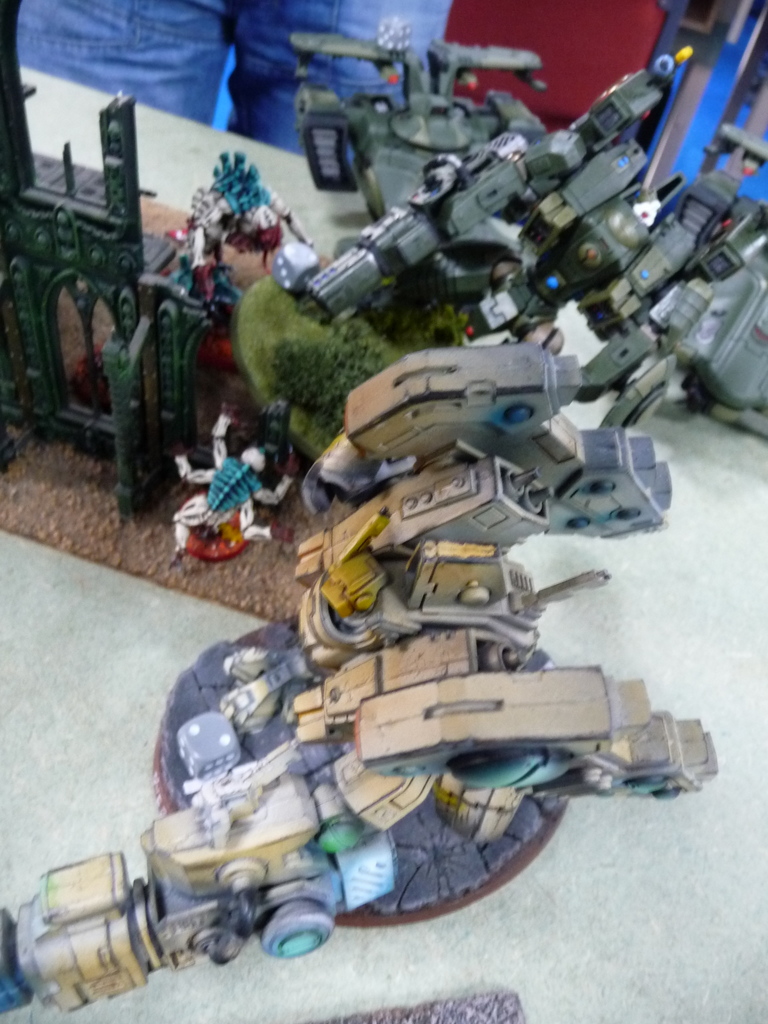
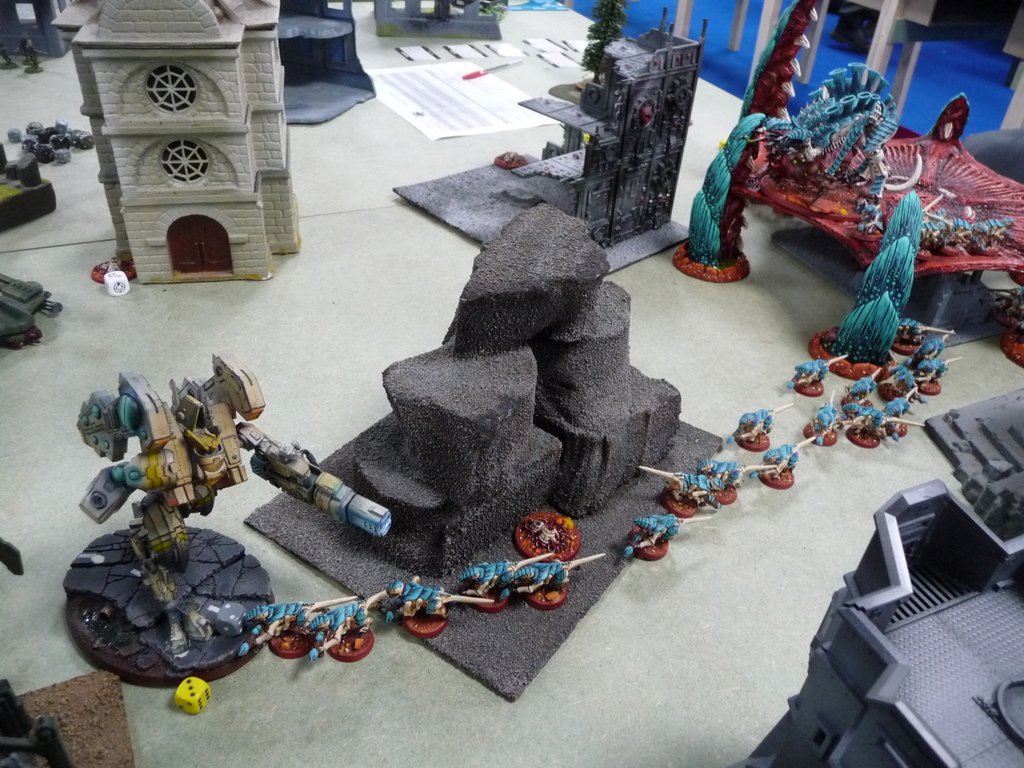
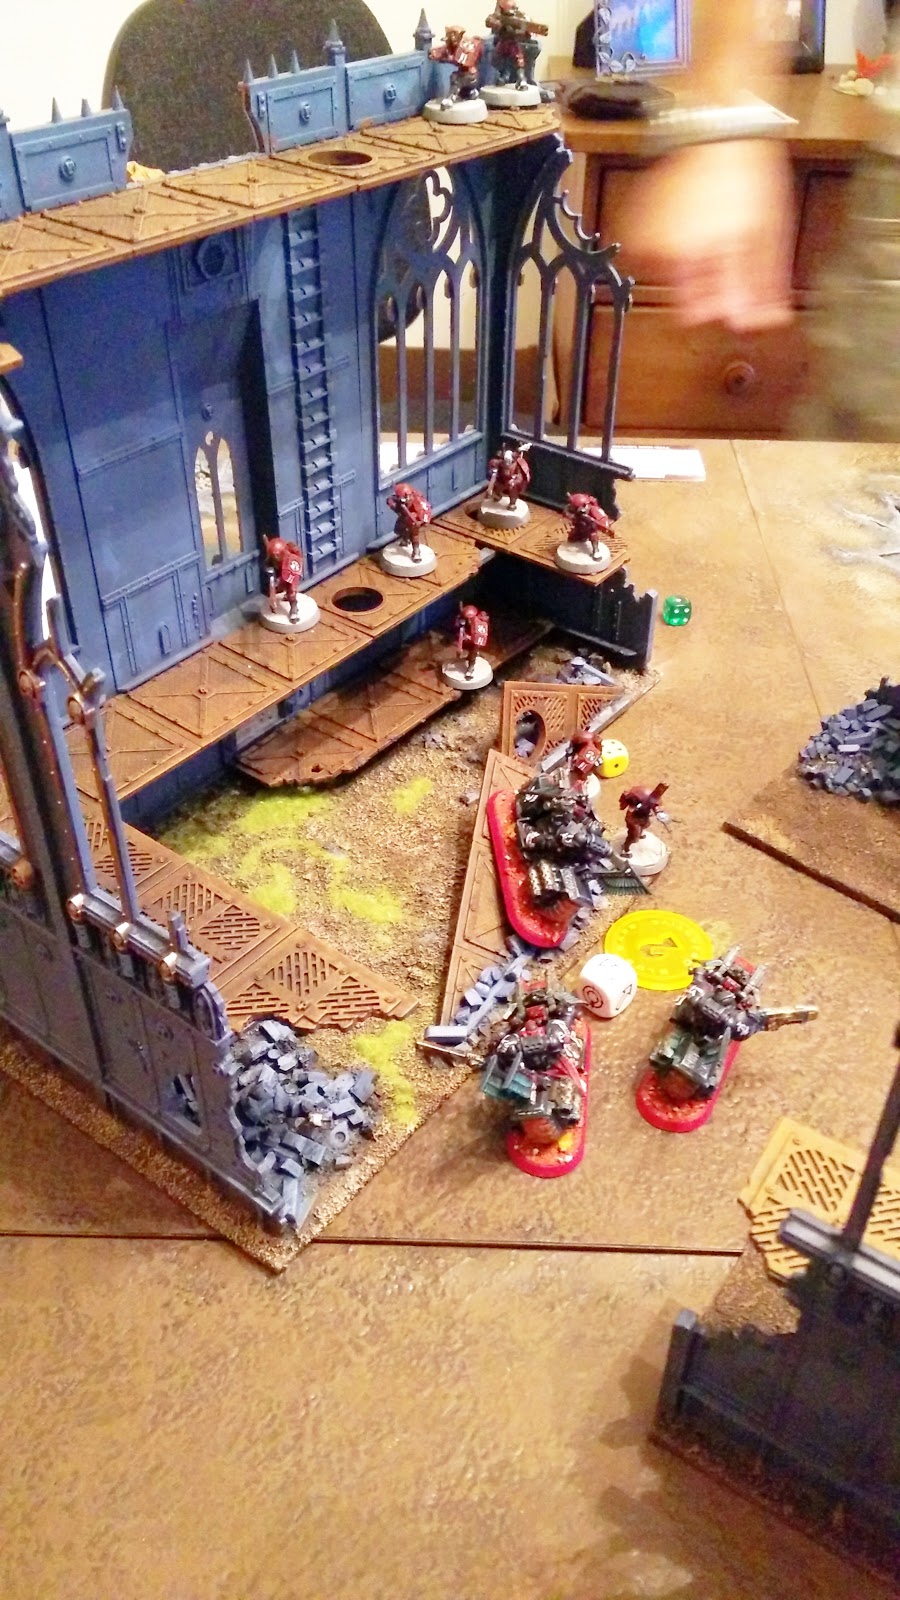
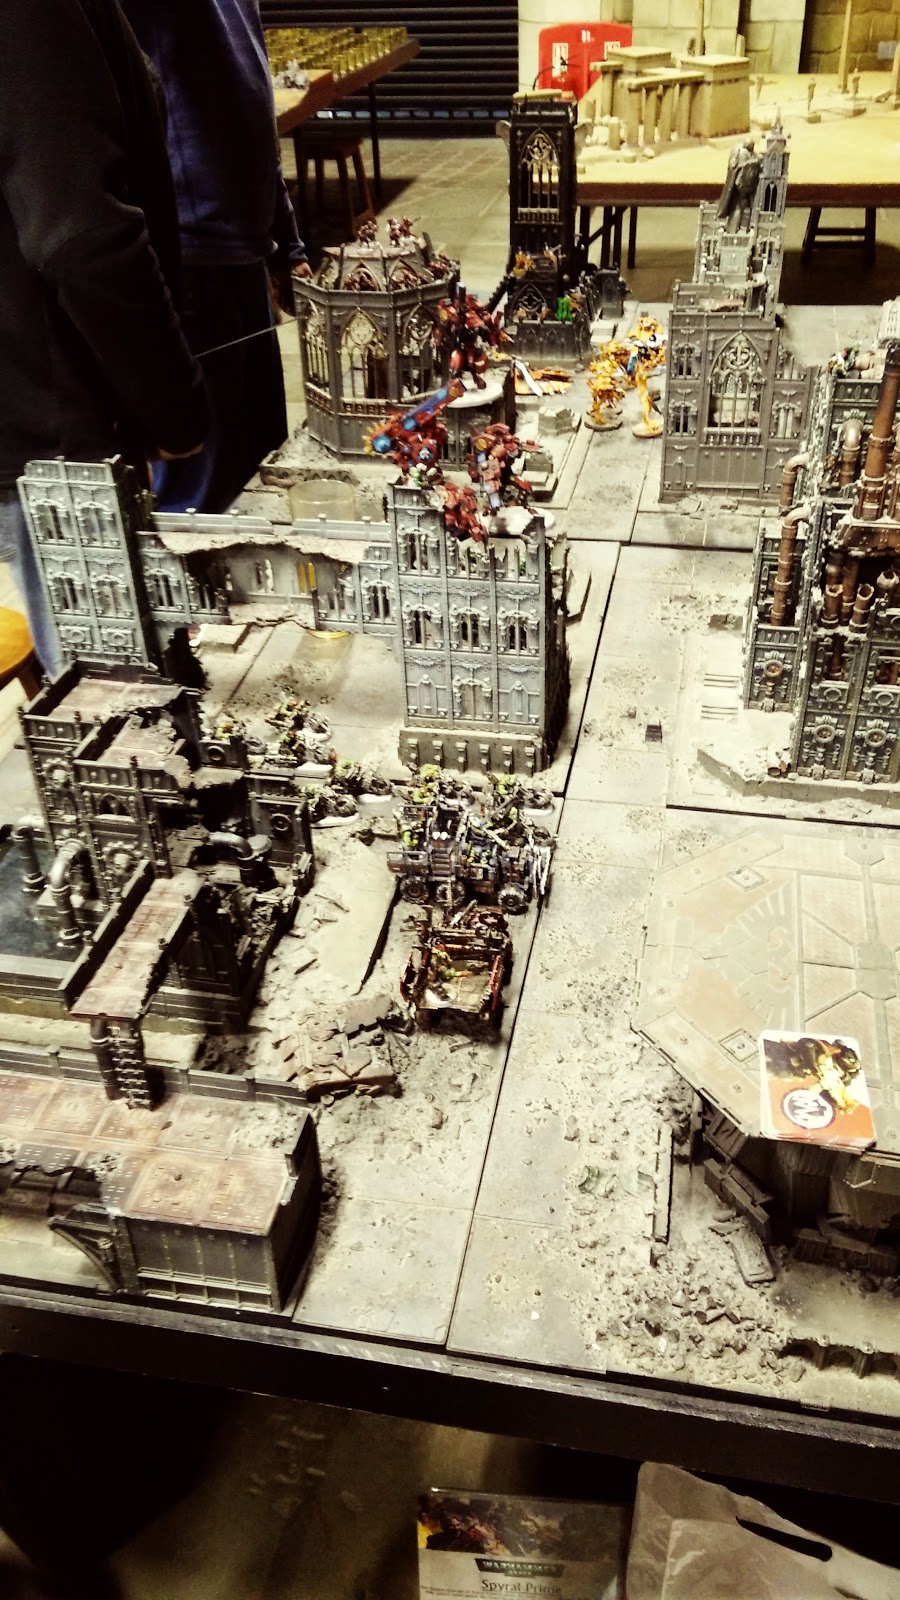
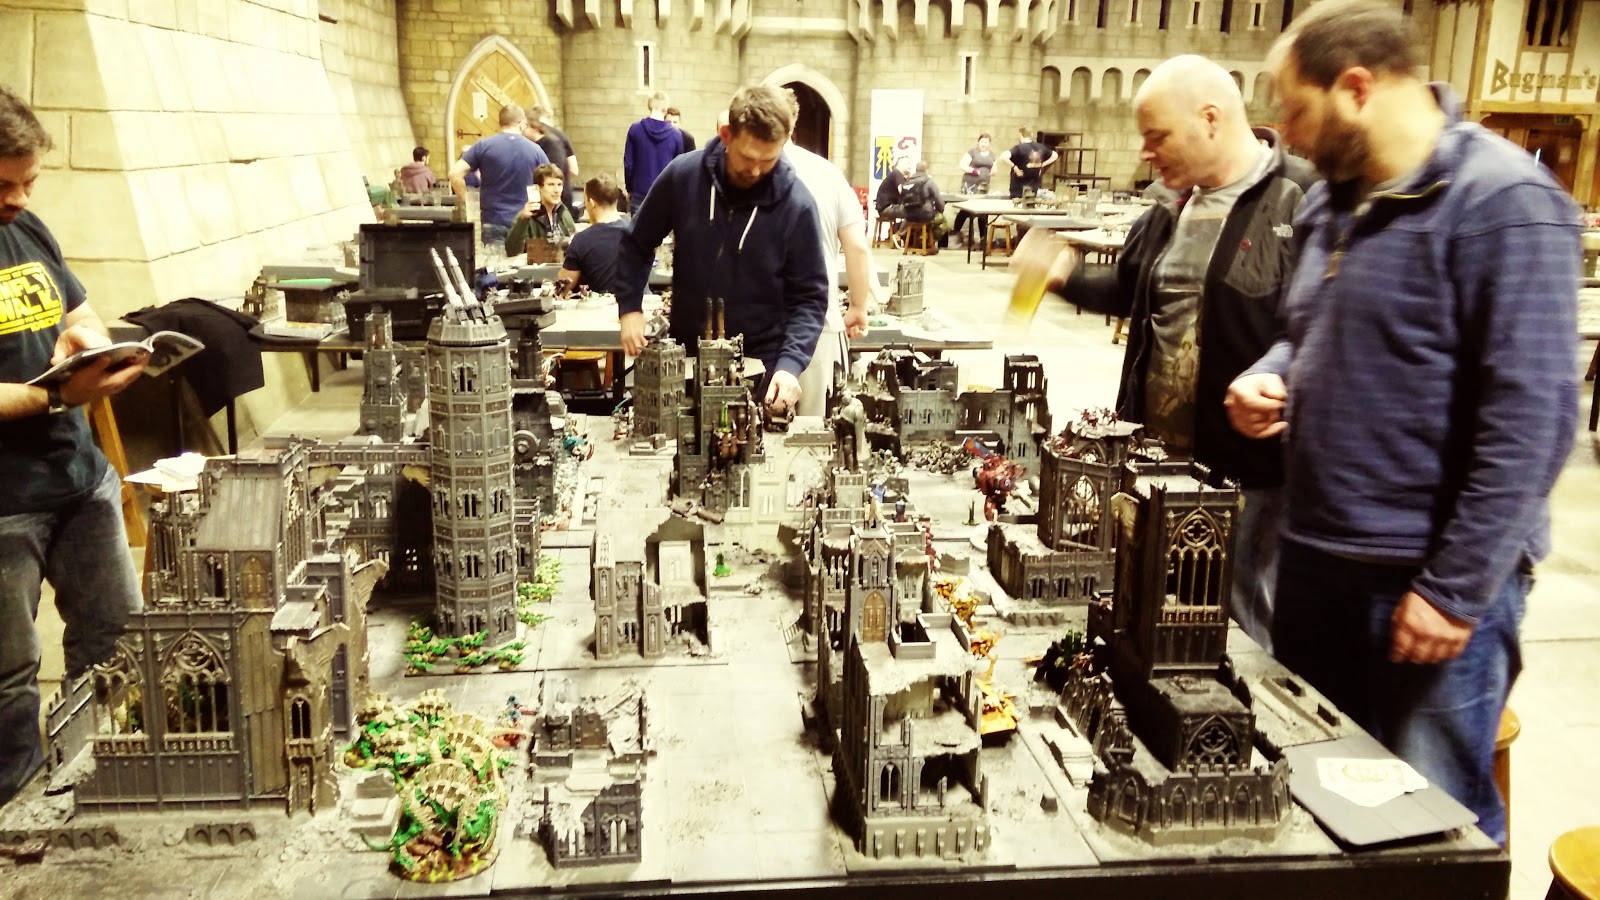
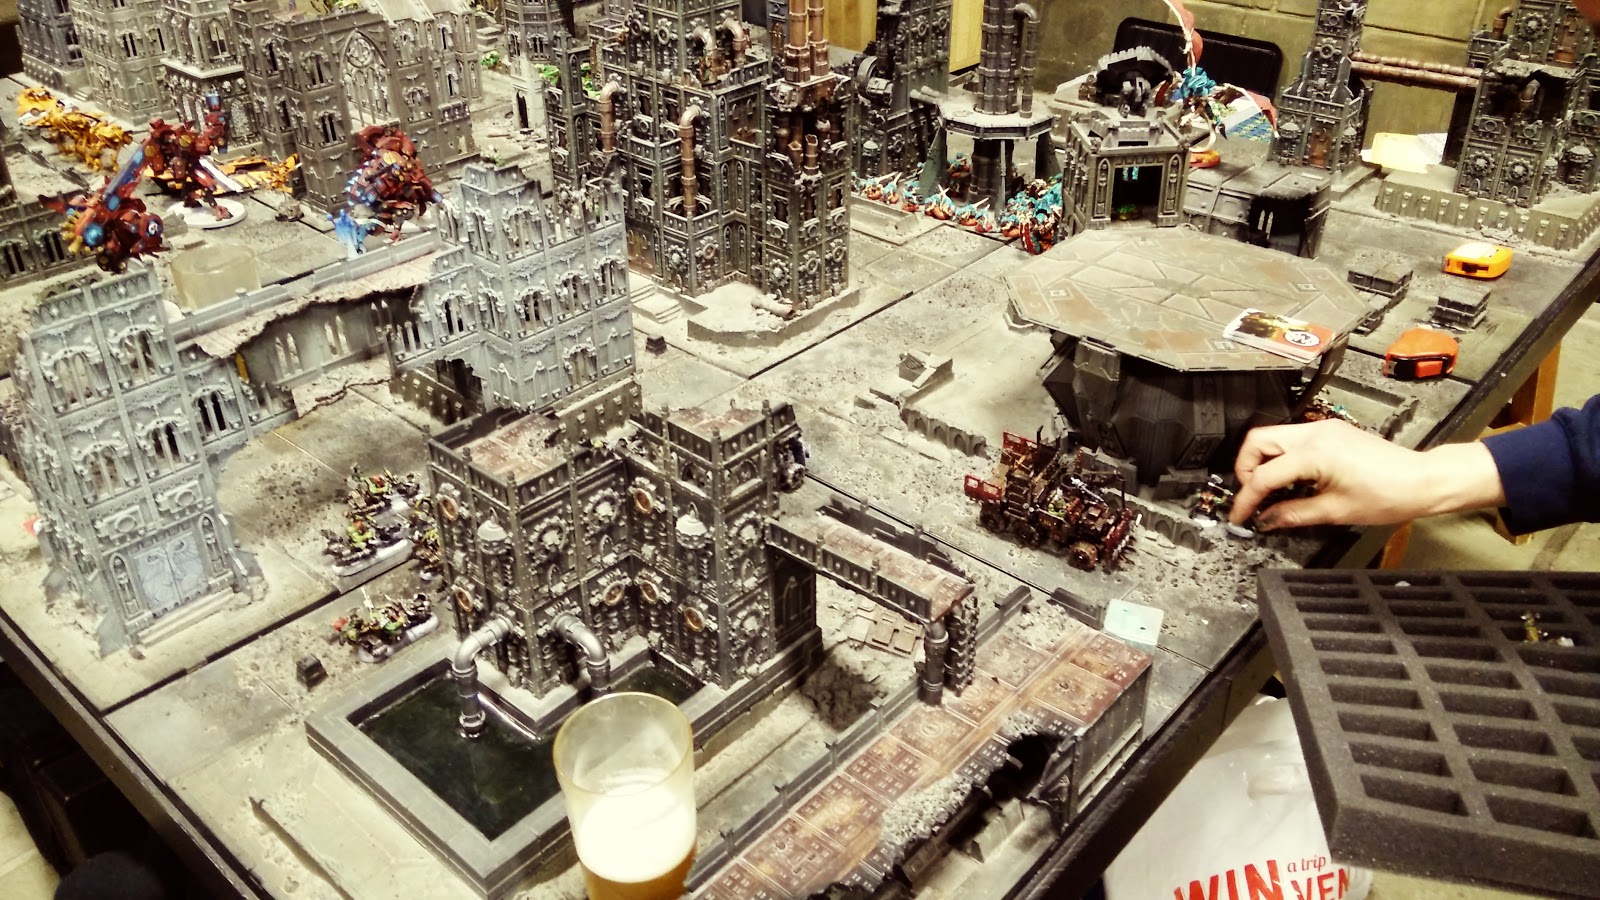
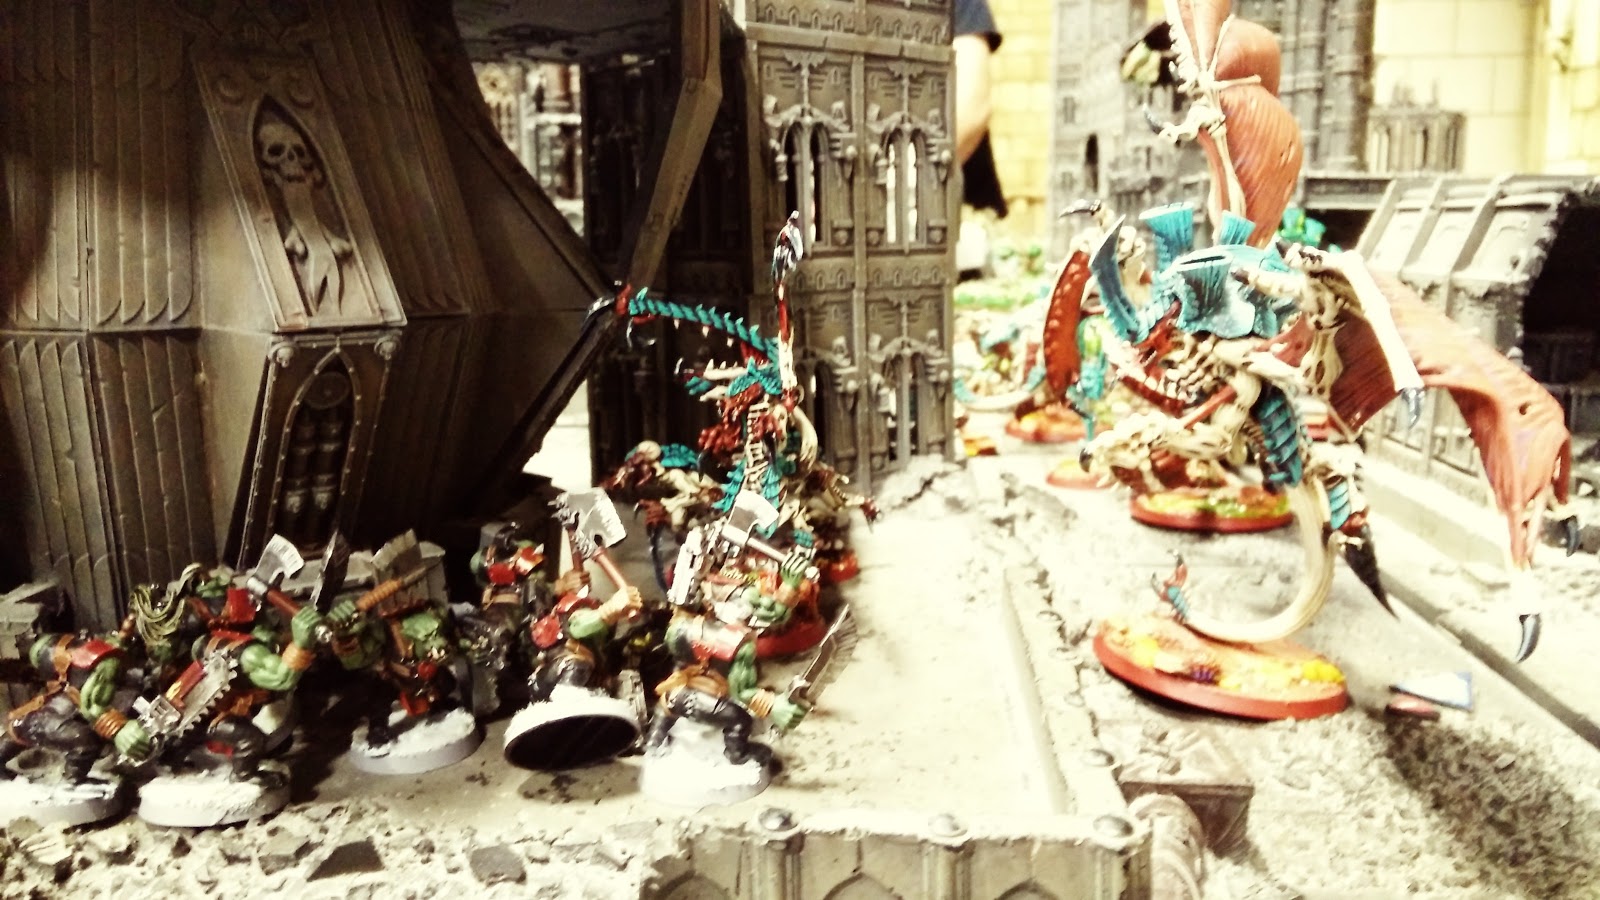
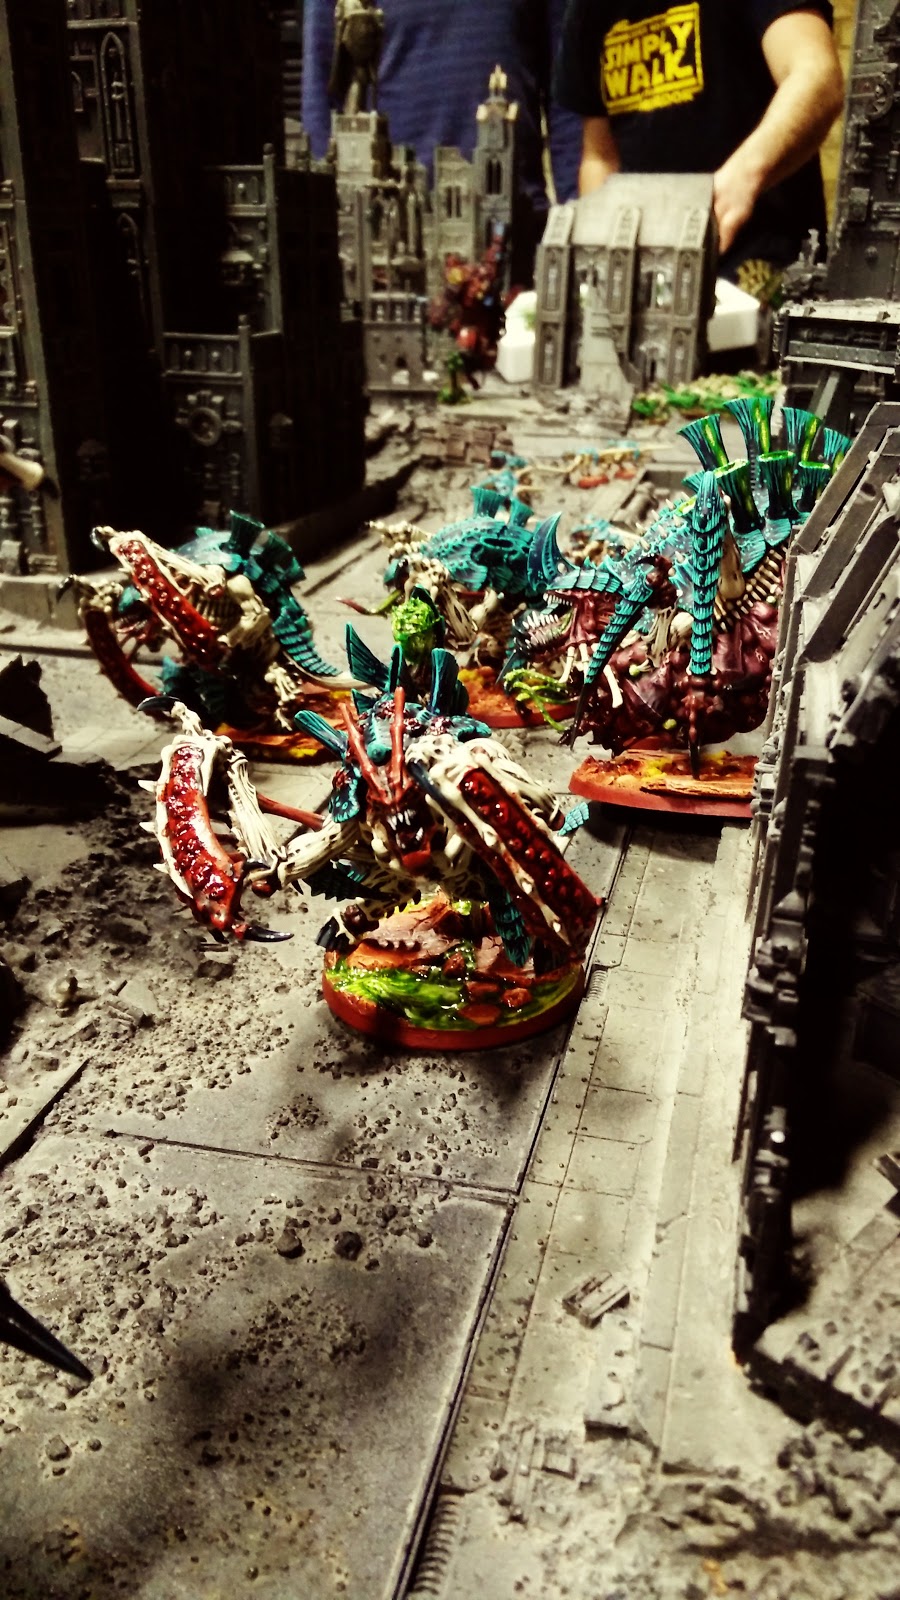
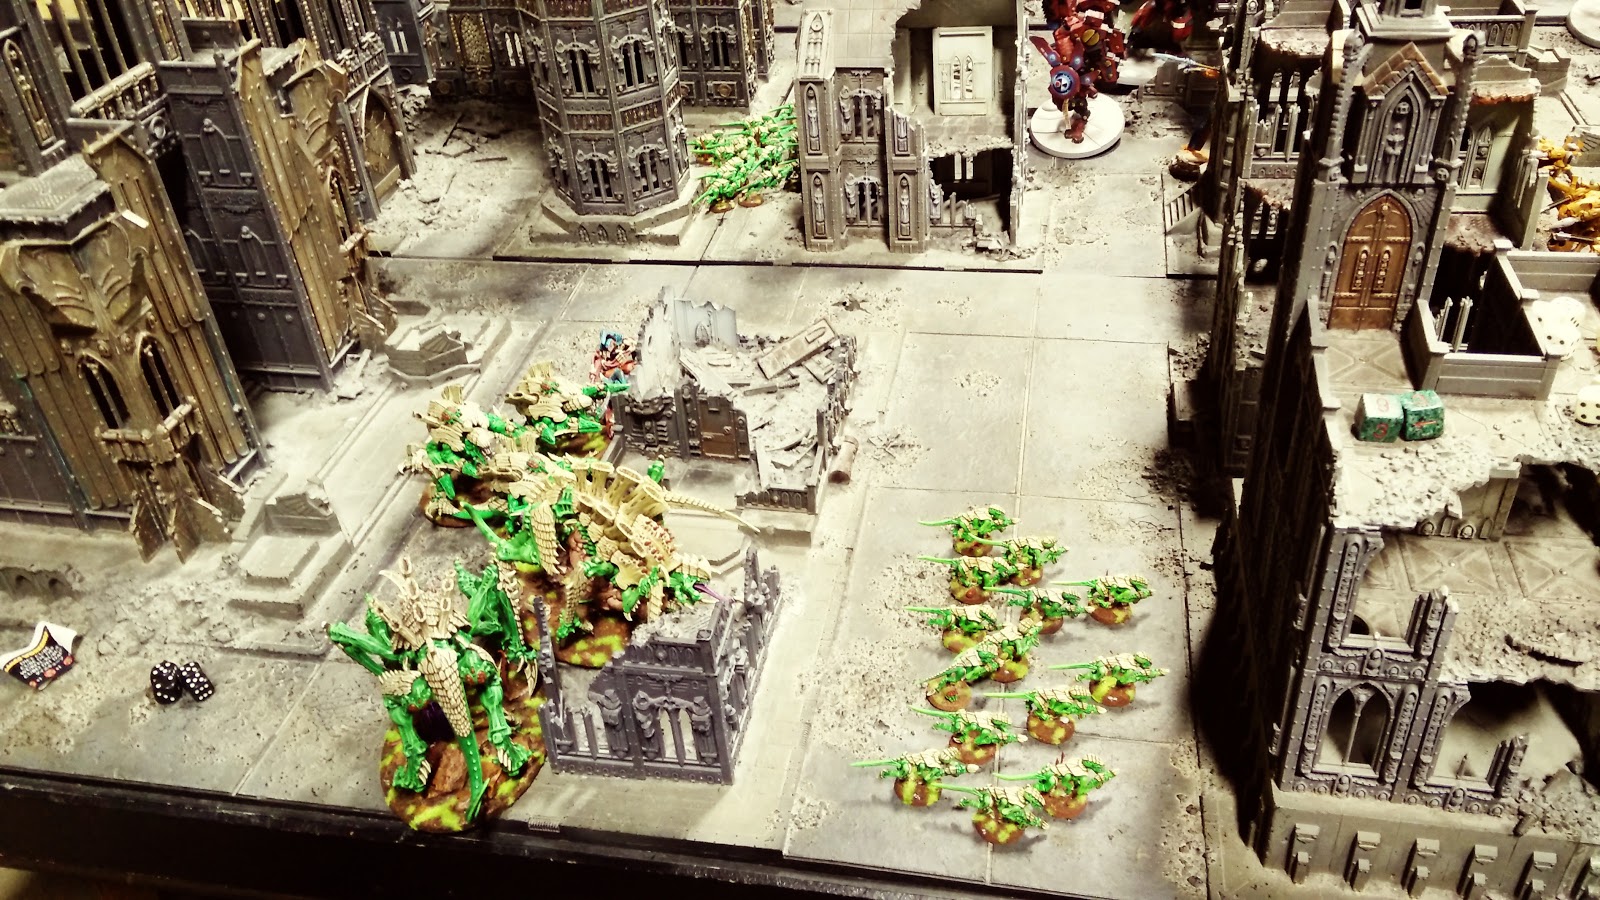
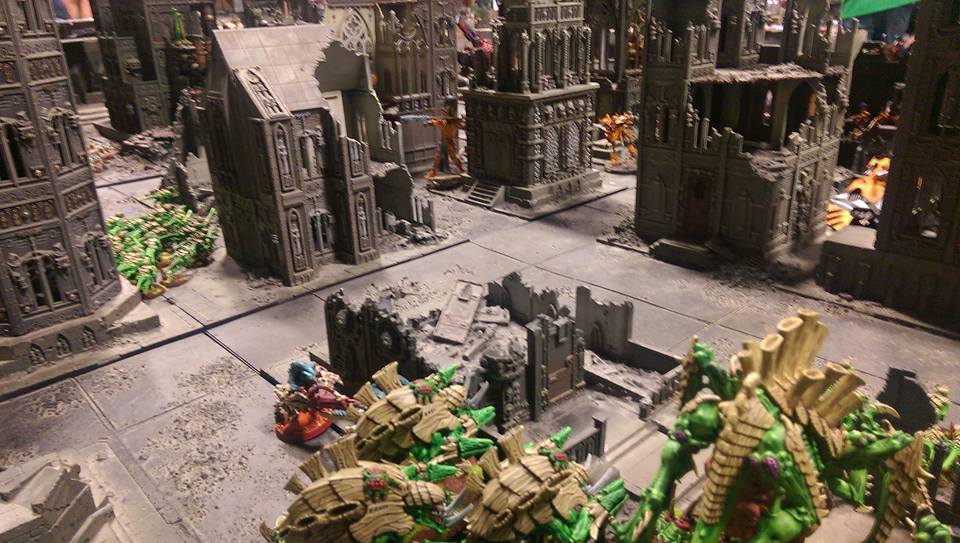
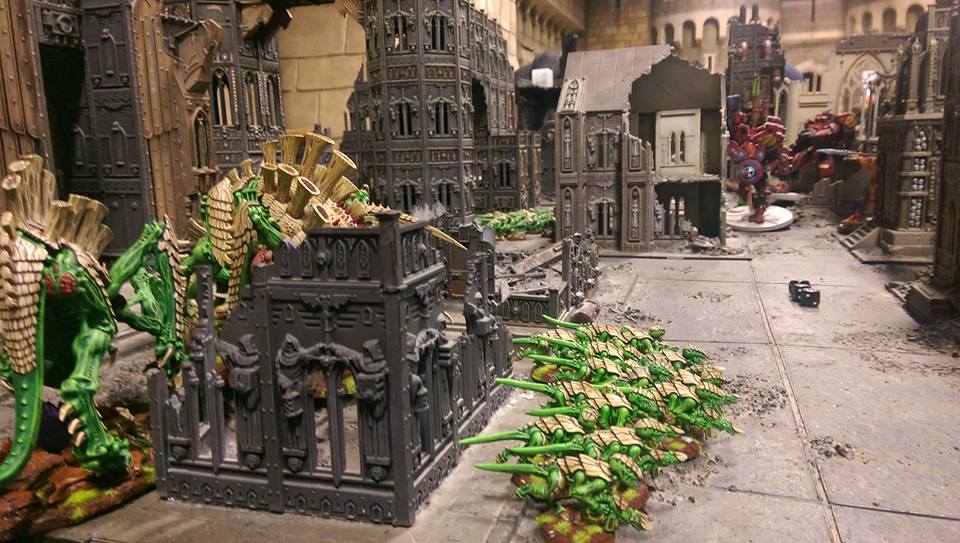
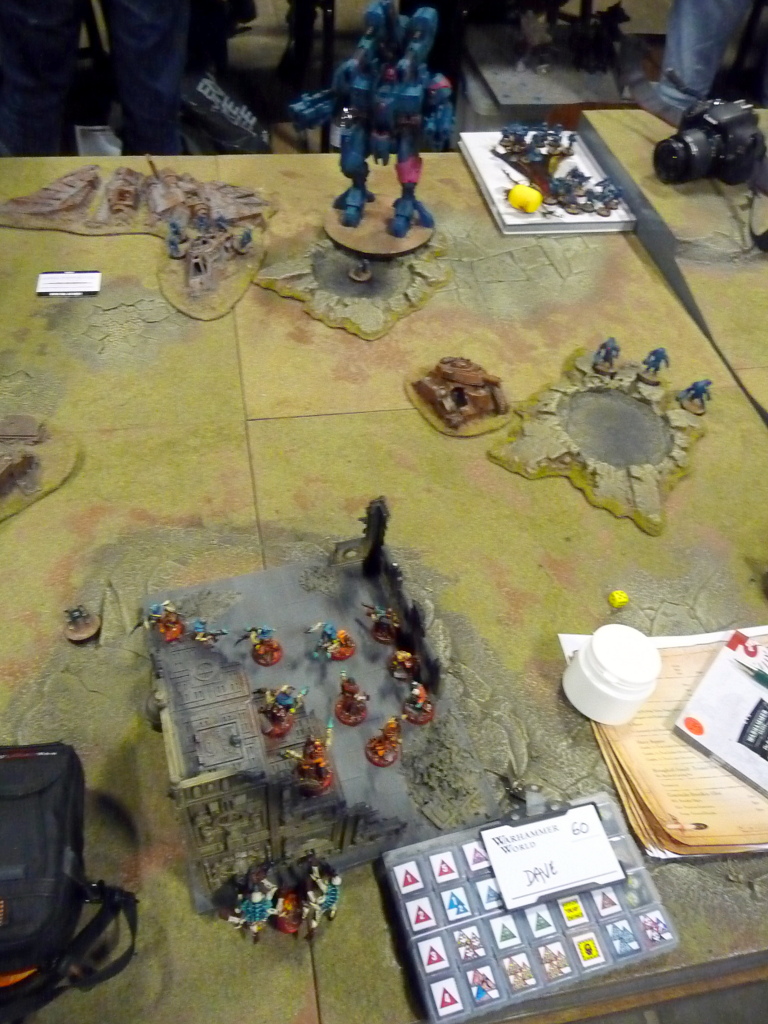
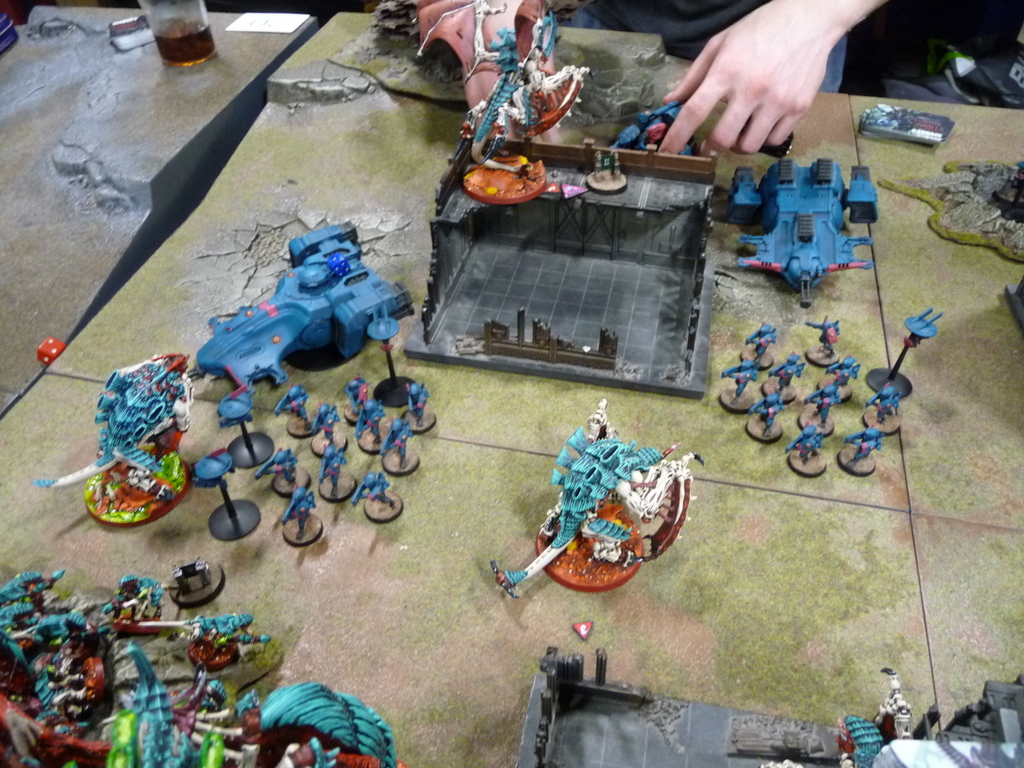
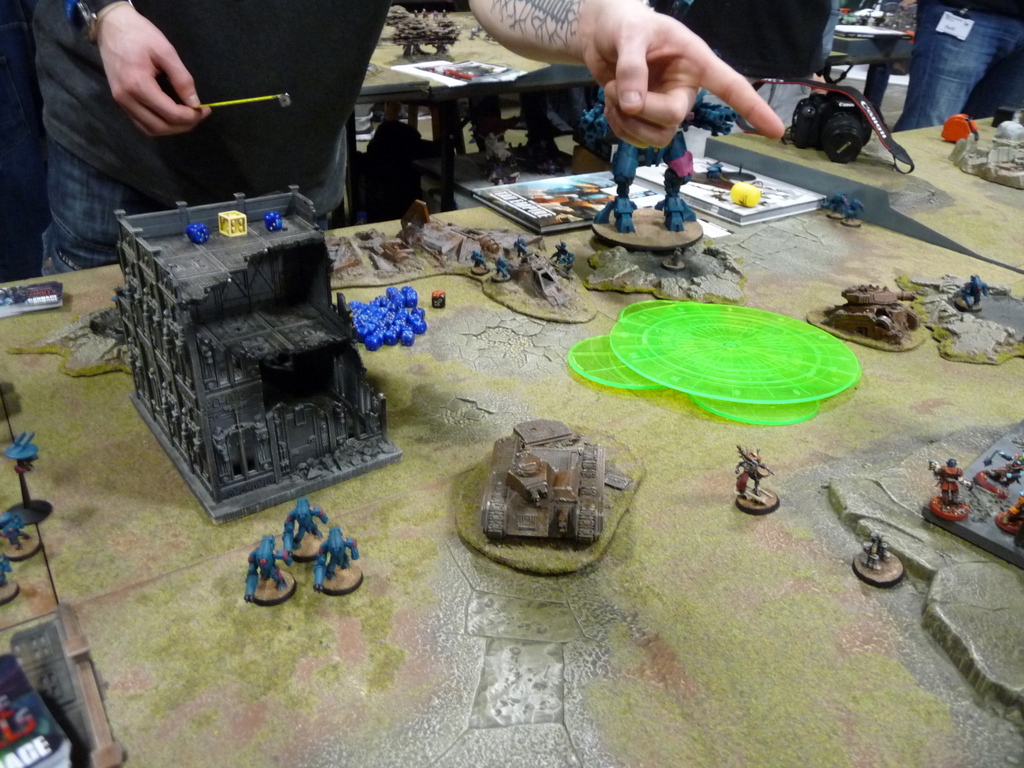
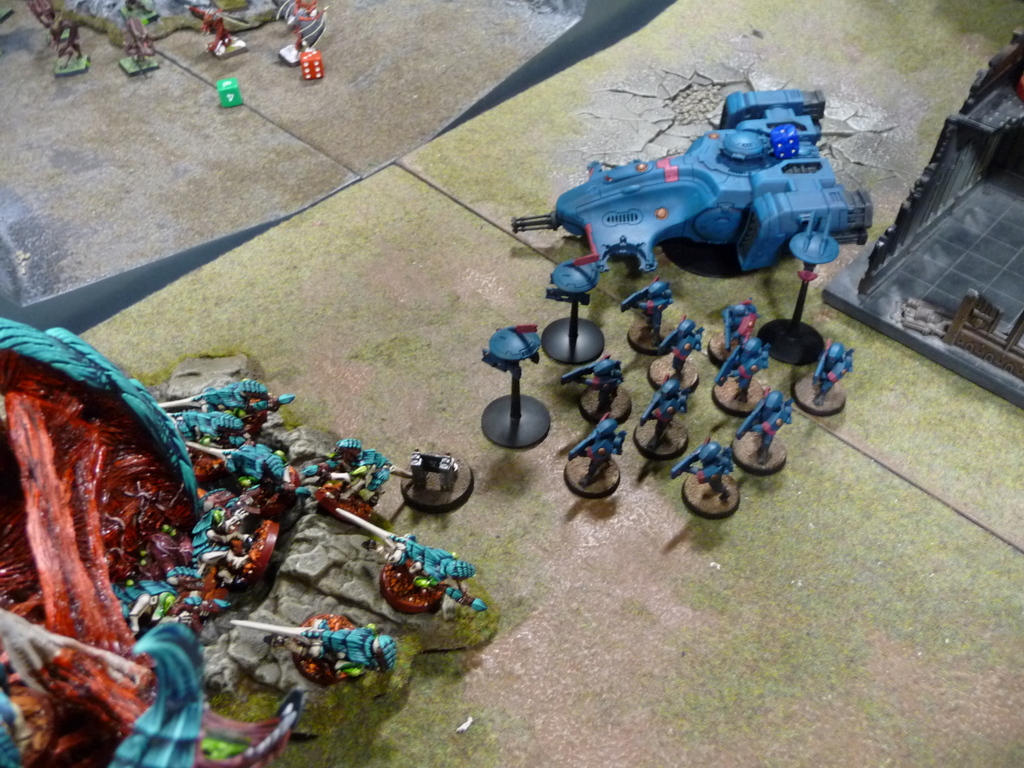
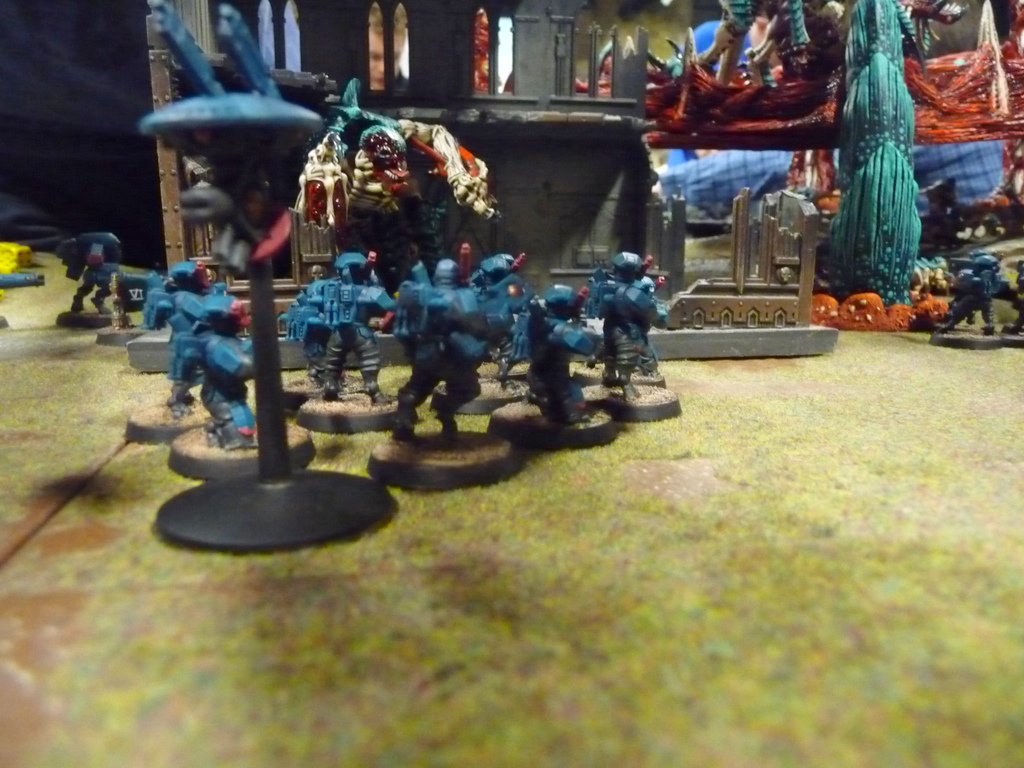
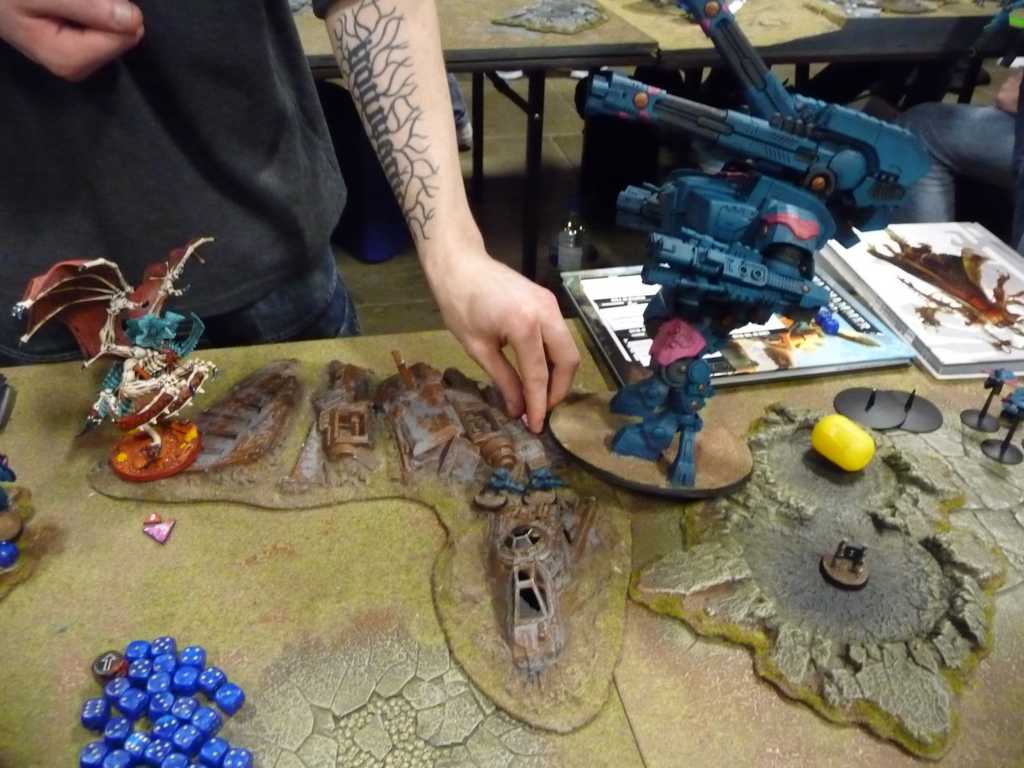
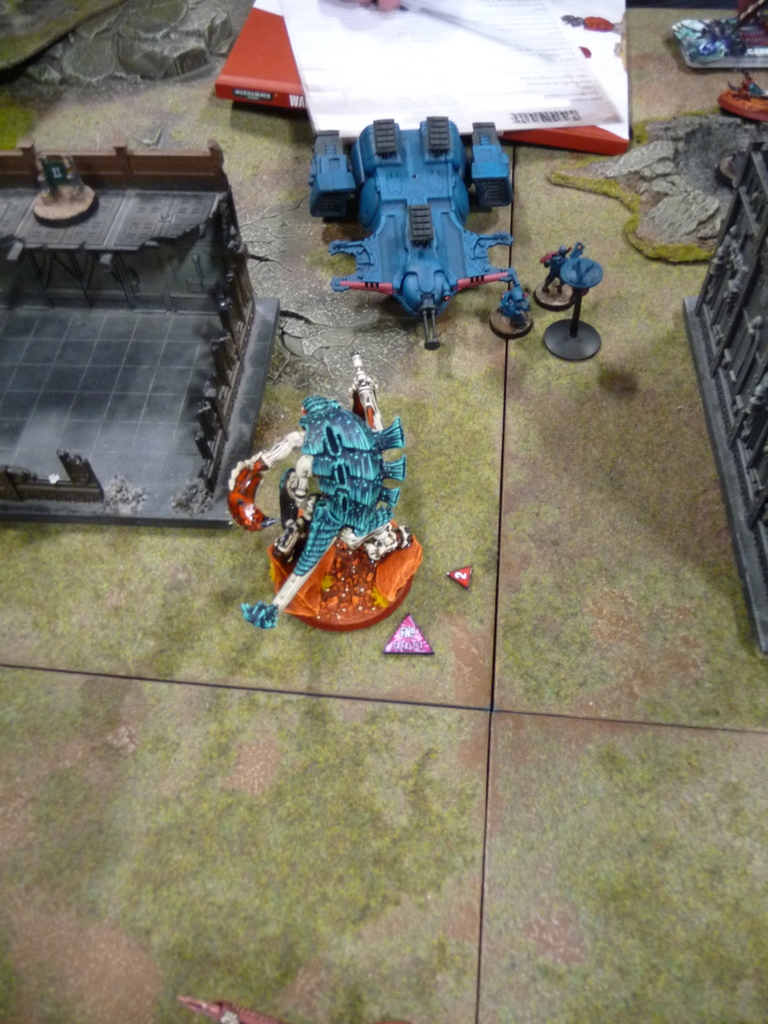
Initial deployment
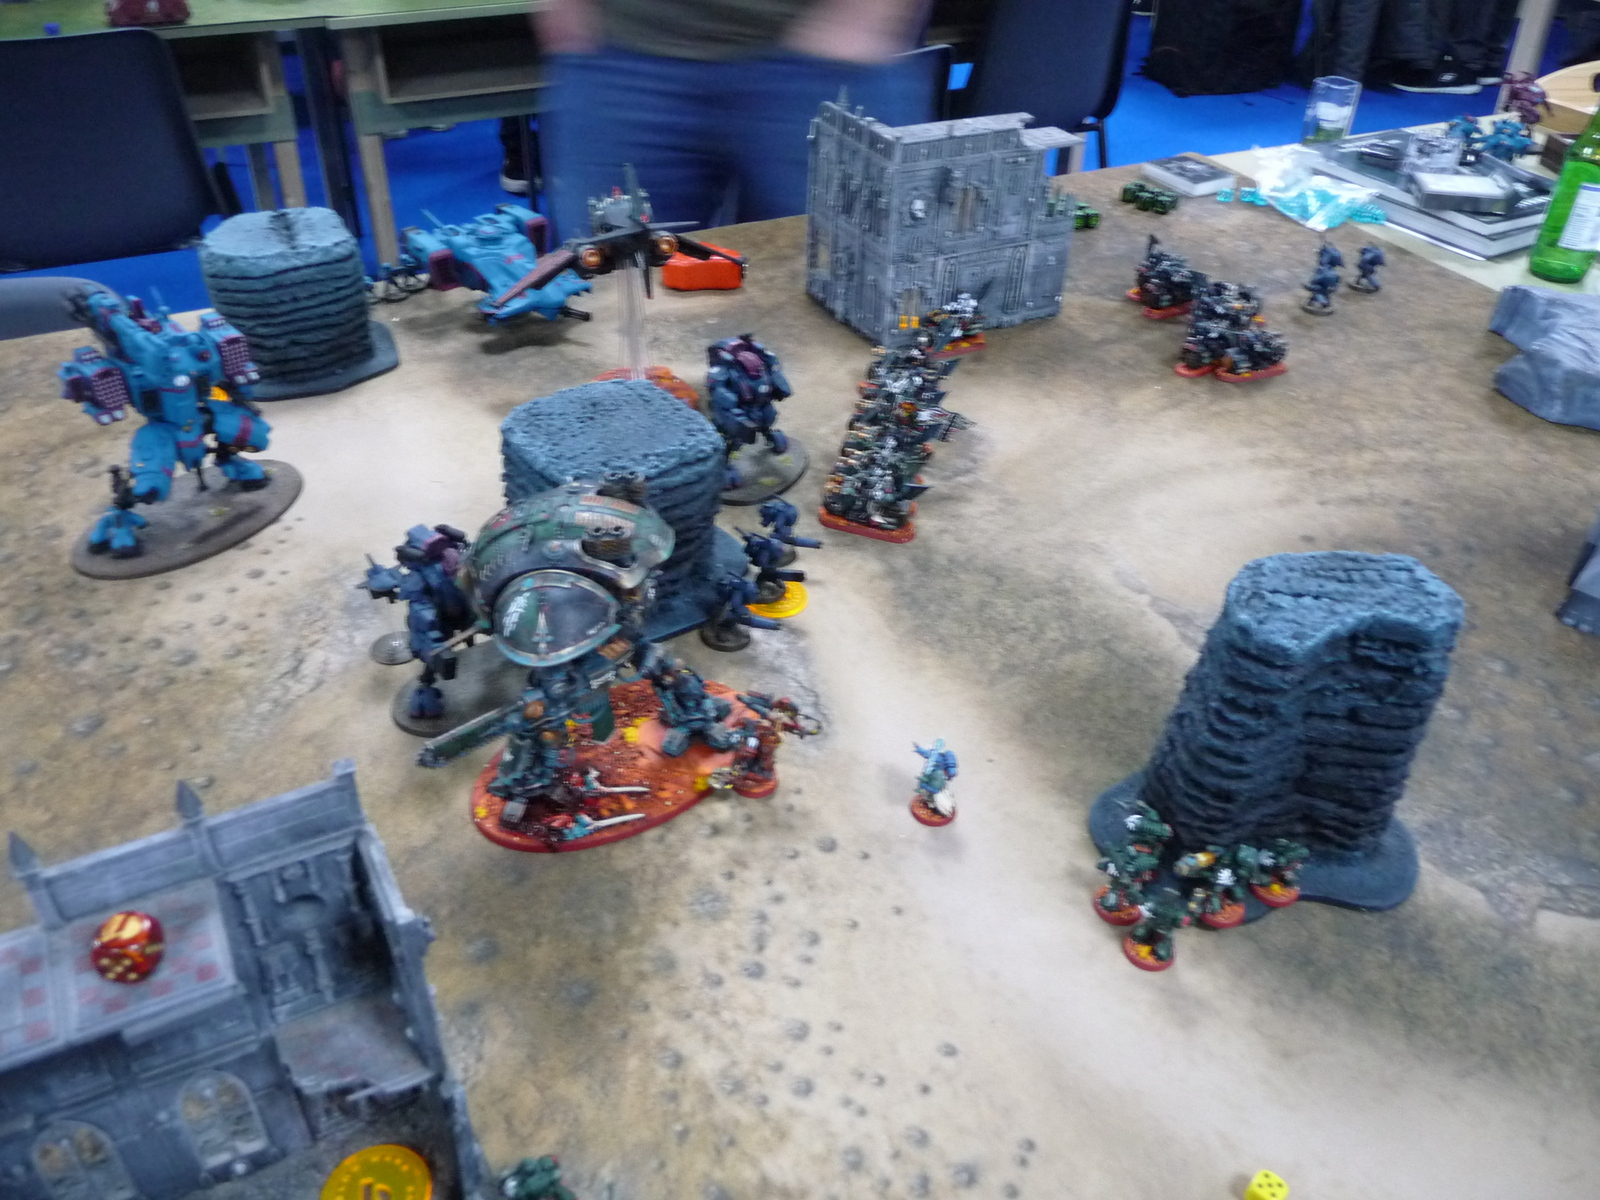
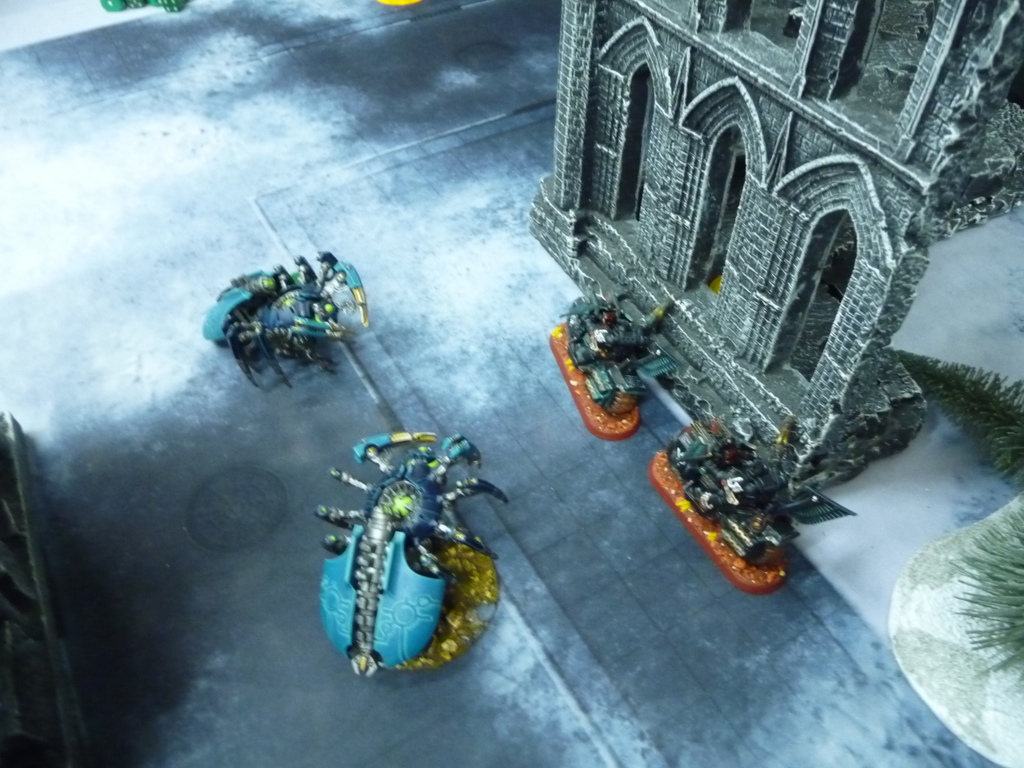
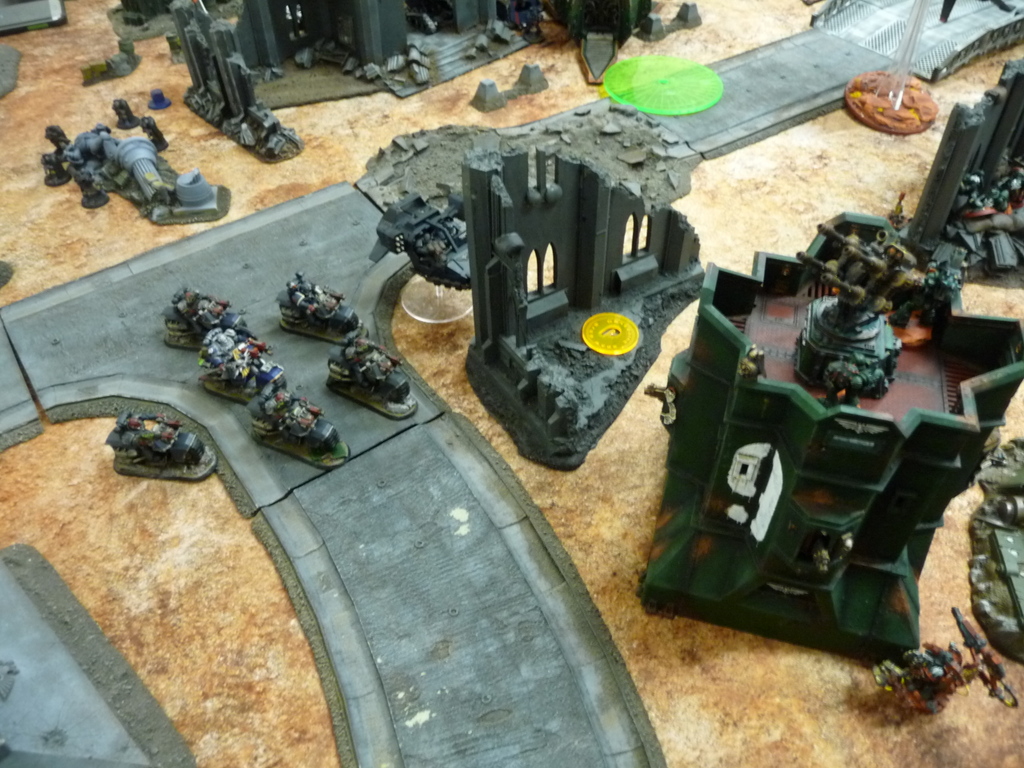
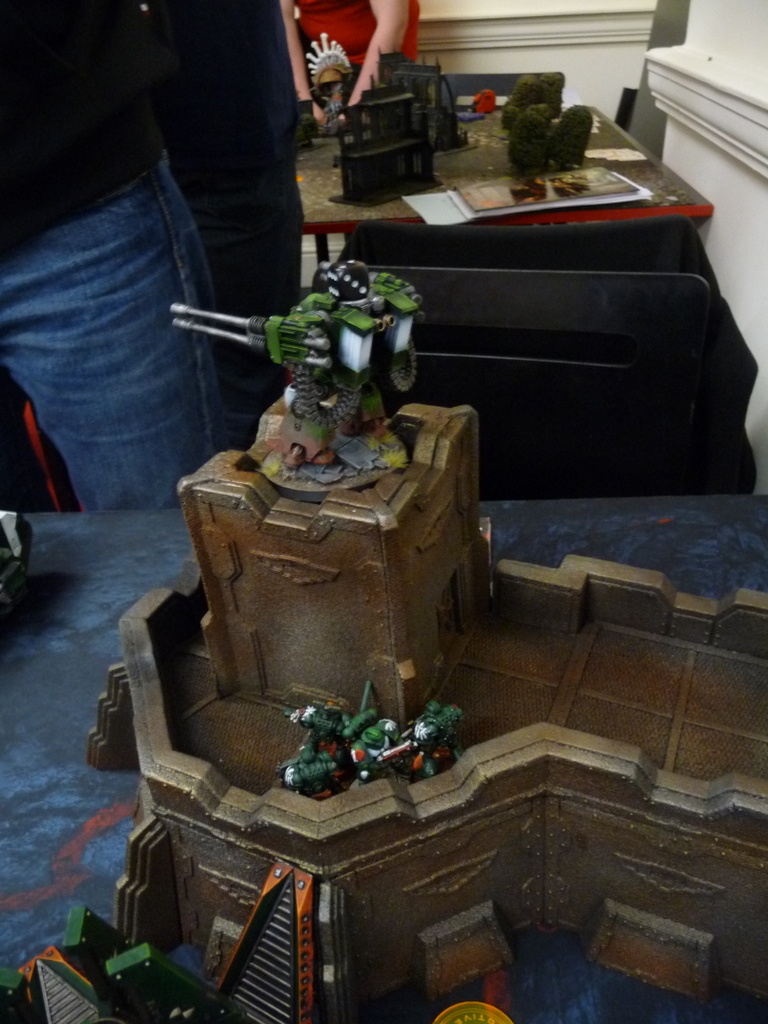
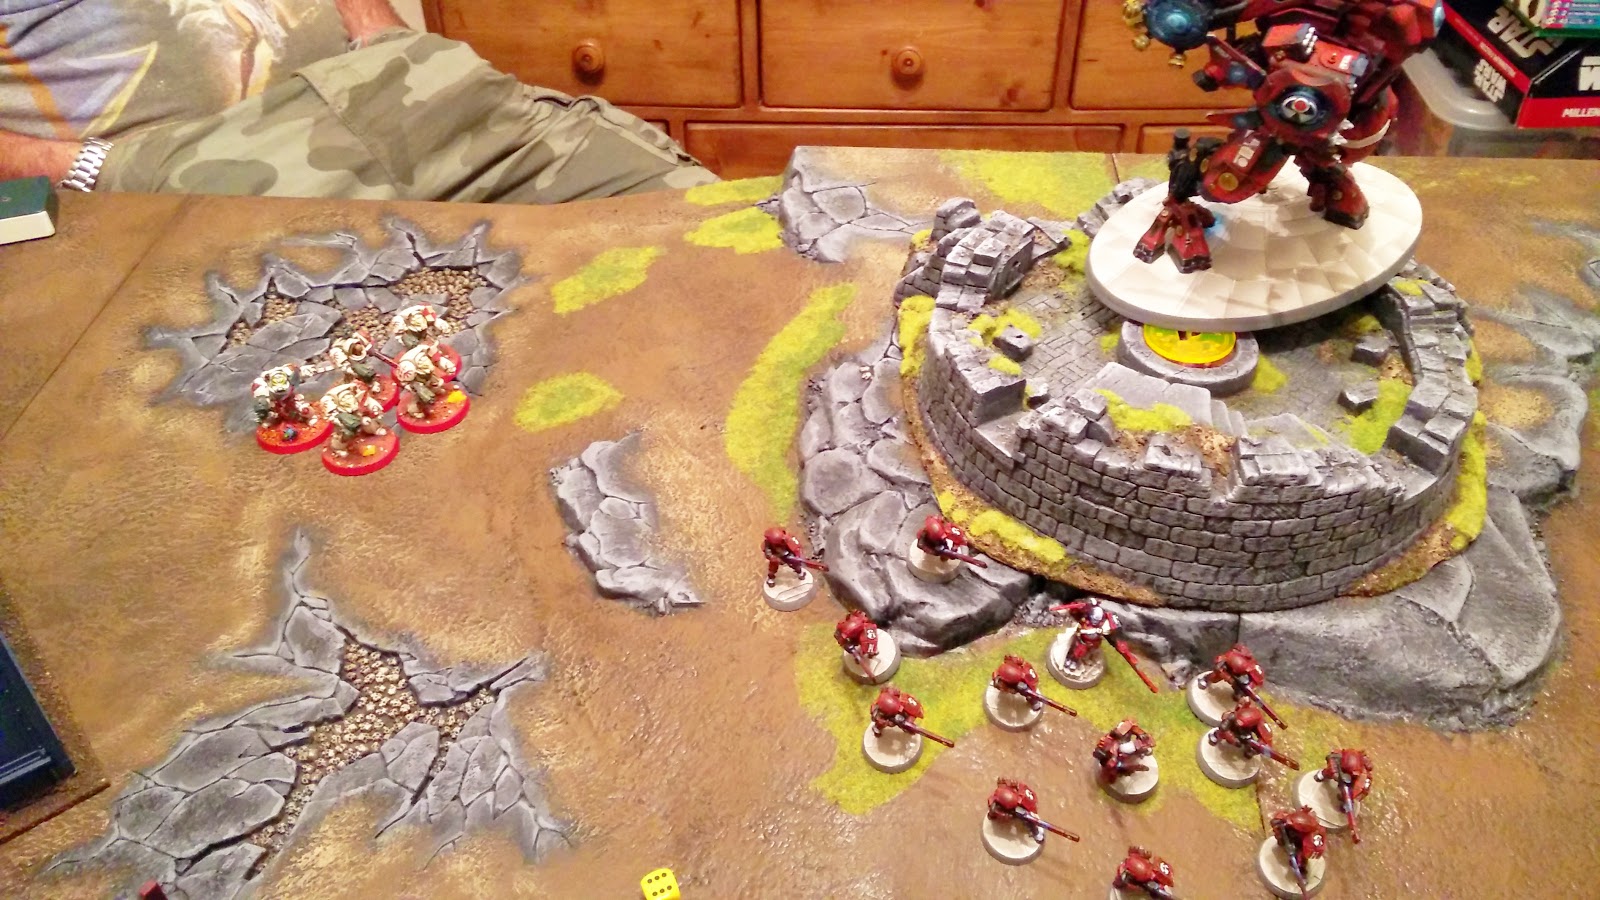
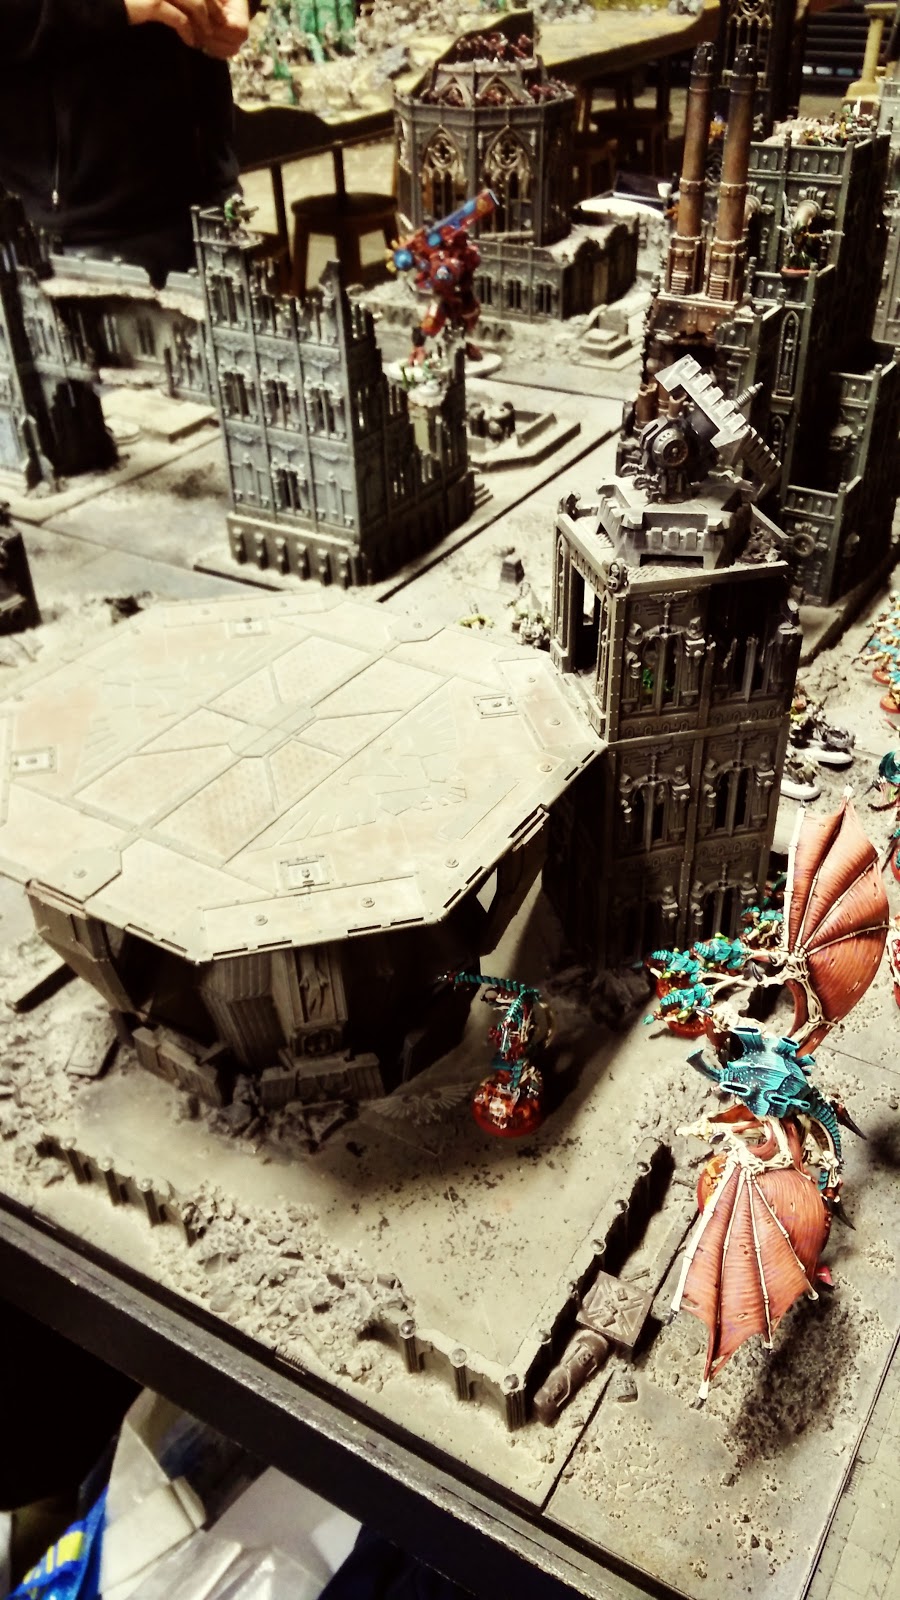
Liam came unstuck, as battlescribe no longer gave him an option to take his Skyshield, of course a big ruined tower works exactly the same, near enough although my Dark Angels were the focus of a lot of scorn when they used cover 😉 .
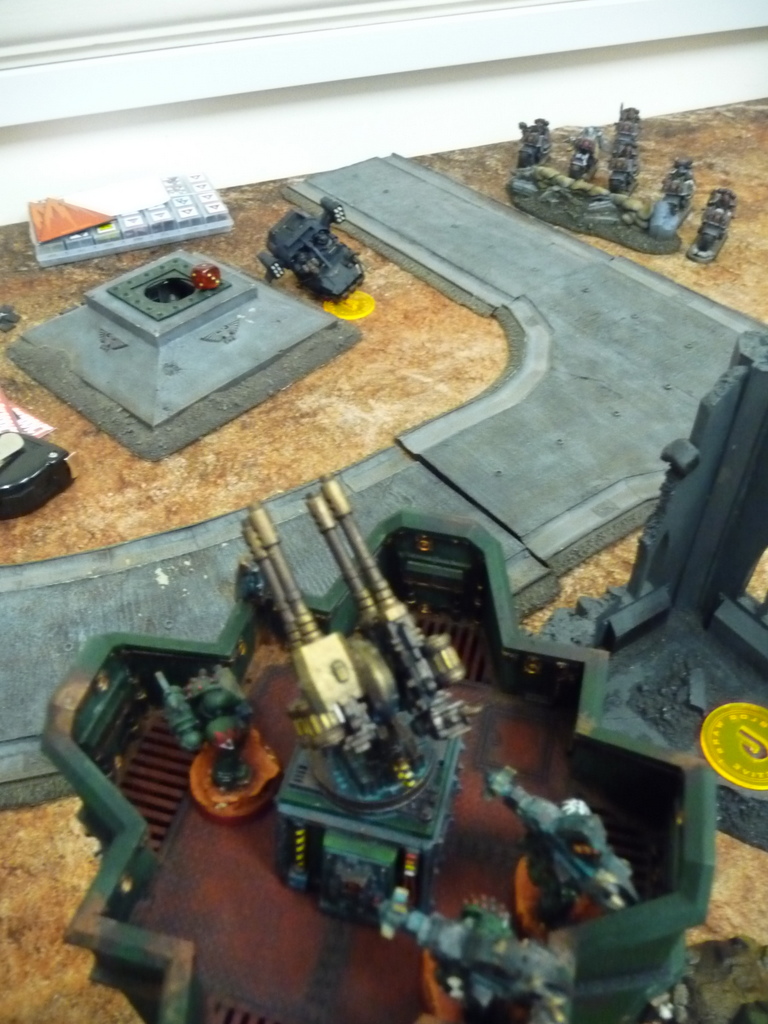
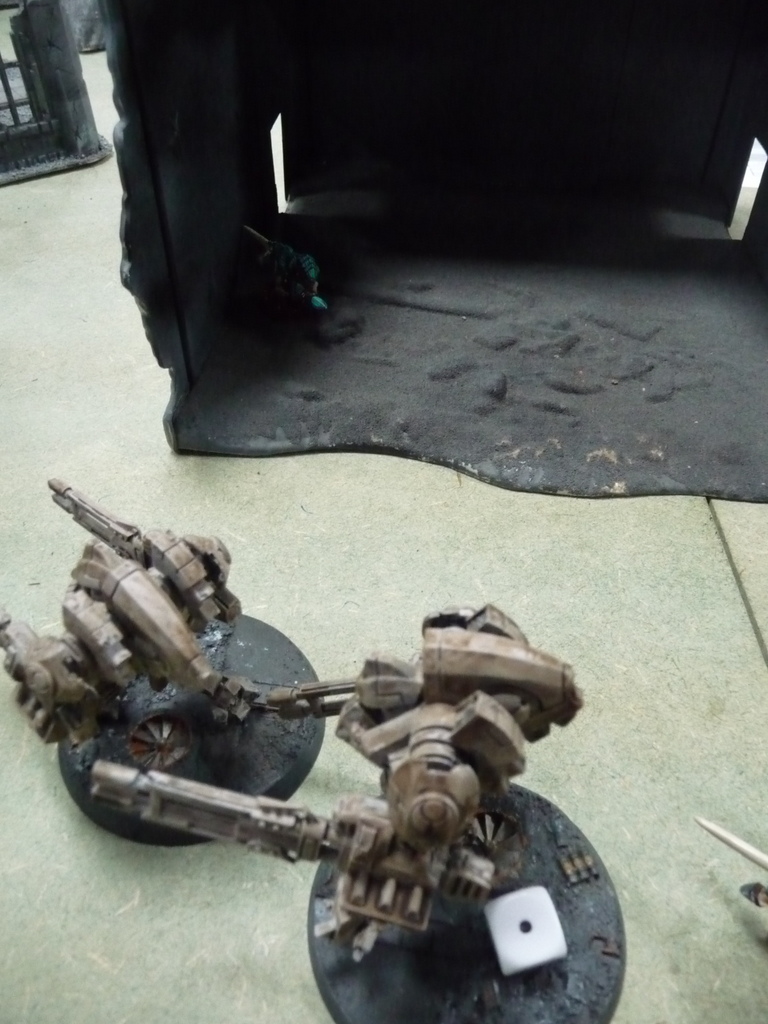
Like my Bastion, ‘hiding’ behind the ruins.
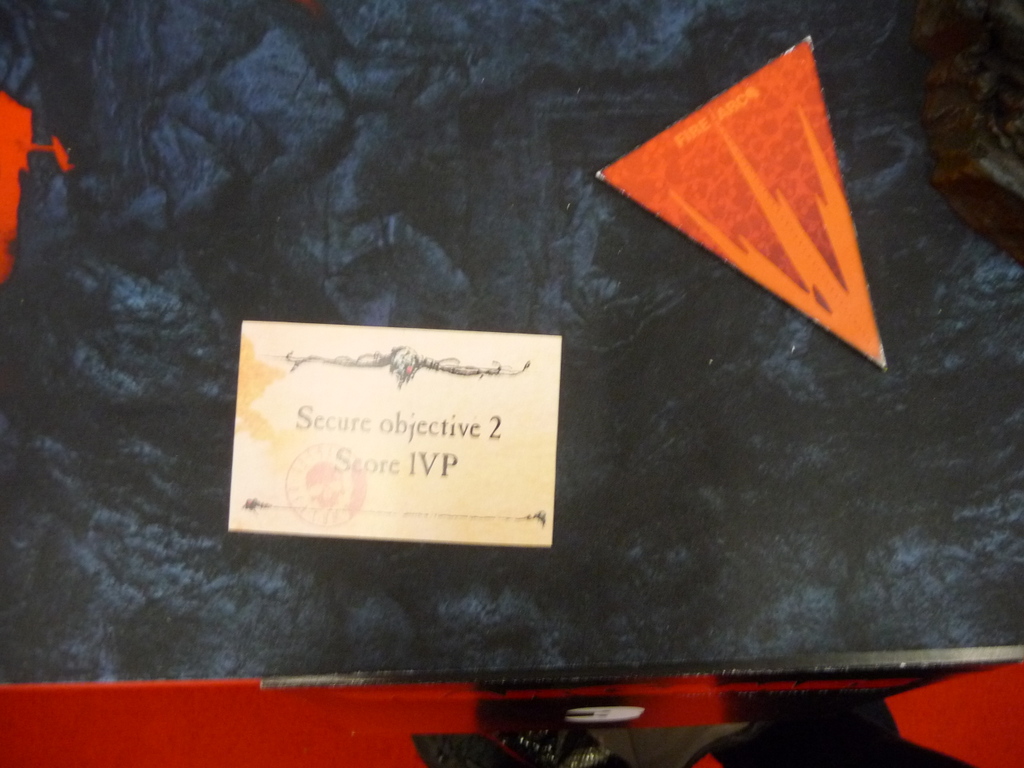
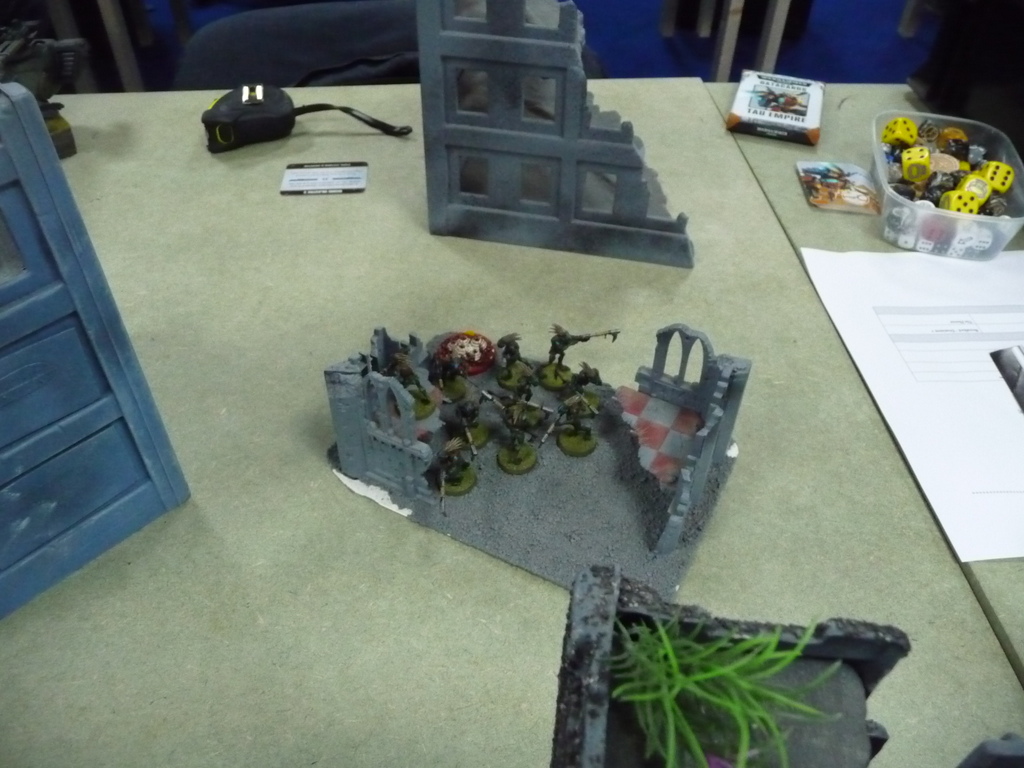
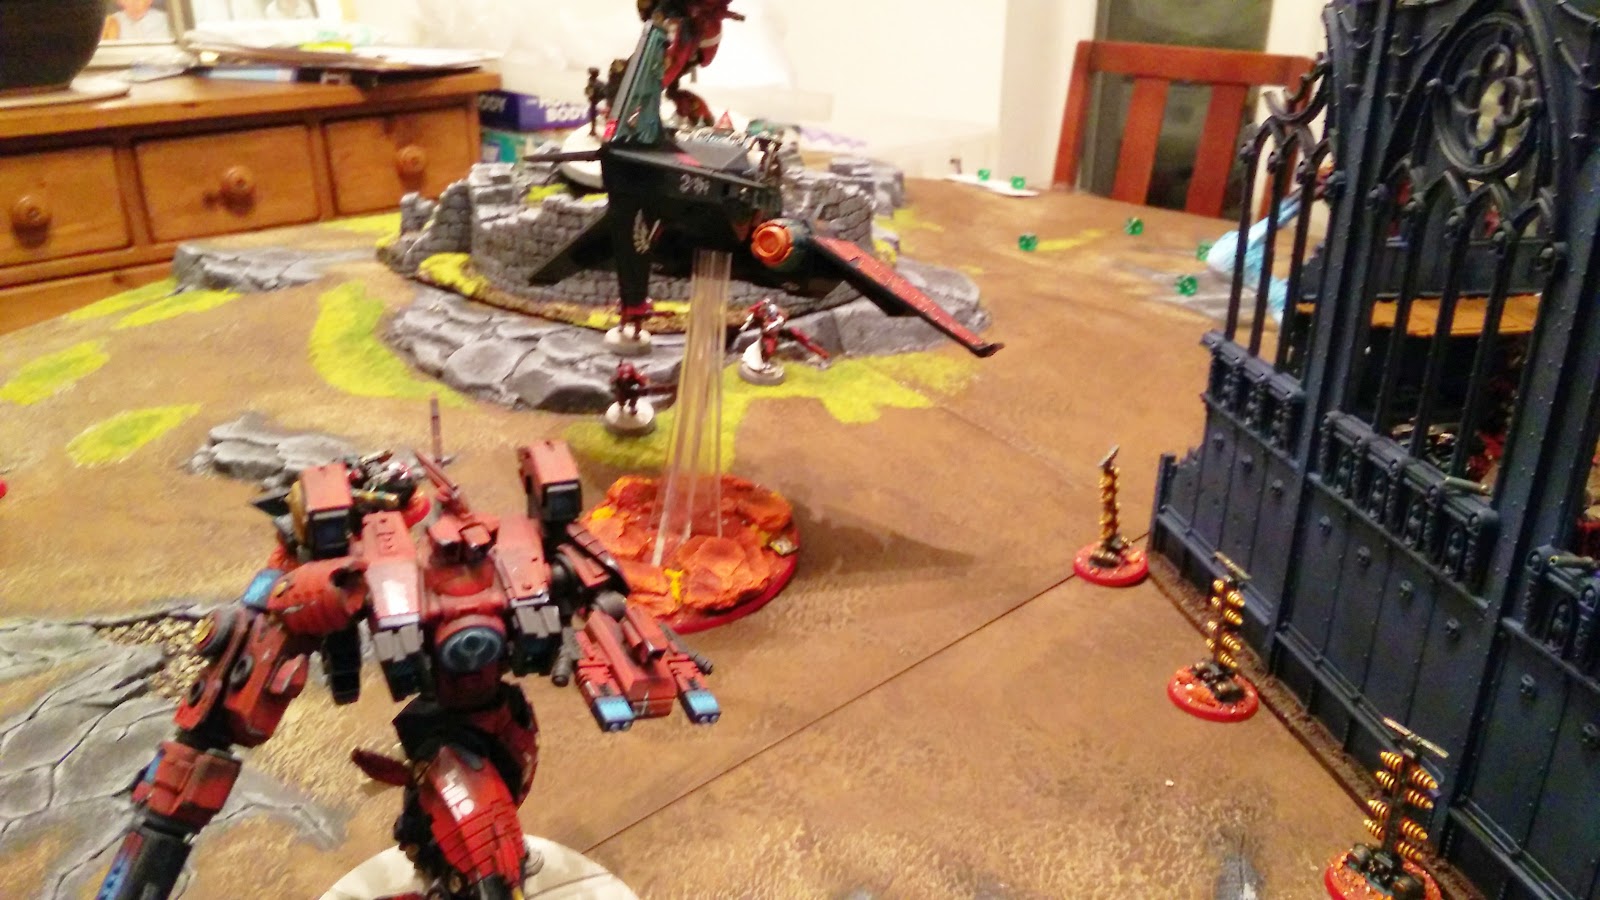
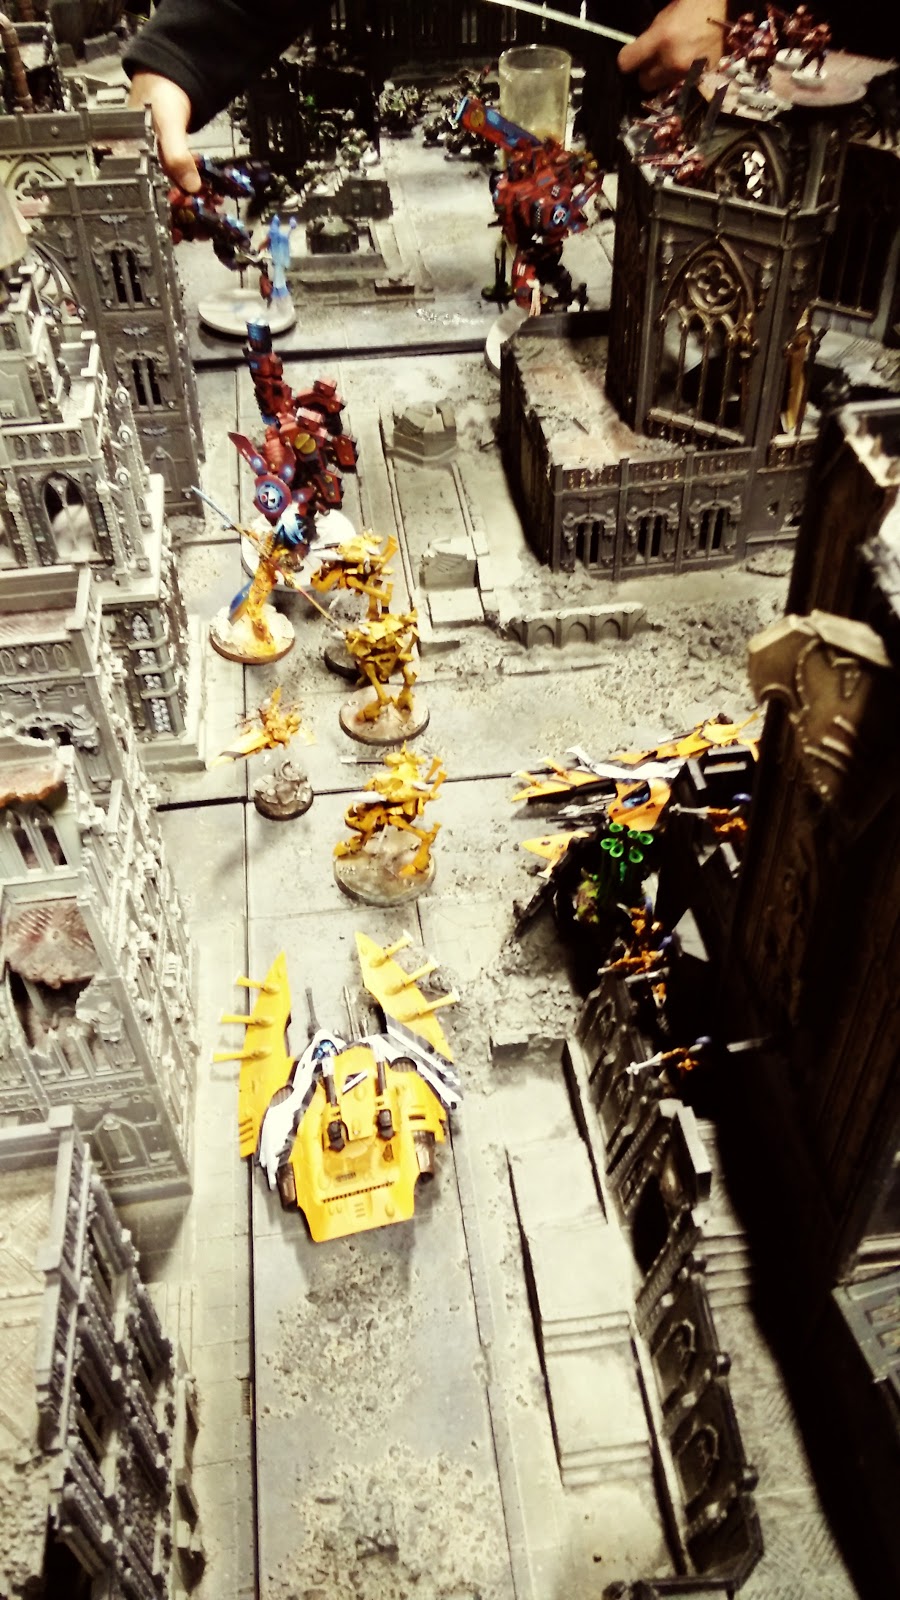
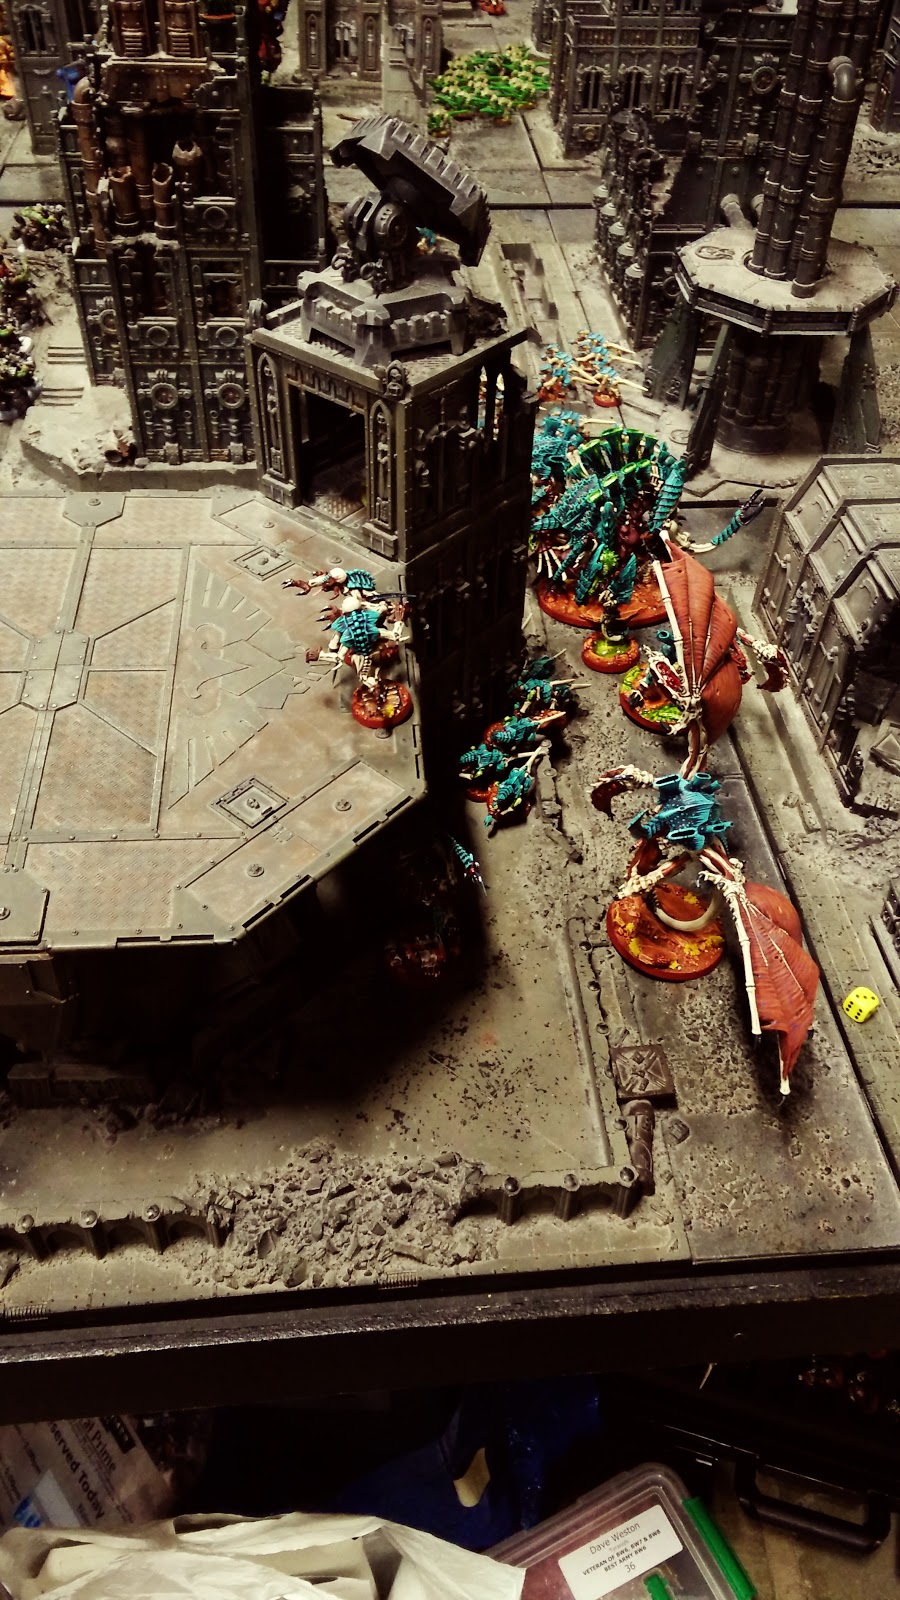
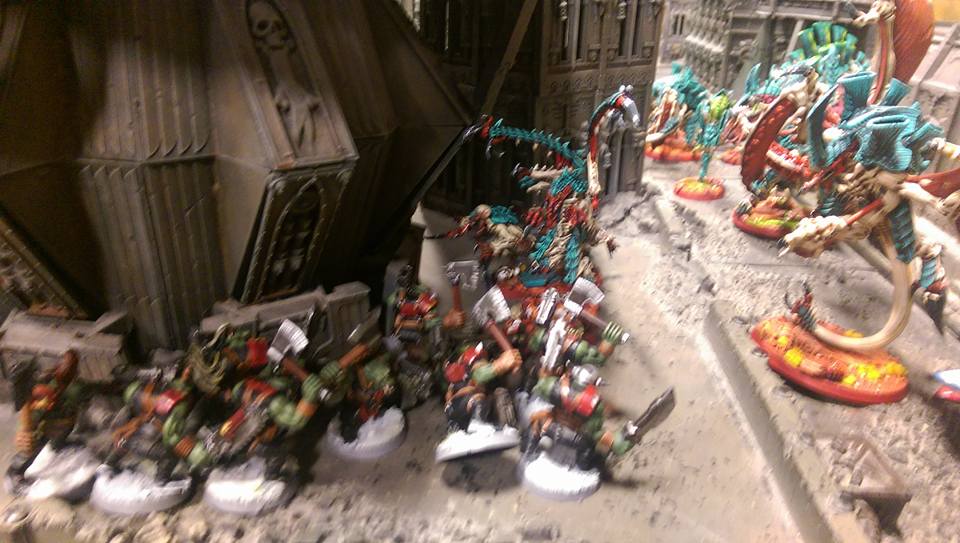
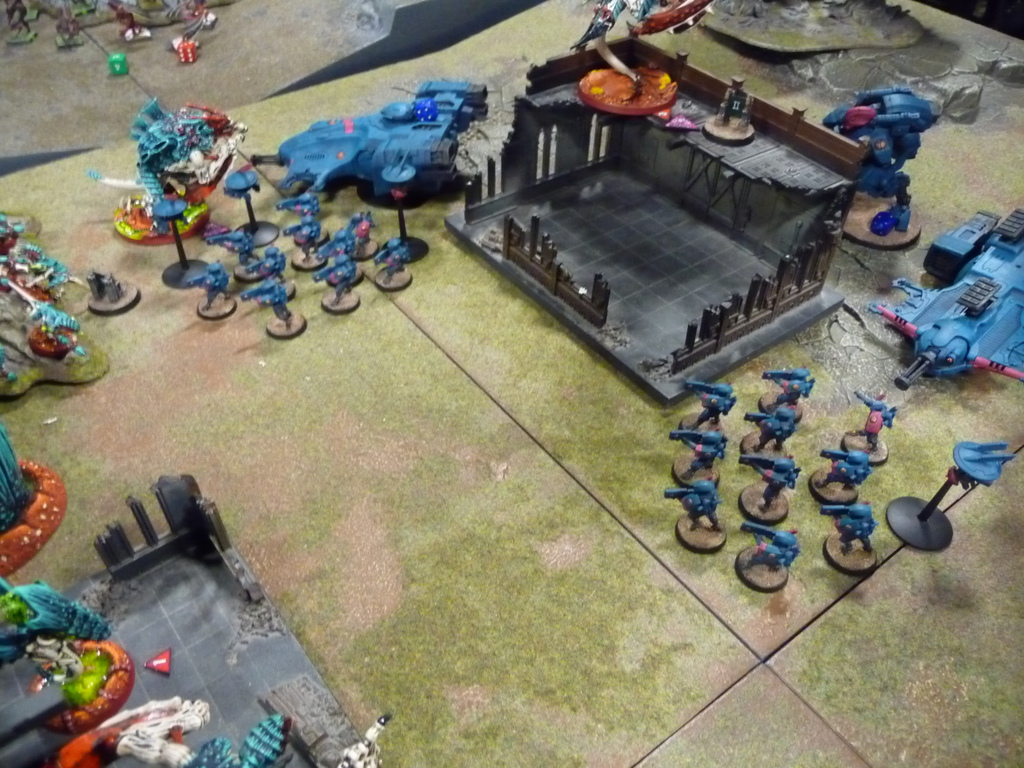
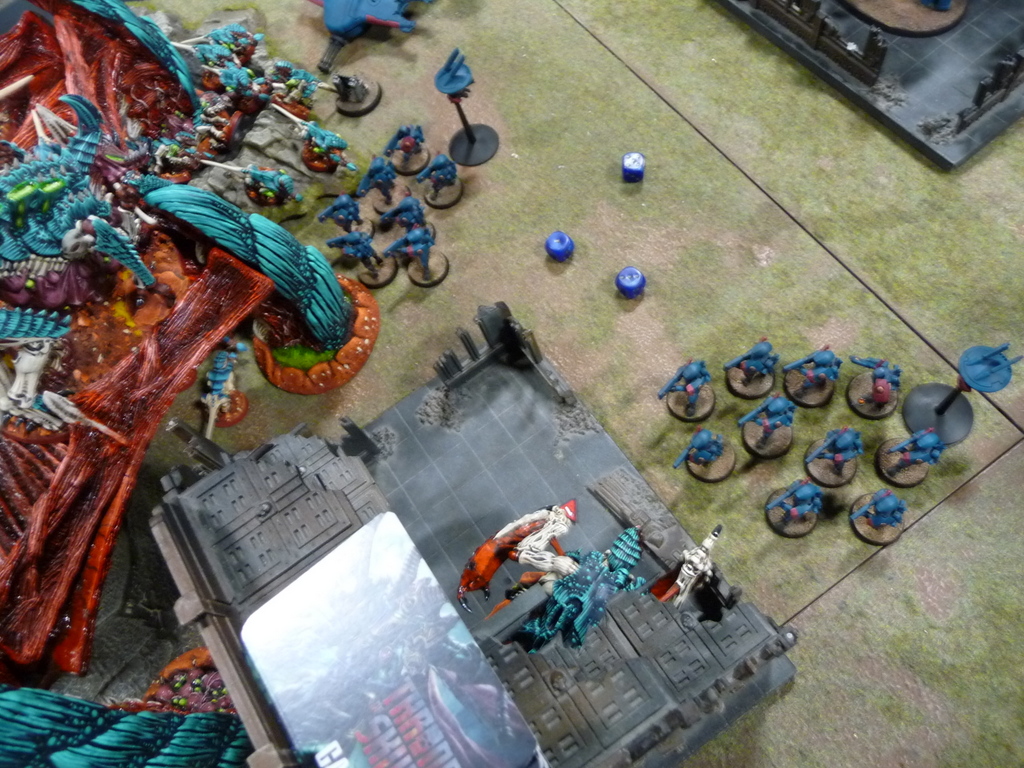
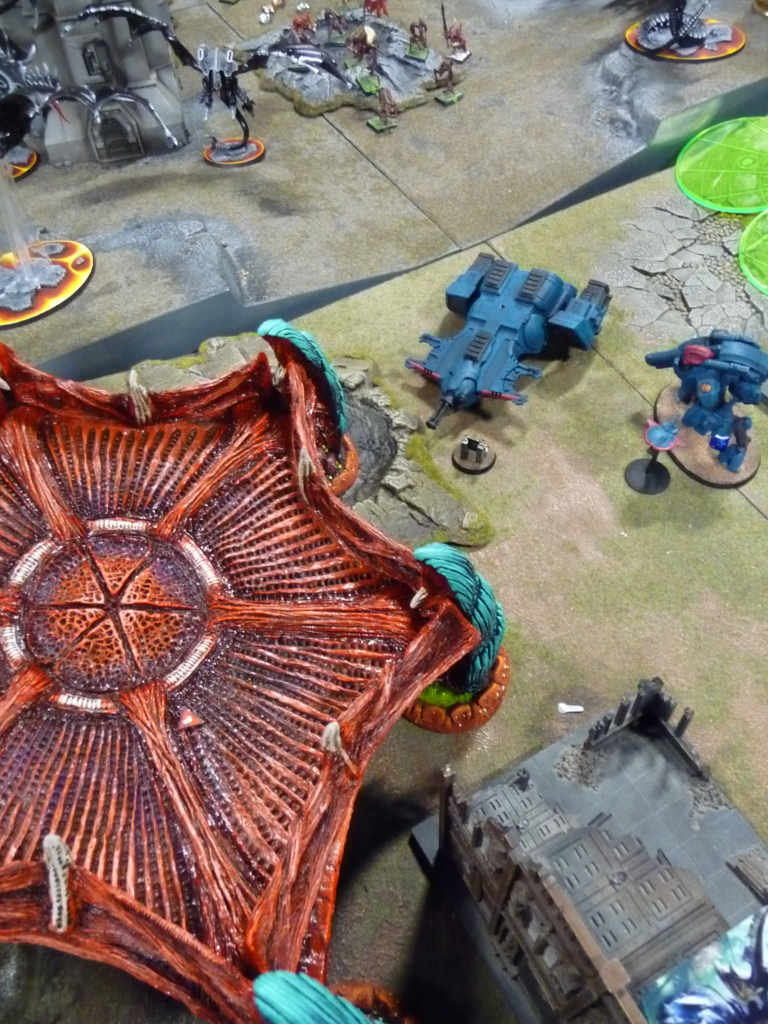
Having stolen the initiative Liam was convinced he was already doomed, banking on a first turn where he destroyed my Lancer. But for me it was all about the objectives and my Ravenwing managed to get objective 2 while my Tactical squad [not shown] next to the Bastion secured objective 3.
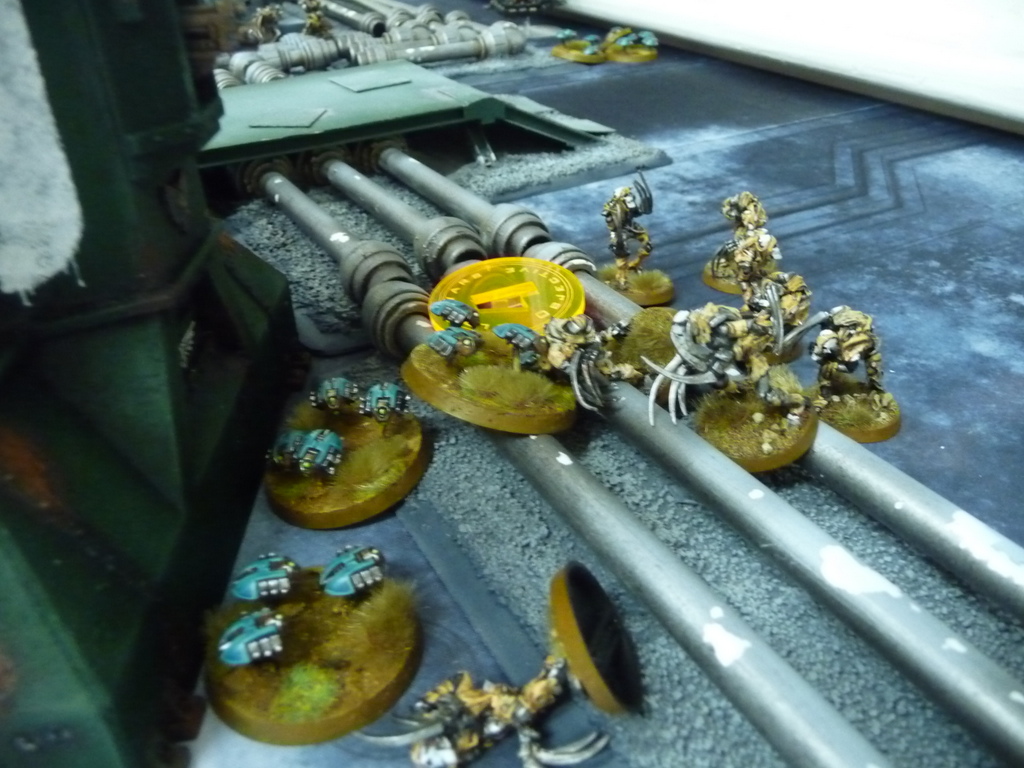
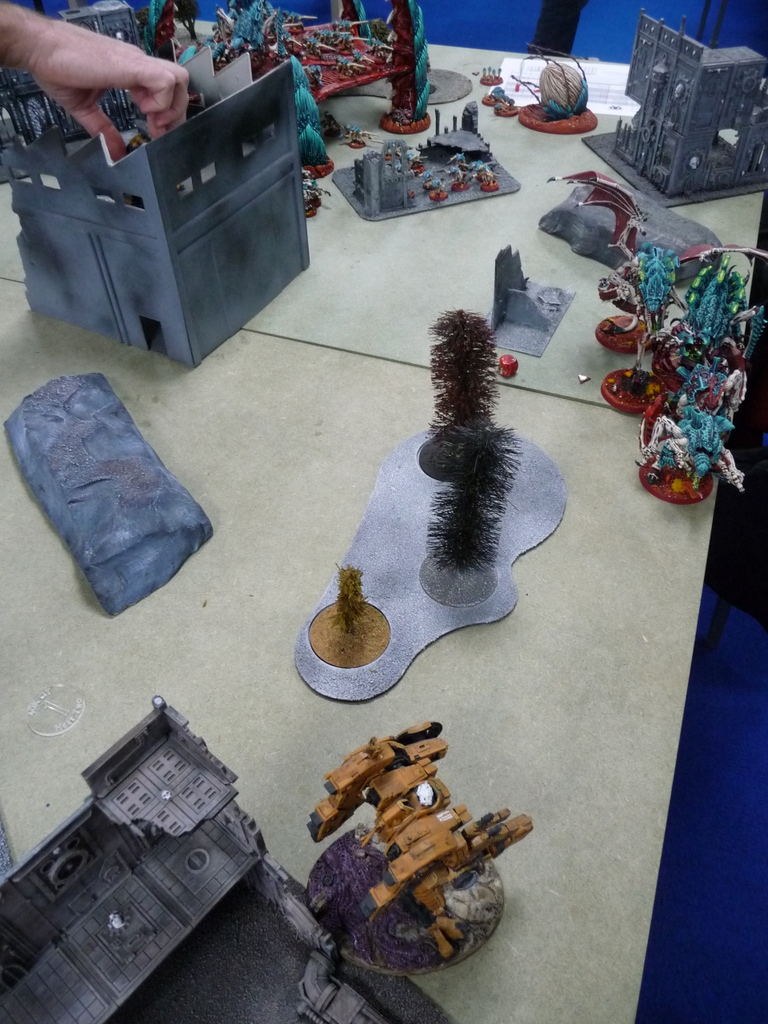
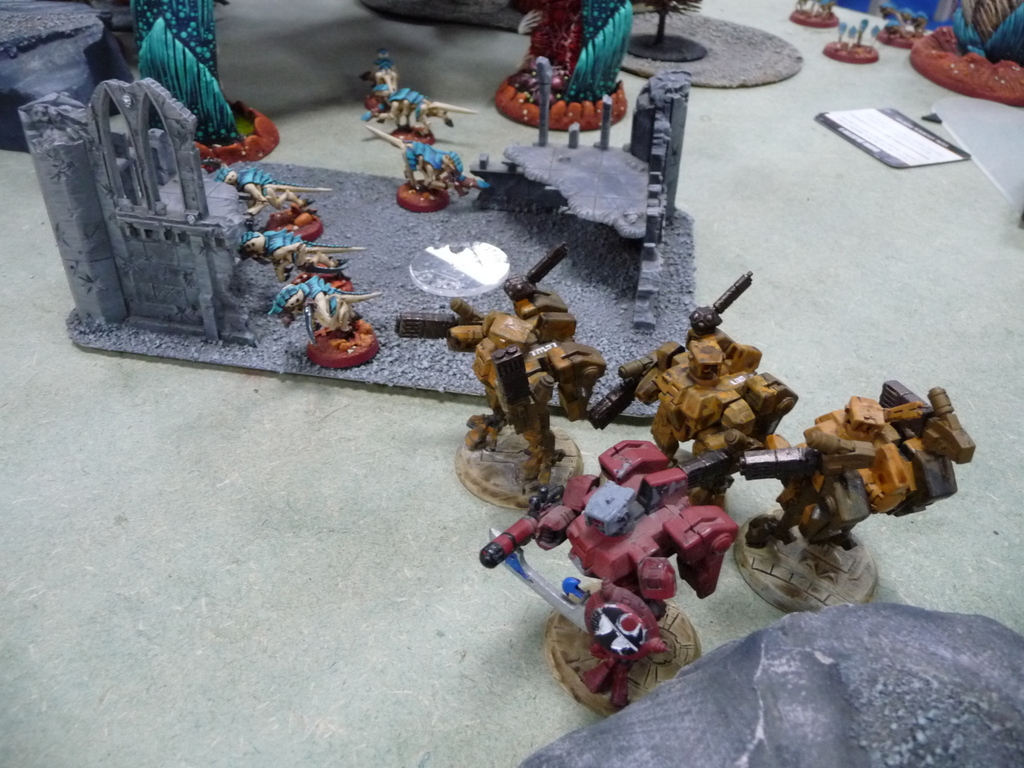
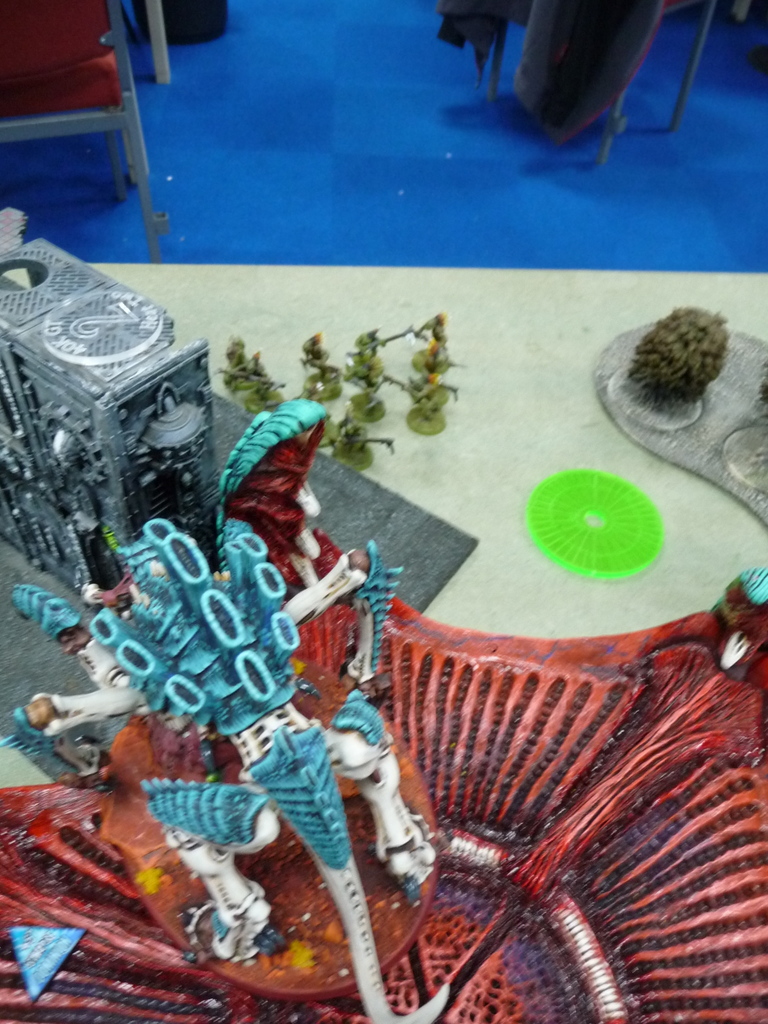
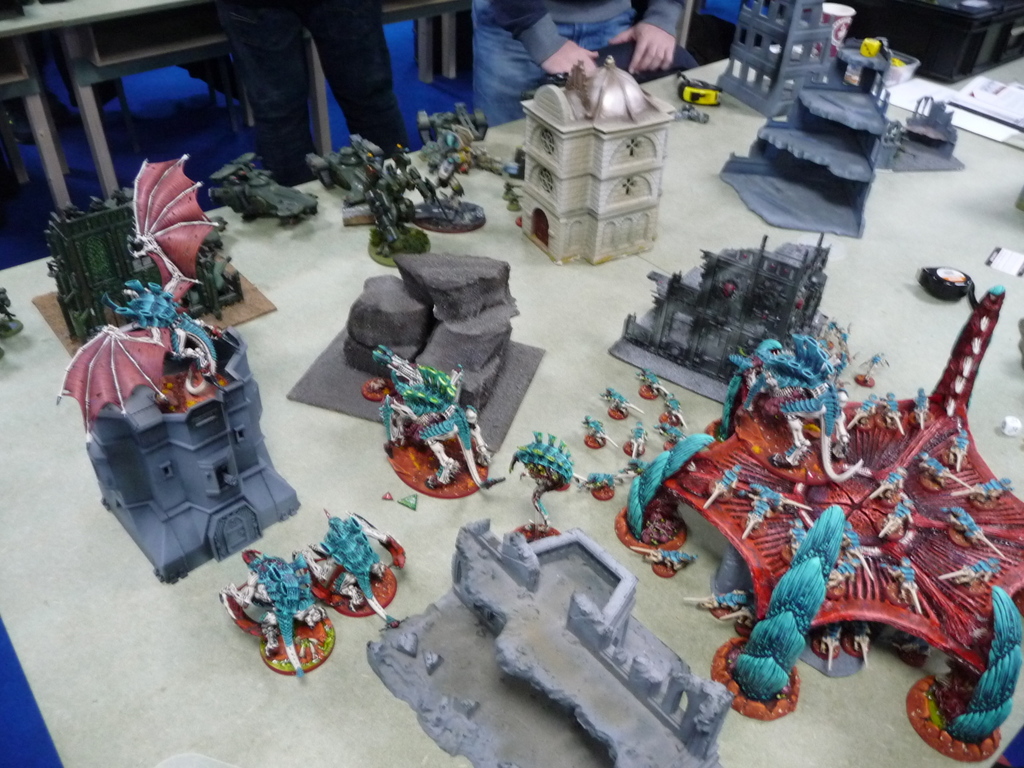
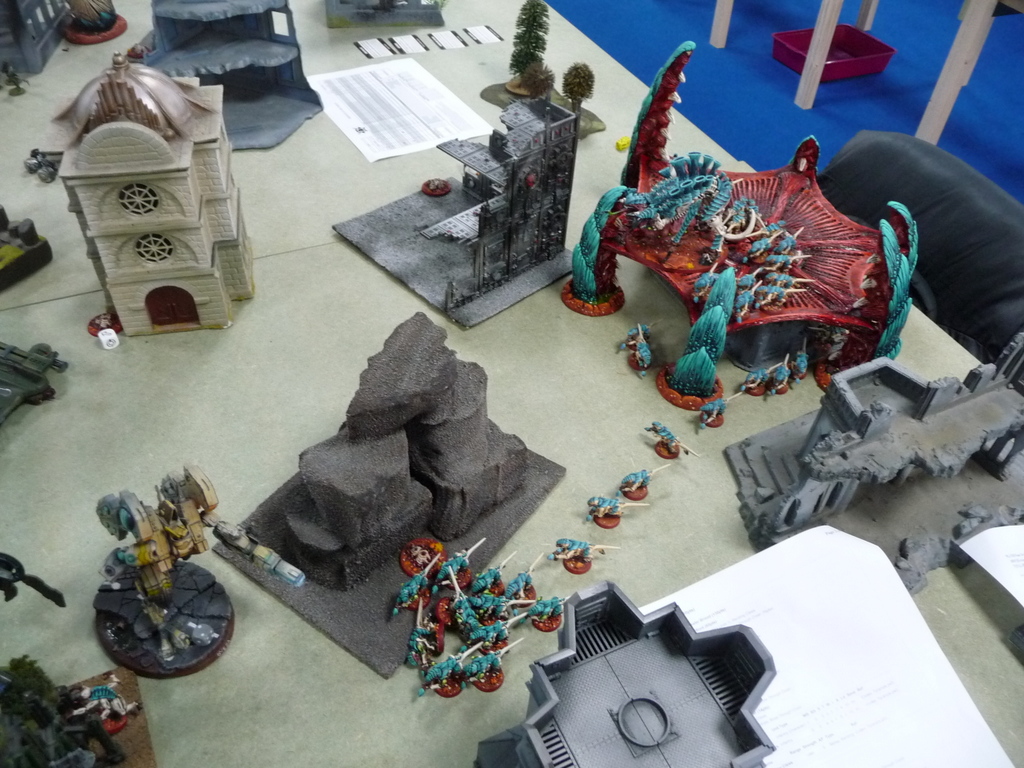
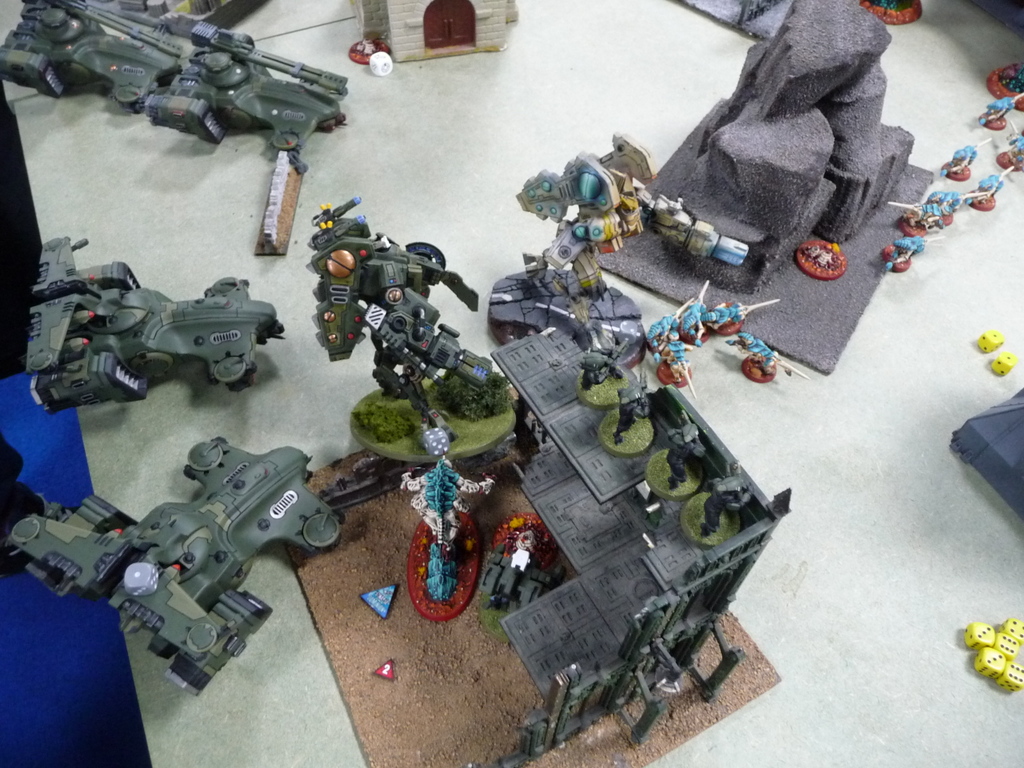
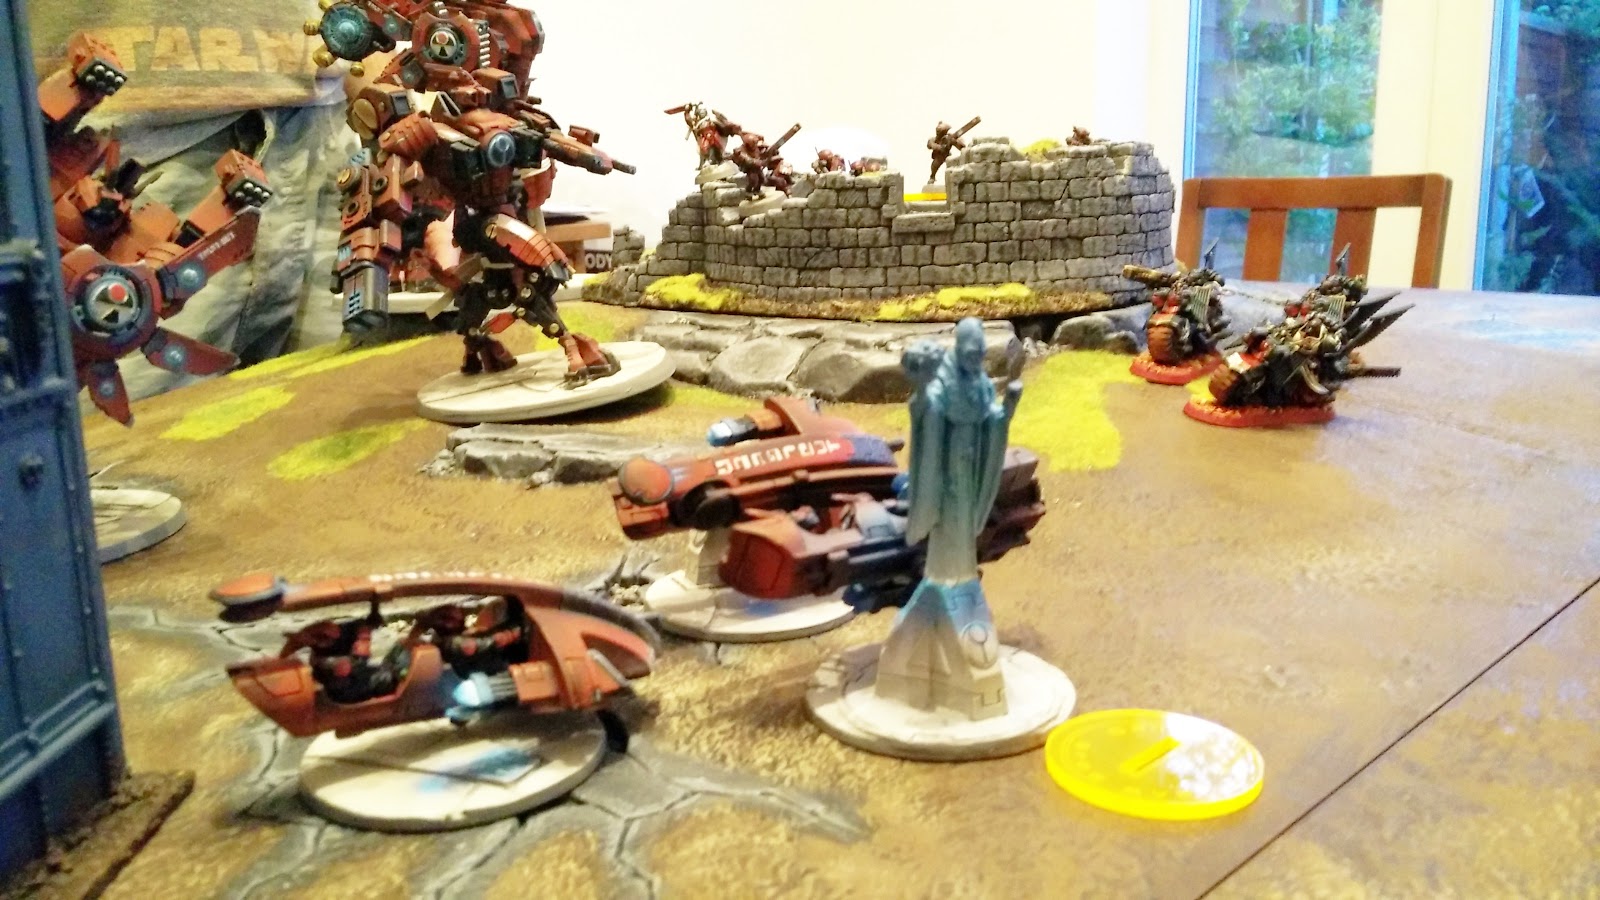
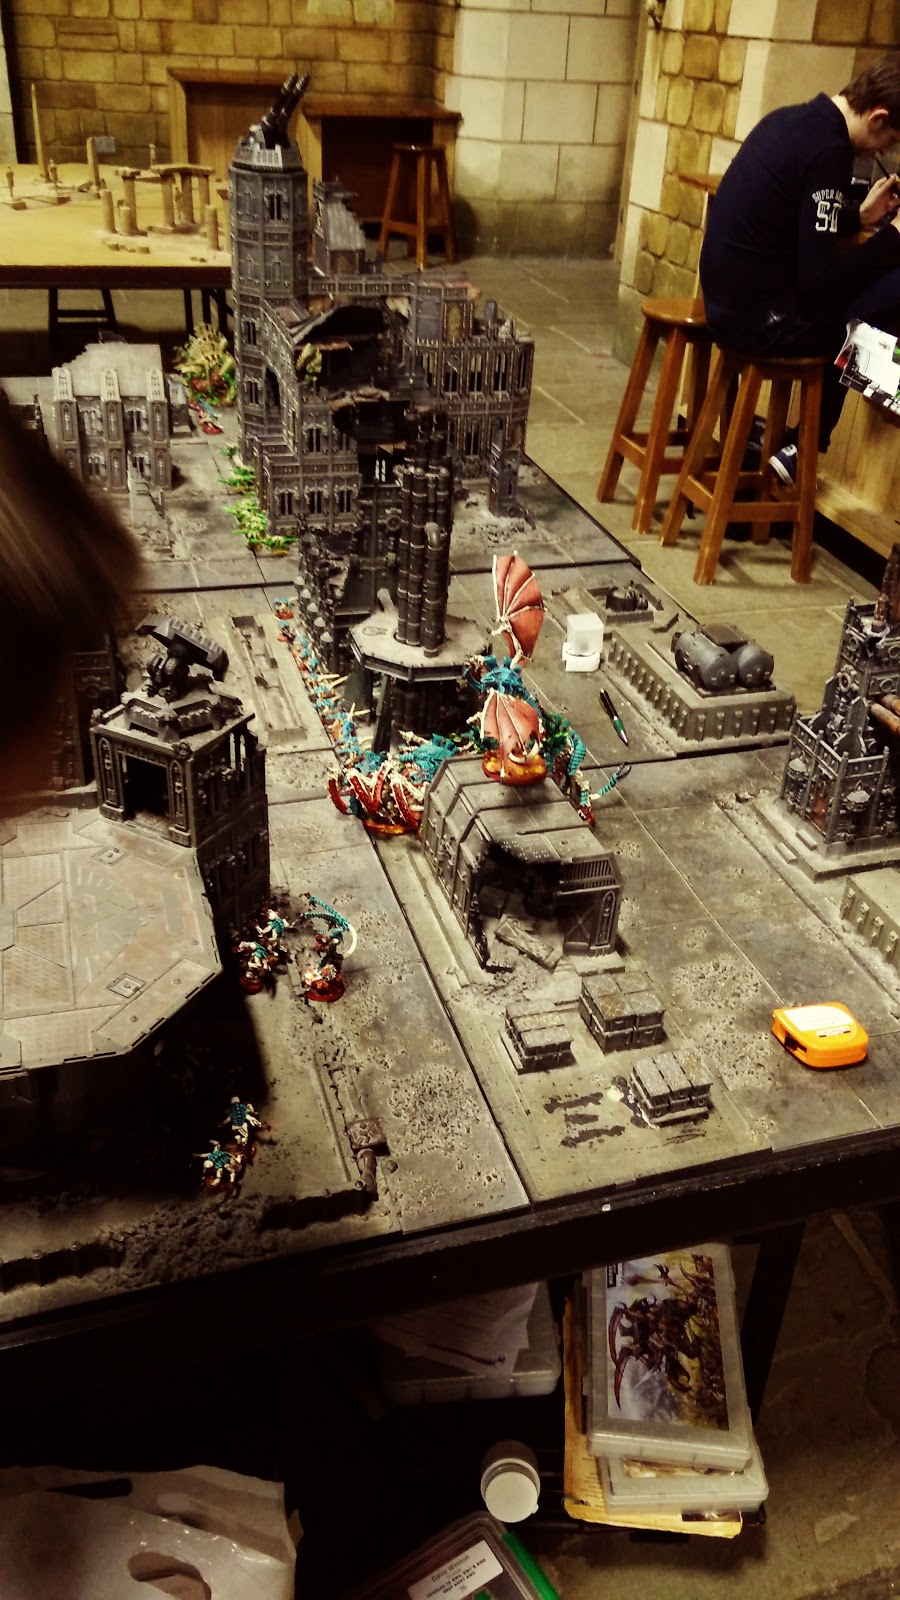
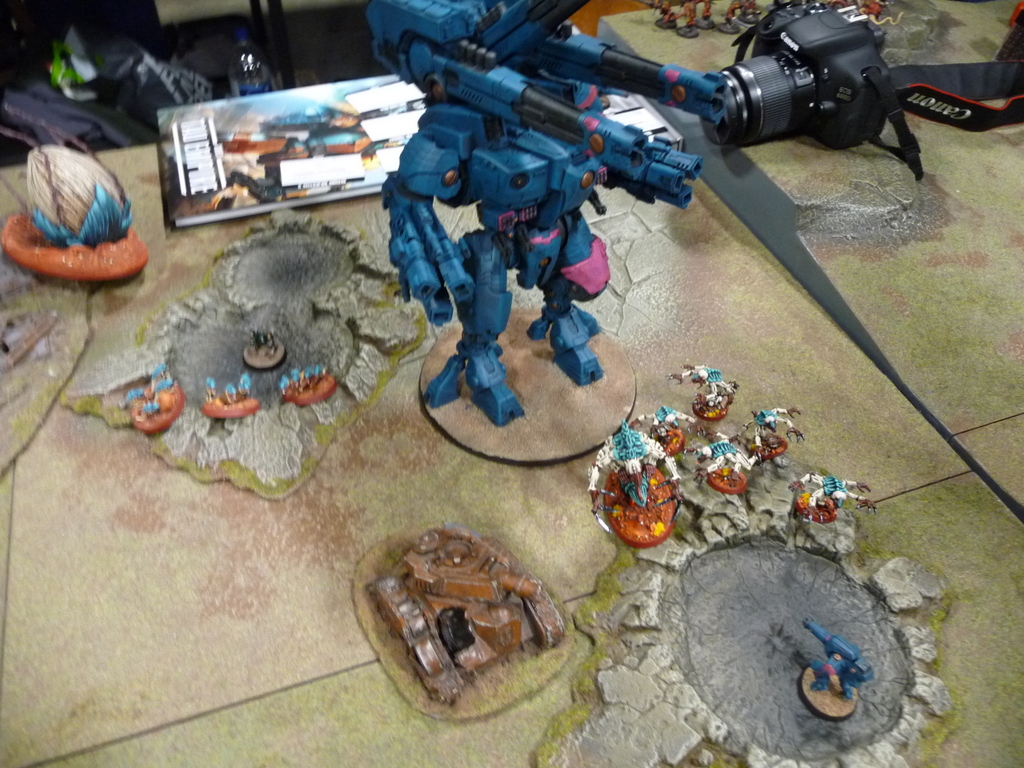
The Lancer got within range of the Stormsurge and I got 3 hull points on it. The Ravenwing went for the Tetra’s
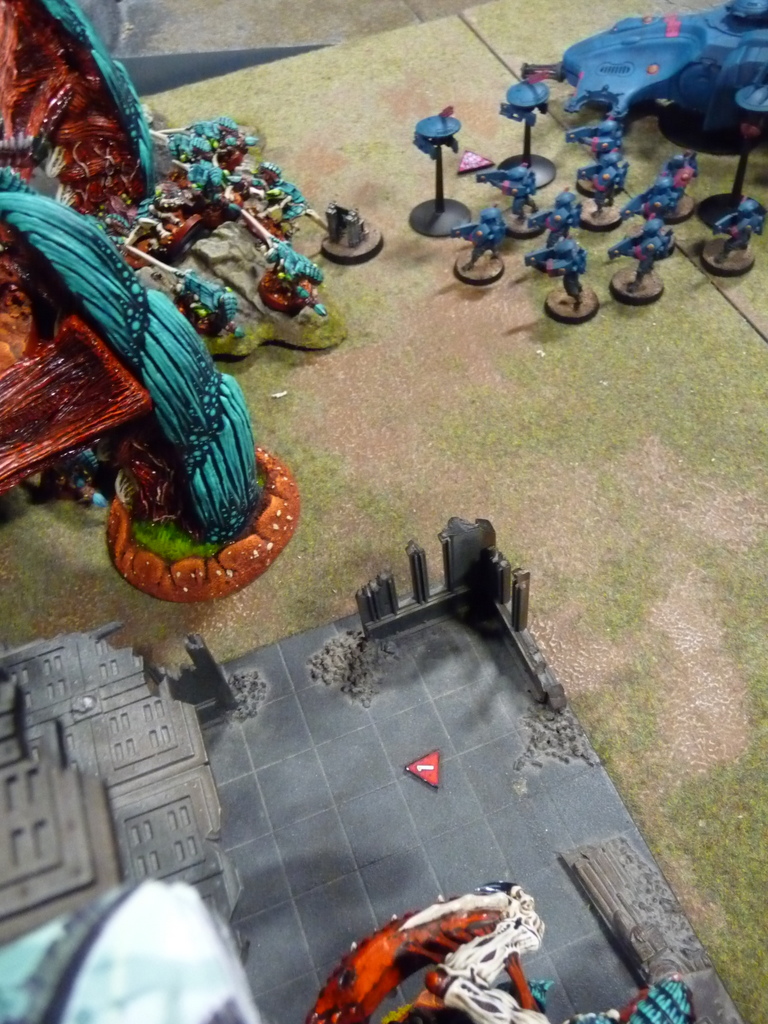
I managed to kill one Tetra and I think another was damaged. Liam’s turn, despite his worst fears turned out really well. The bikes by the ruined tower got reduced to one and fled. He had the mission to get D3 VPs for holding three objectives, he also had to claim objective 2, which his ObSec Fire Warriors took with ease out from under the nose of my Ravenwing. They also shot them with everything they had but their Ravenwing Jink re-roll meant only one fell to the Xenos weapons [much to Liam’s dismay]. With three objectives he got the full 3 VPs on his D3 roll, plus objective 2 so ended the turn 2:4 in the lead.

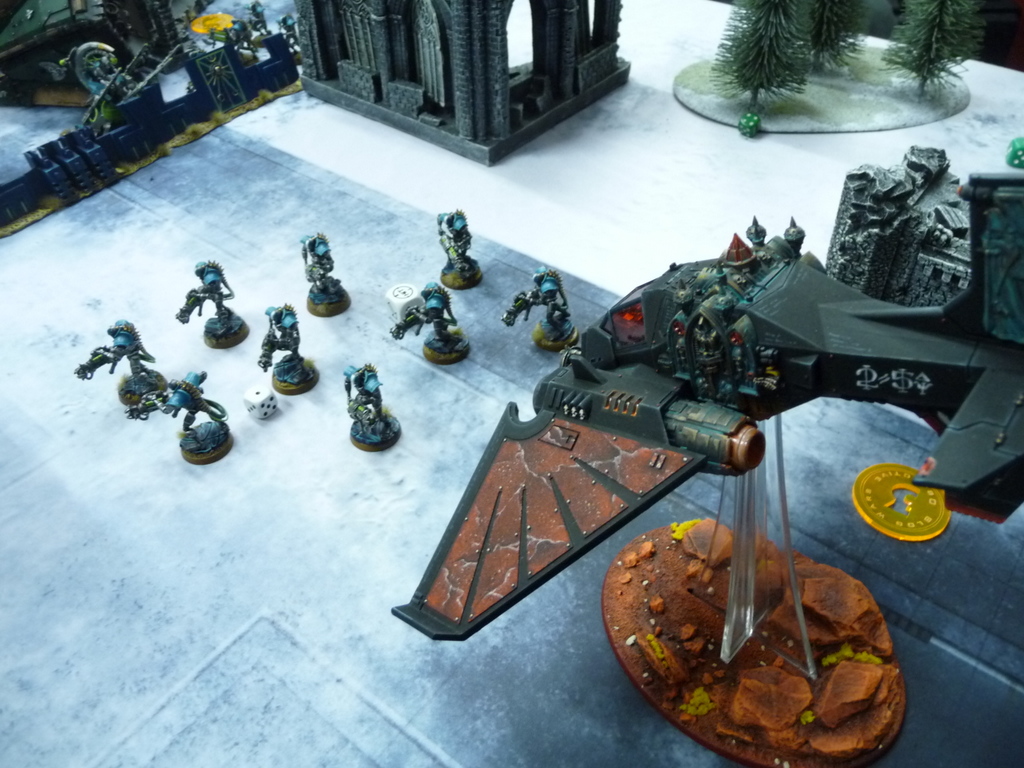
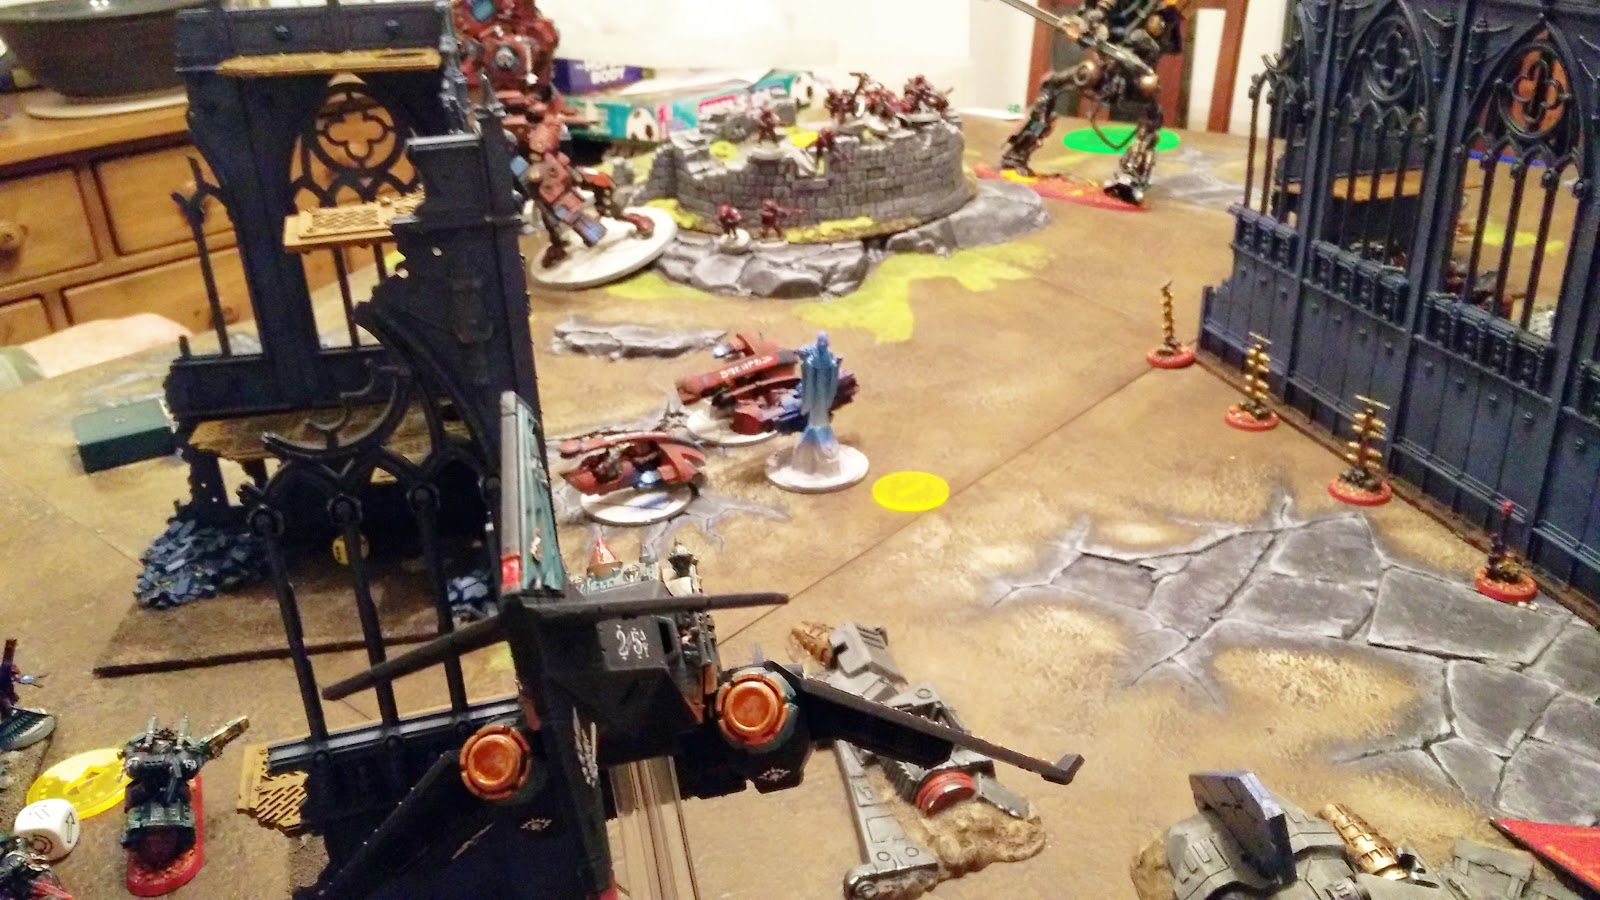
I rolled for reserves but rerolled a passed Deathwing to keep them off the board, hoping they’d be better off if I’d got an objective to capture in Liam’s board half, which I didn’t currently have in my hand. The Dark Talon Zoomed on though! Interceptor fire took 2 Hull Points off it, I didn’t Jink to keep the Rift Cannon in play. Shooting-wise I think it shot the Tetras to pieces with Hurricane Bolters, the Rift Cannon doing very little. This won me First Blood and a VP for killing a unit in the shooting phase. More importantly it took out all but one of his Marker Lights which meant his Stormsurge would struggle to fire it’s D-weapon missiles!
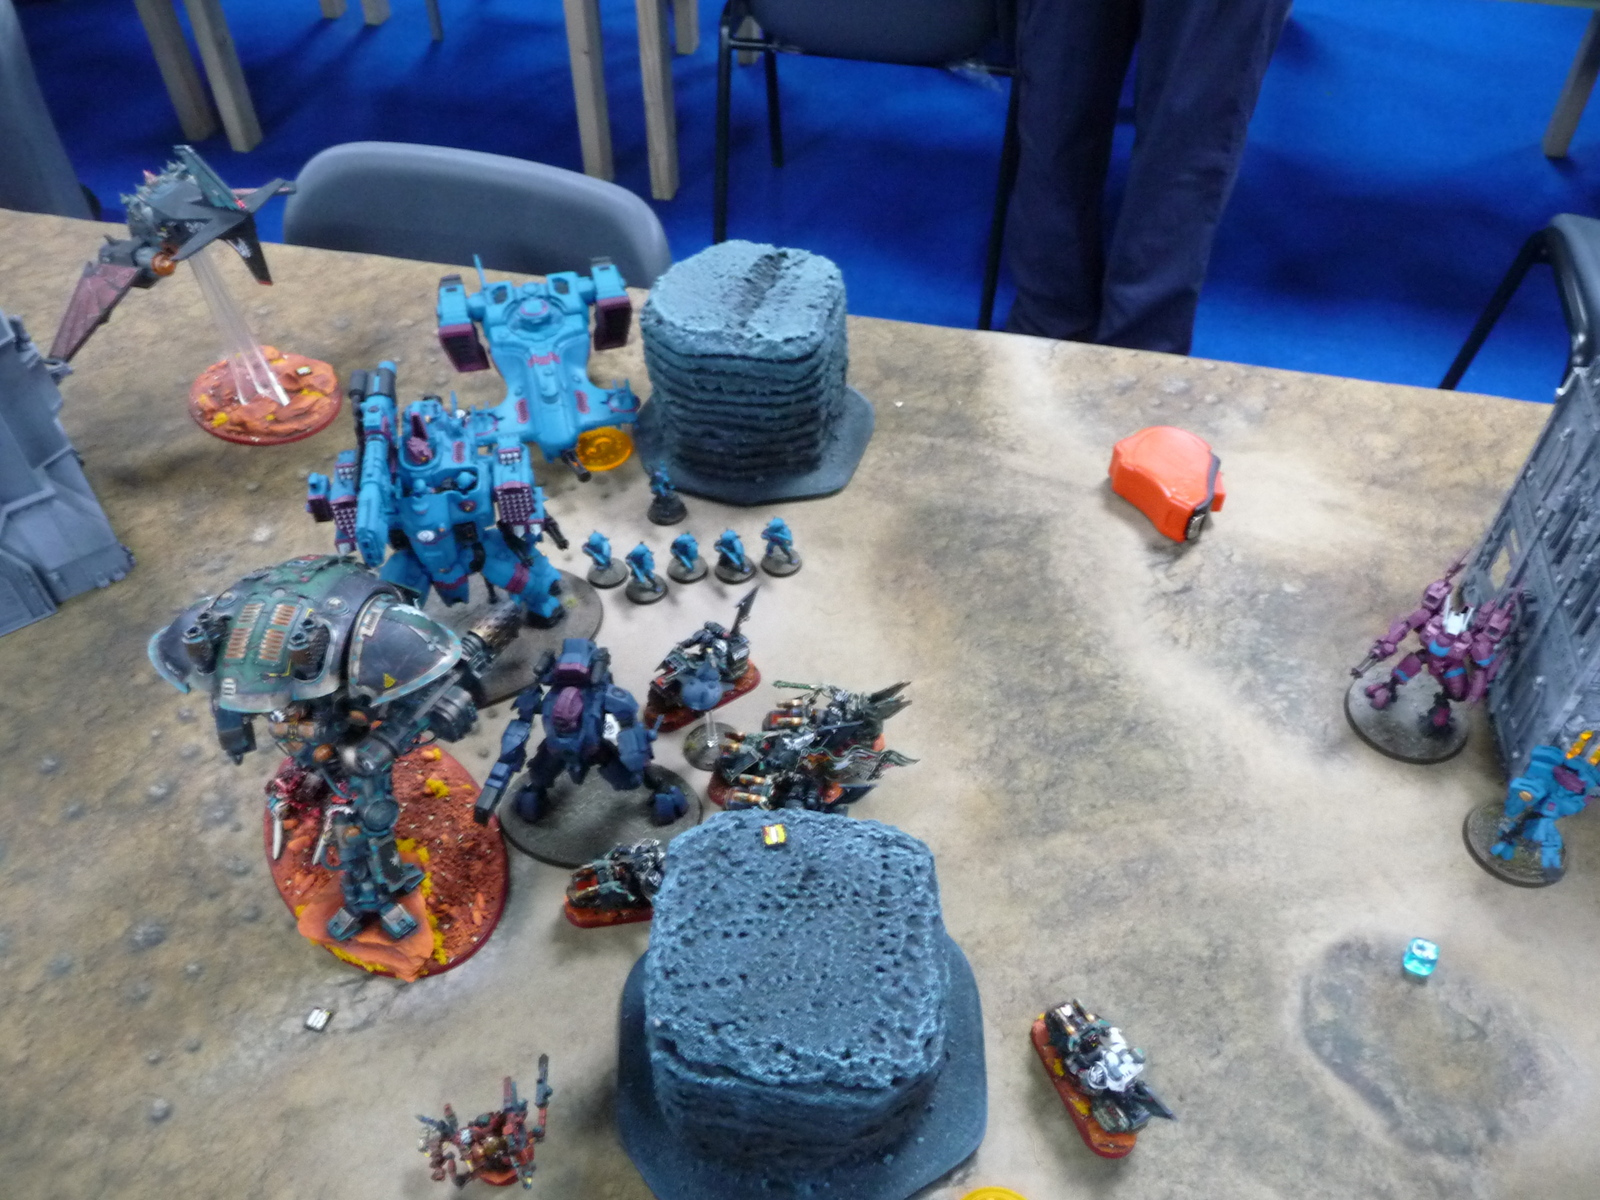
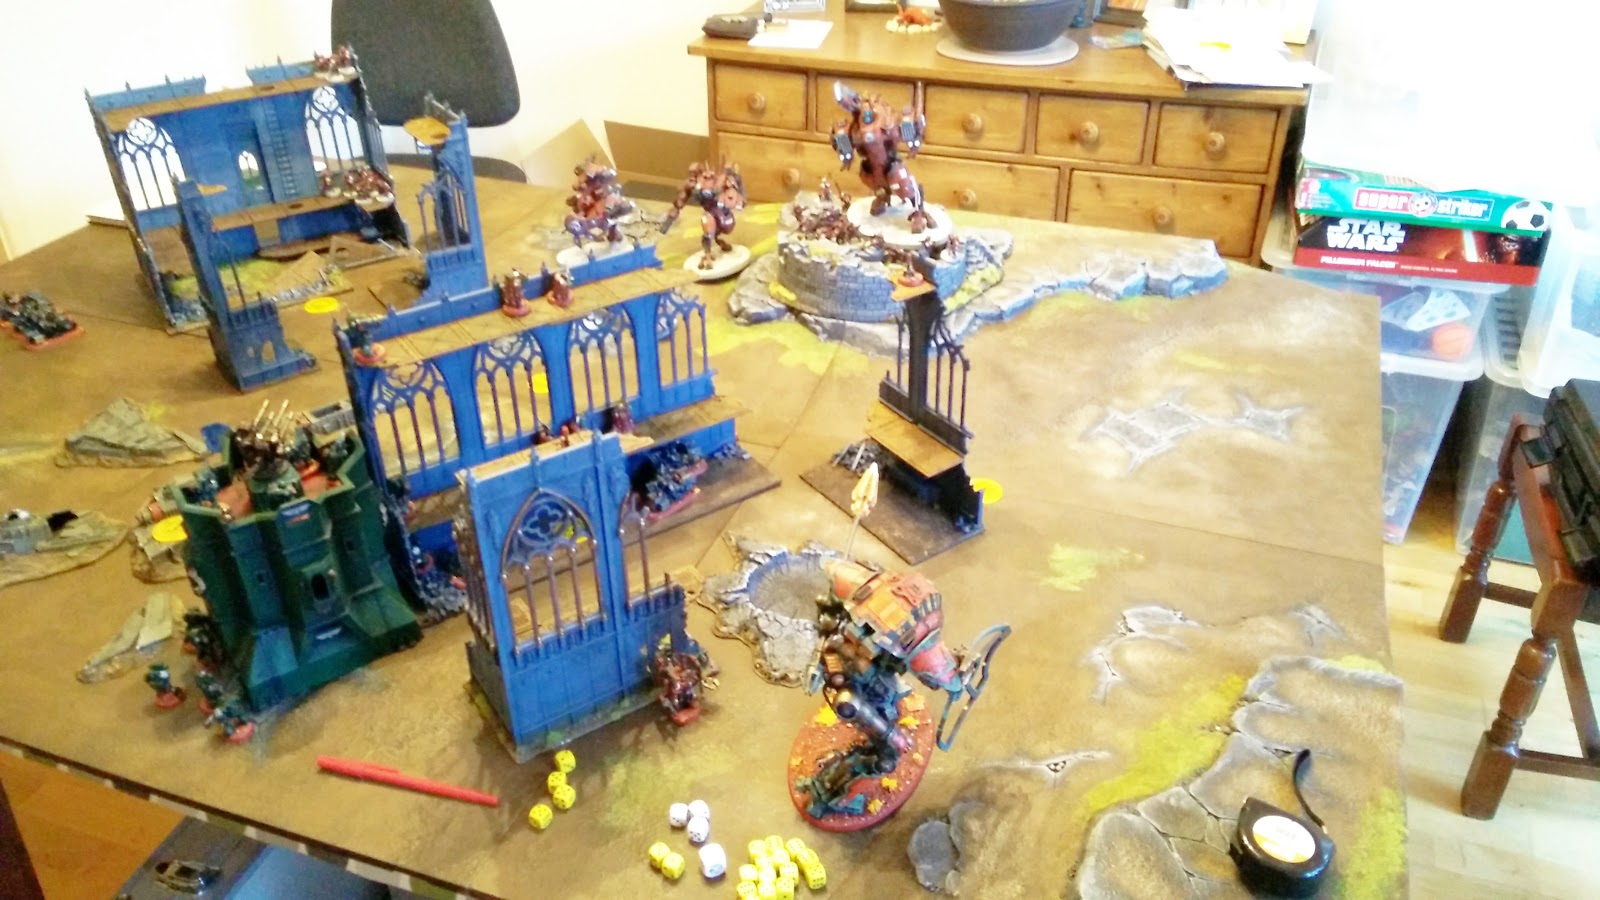
The Lancer had to make a decision though, take out the Storm Surge or assault the Fire Warriors. I was reluctant to do the latter as I thought I’d be tarpitted with hindsight I should have done that and hoped to remain locked in my turn [by not stomping at the least] and then win in Liam’s releasing me to assault in my next go. Instead I went for the Storm Surge, it seemed the biggest threat but thanks to his saves I think only 1 or 2 more hull points went on him.
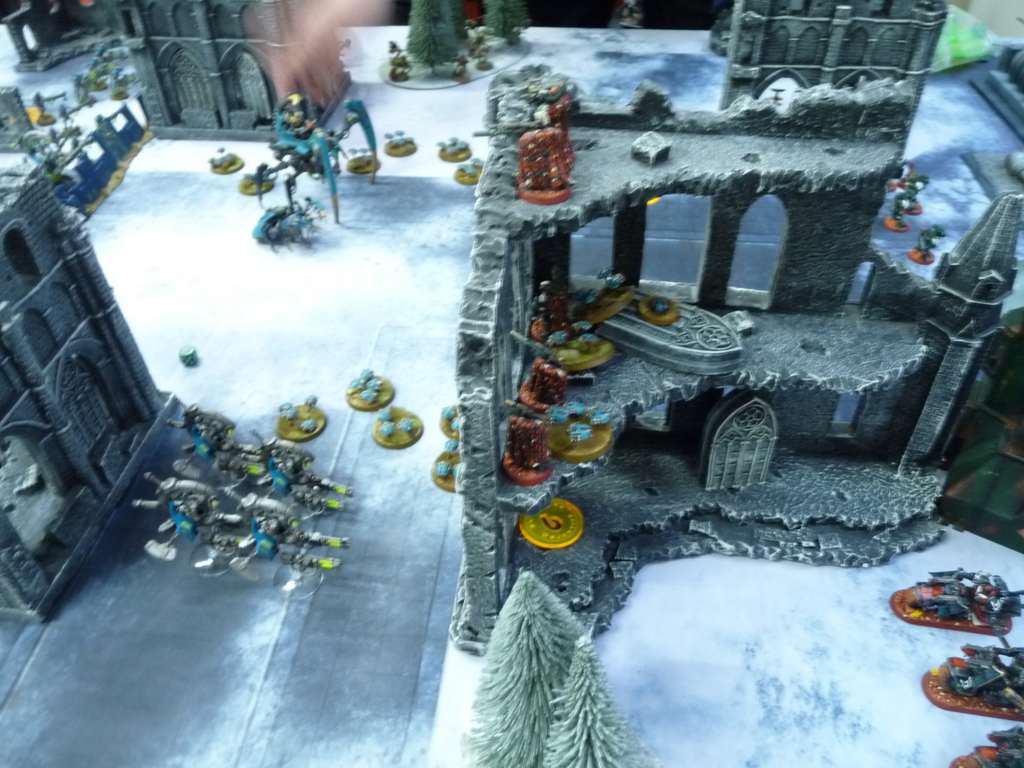
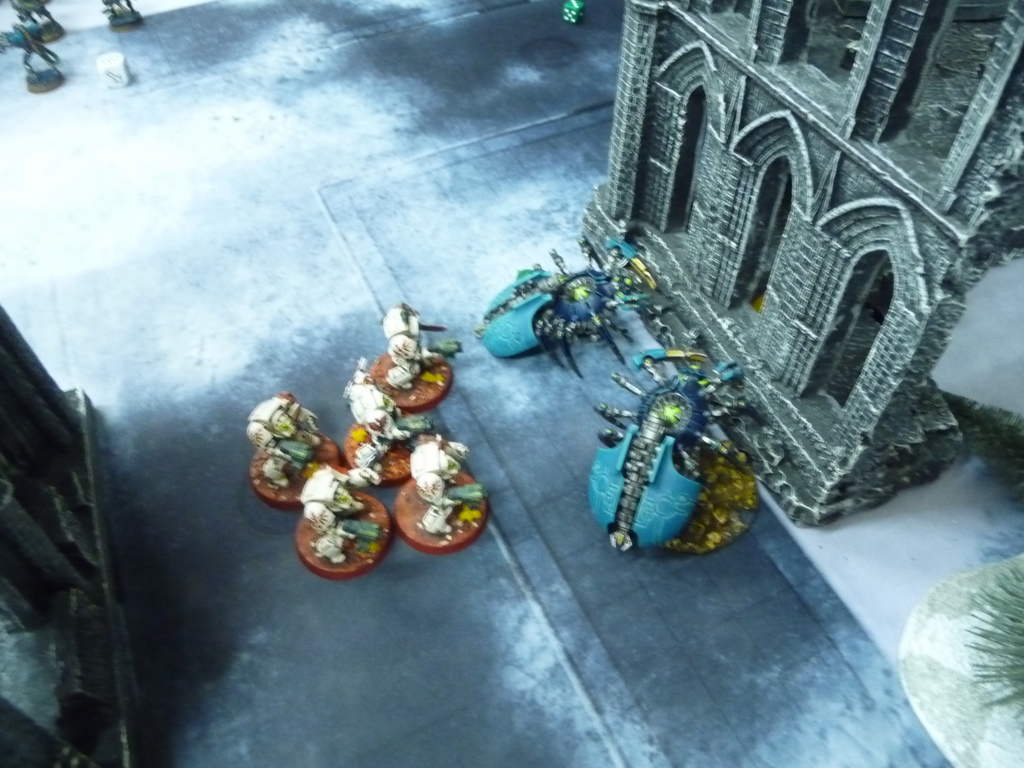
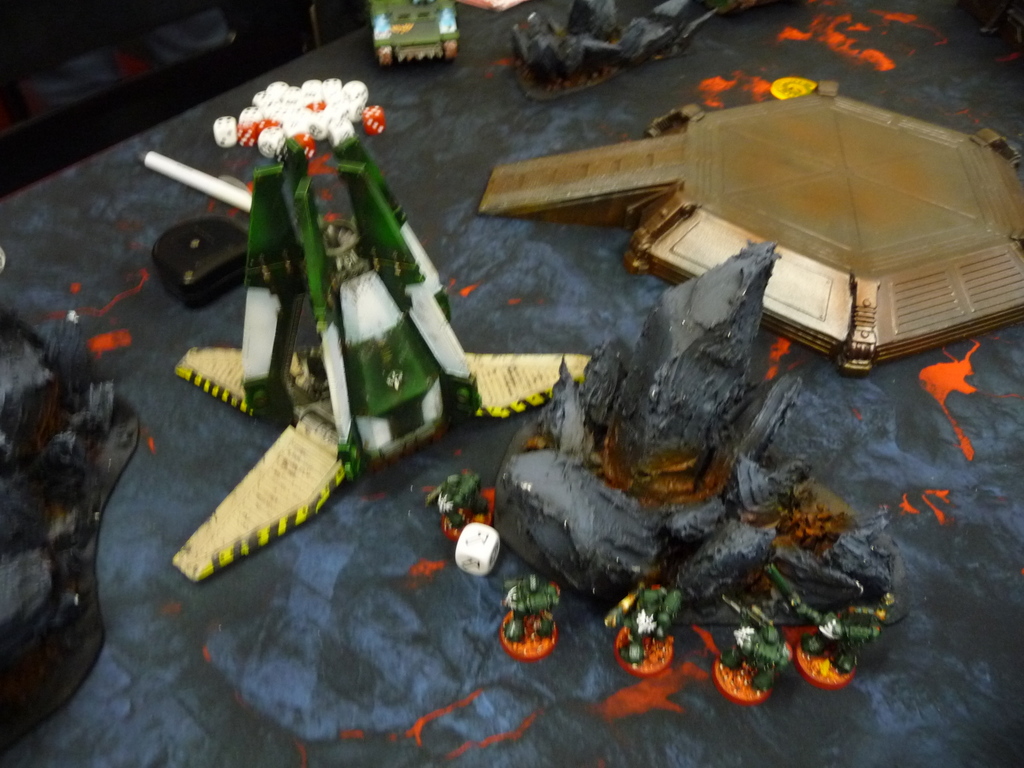
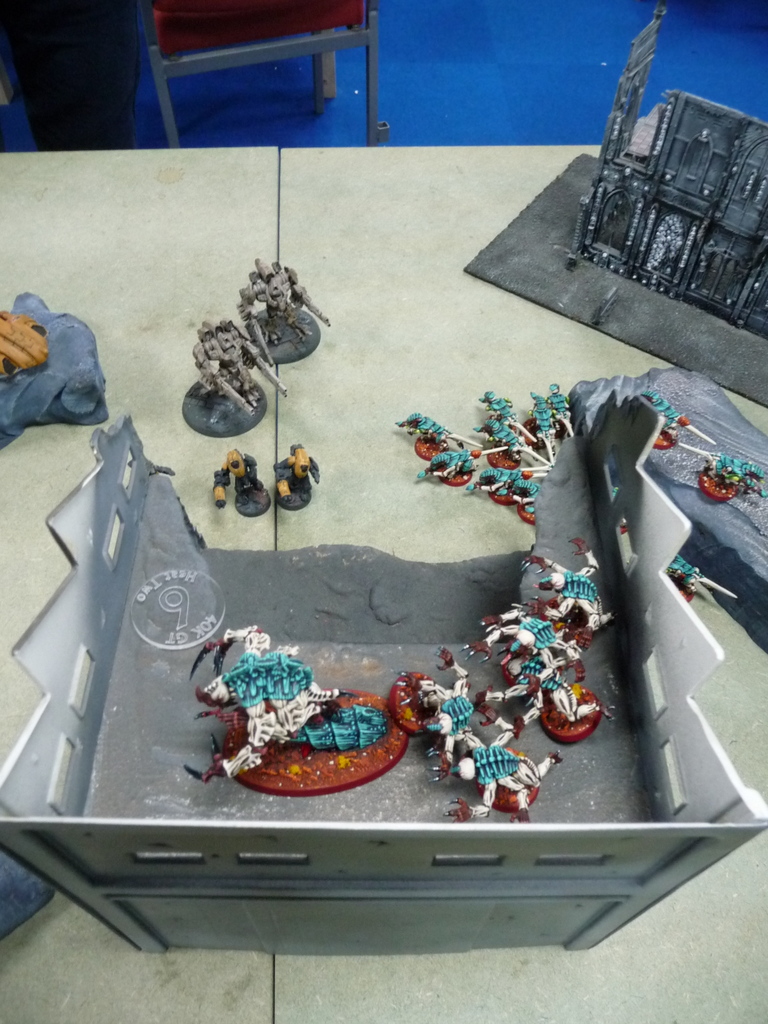
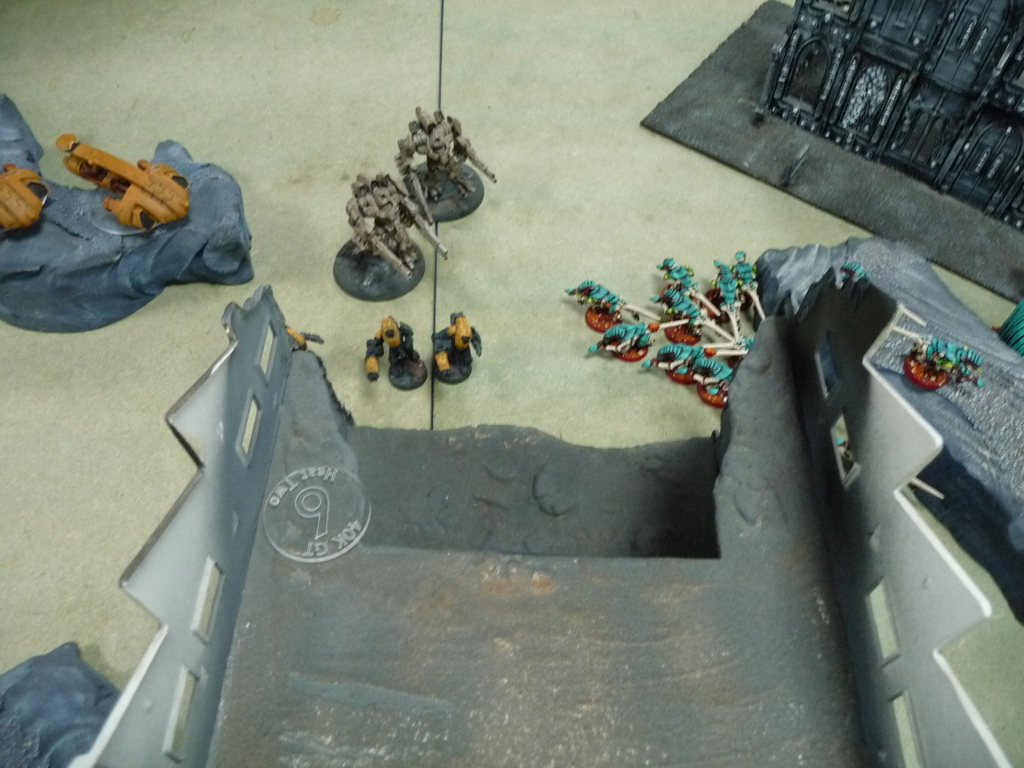
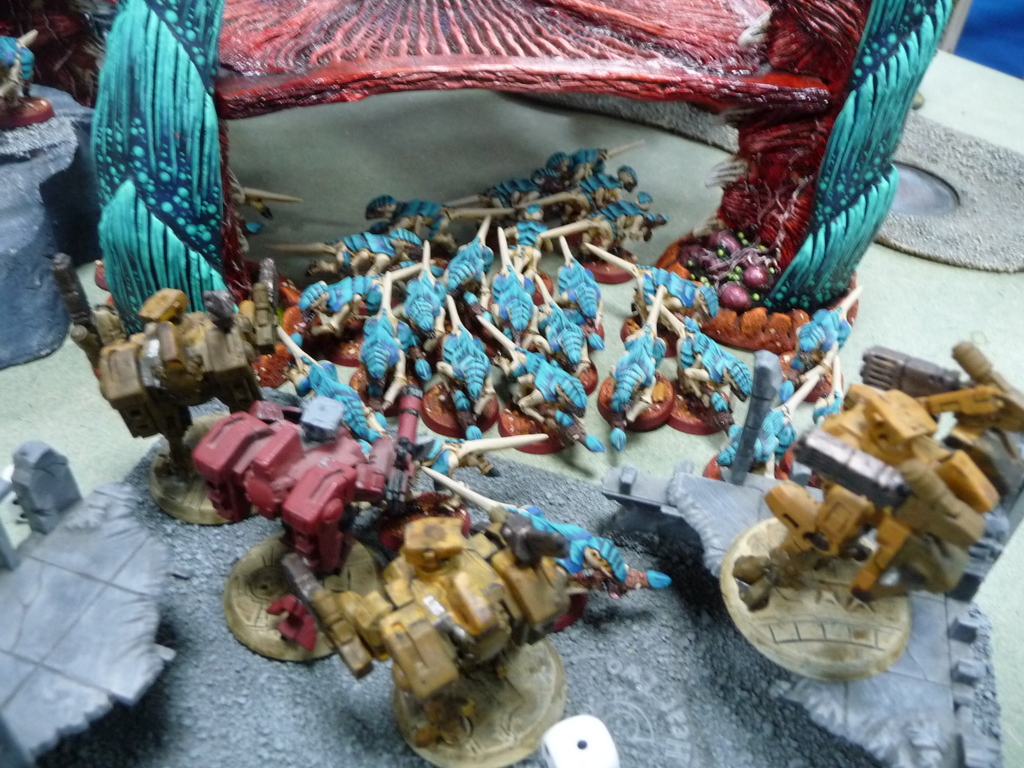
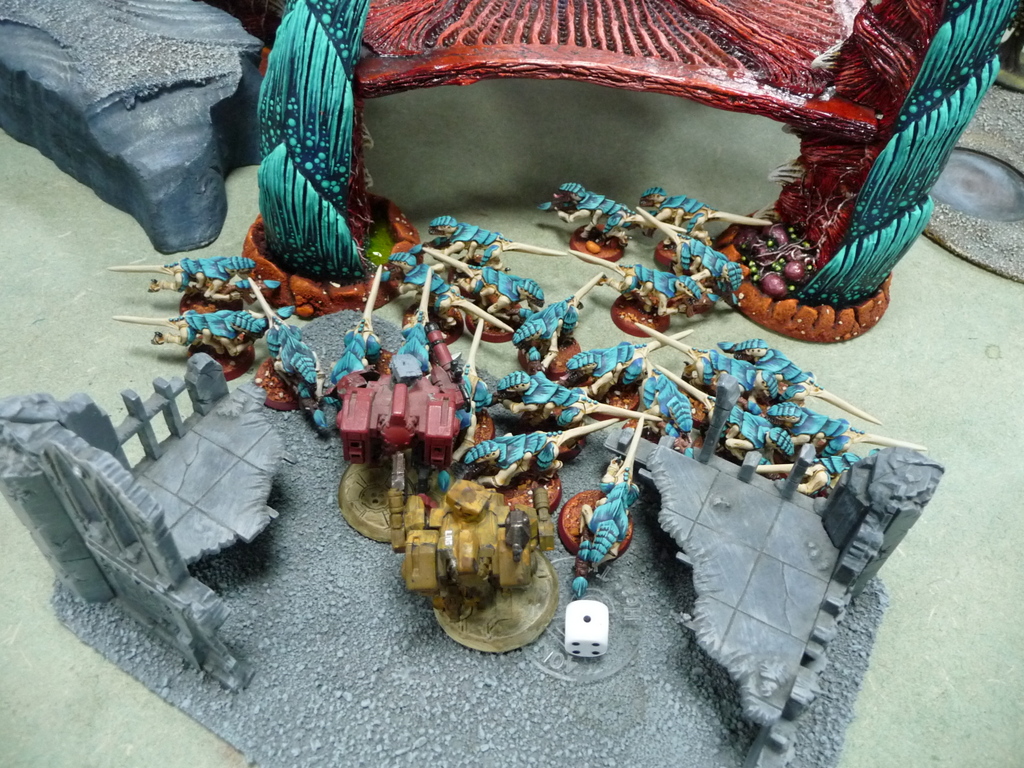
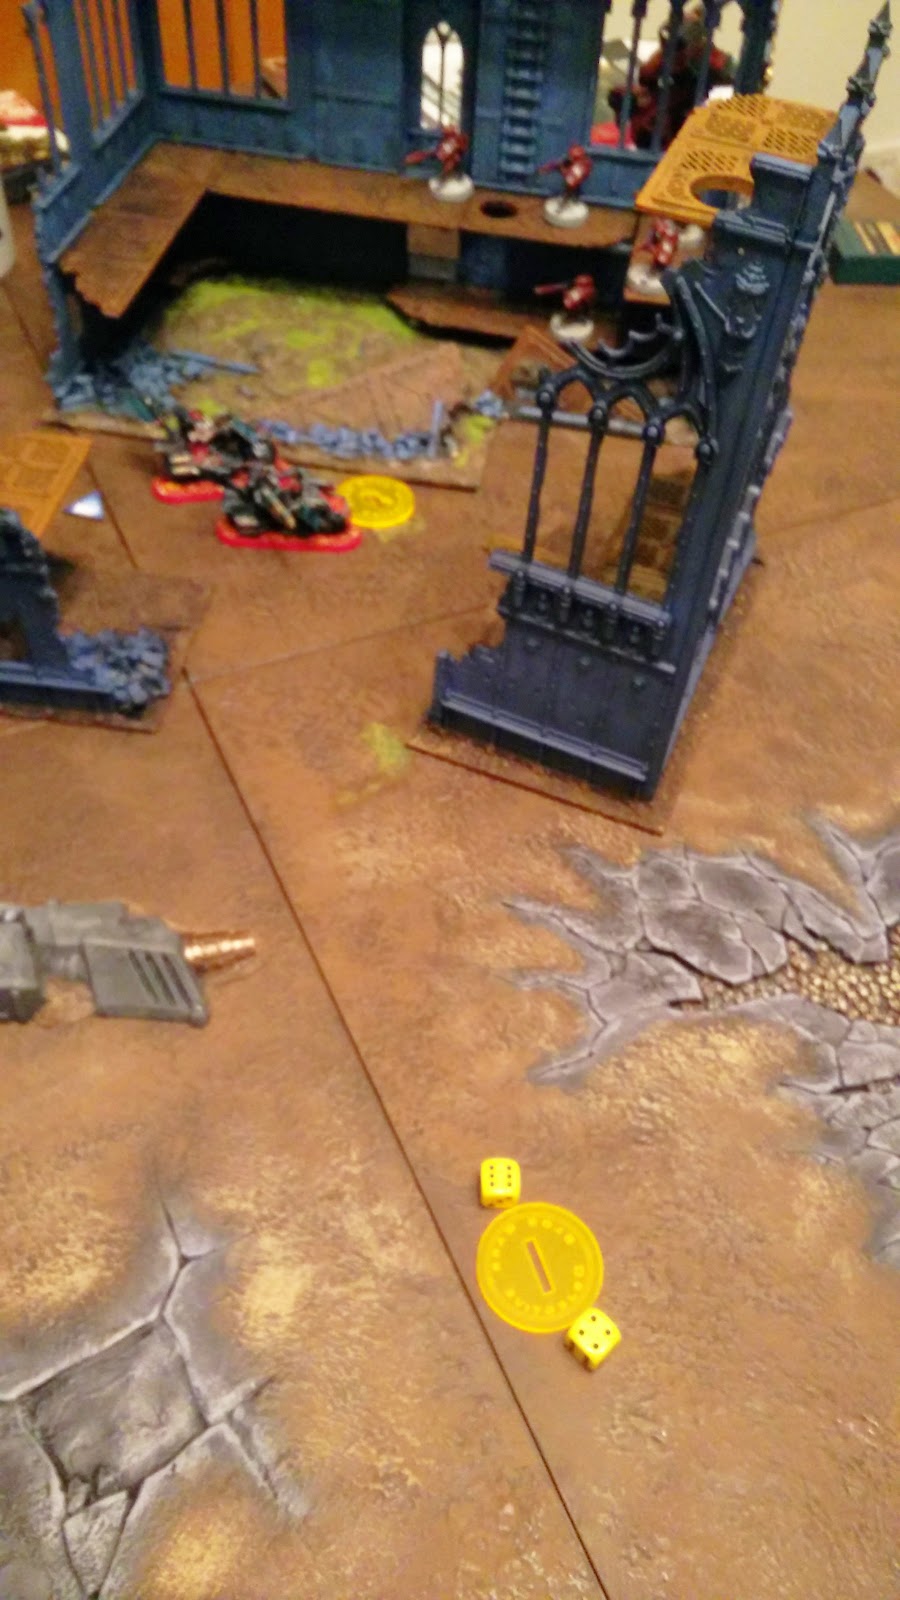
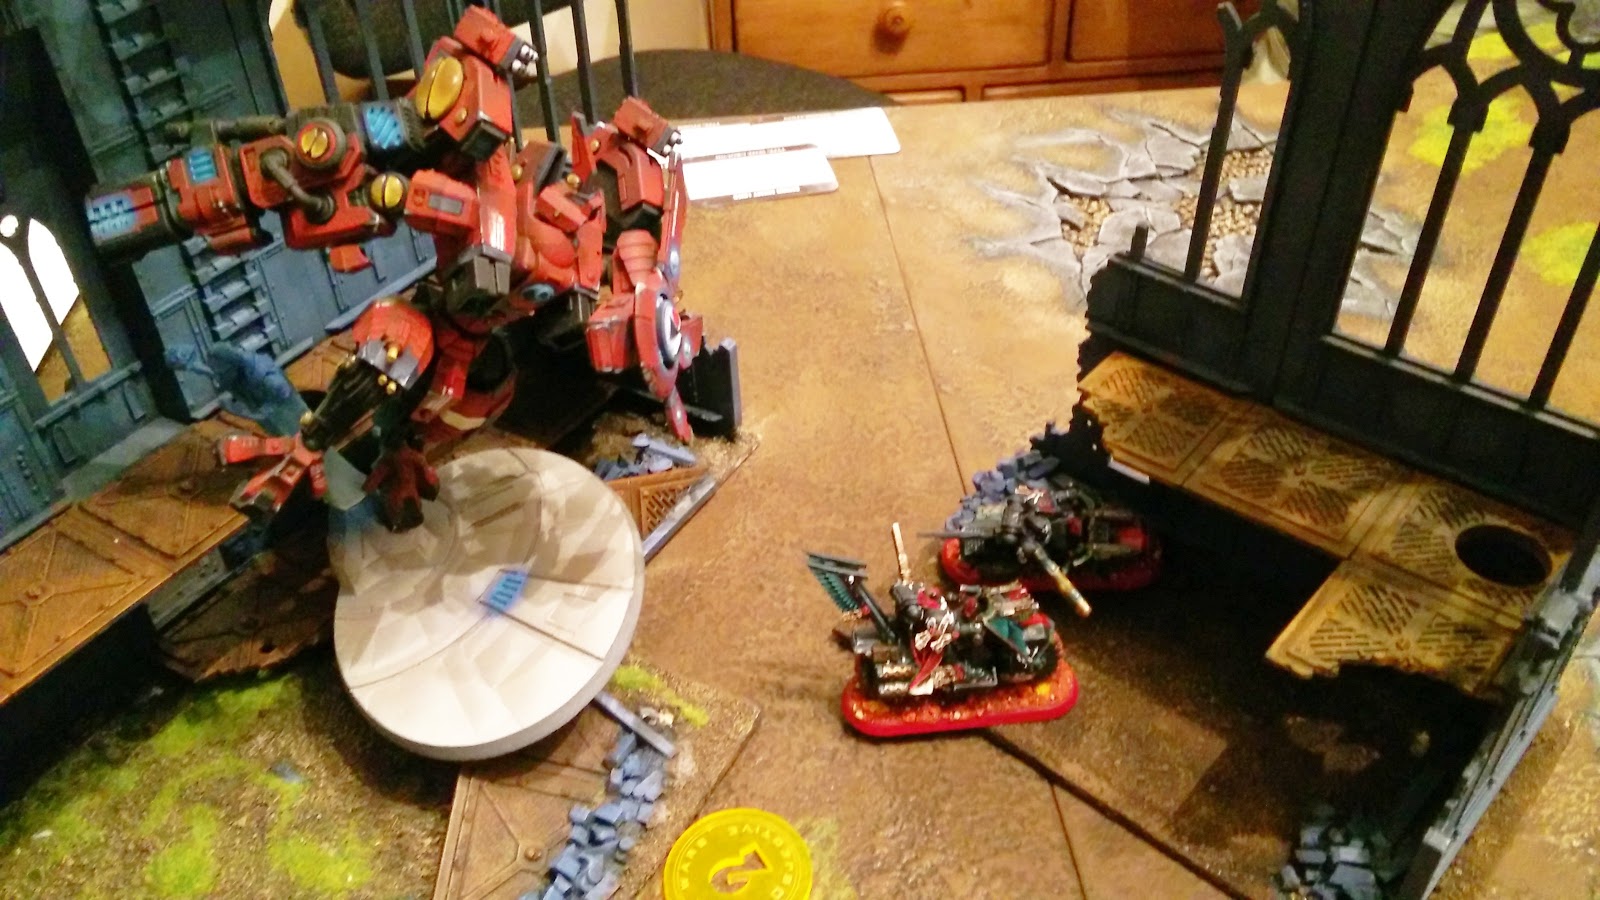
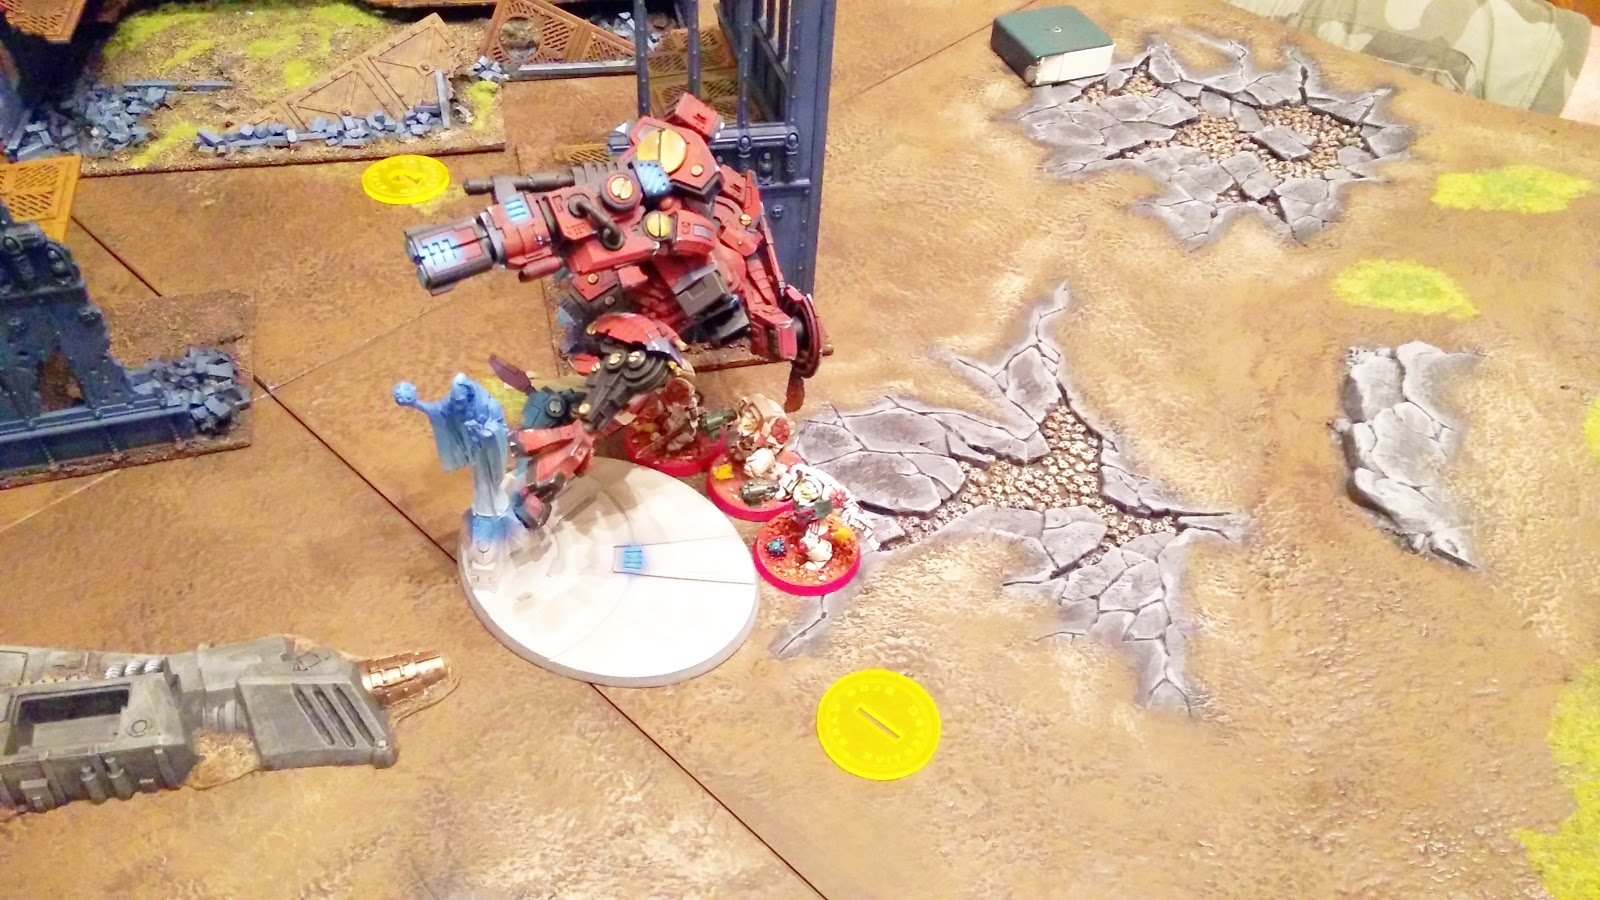
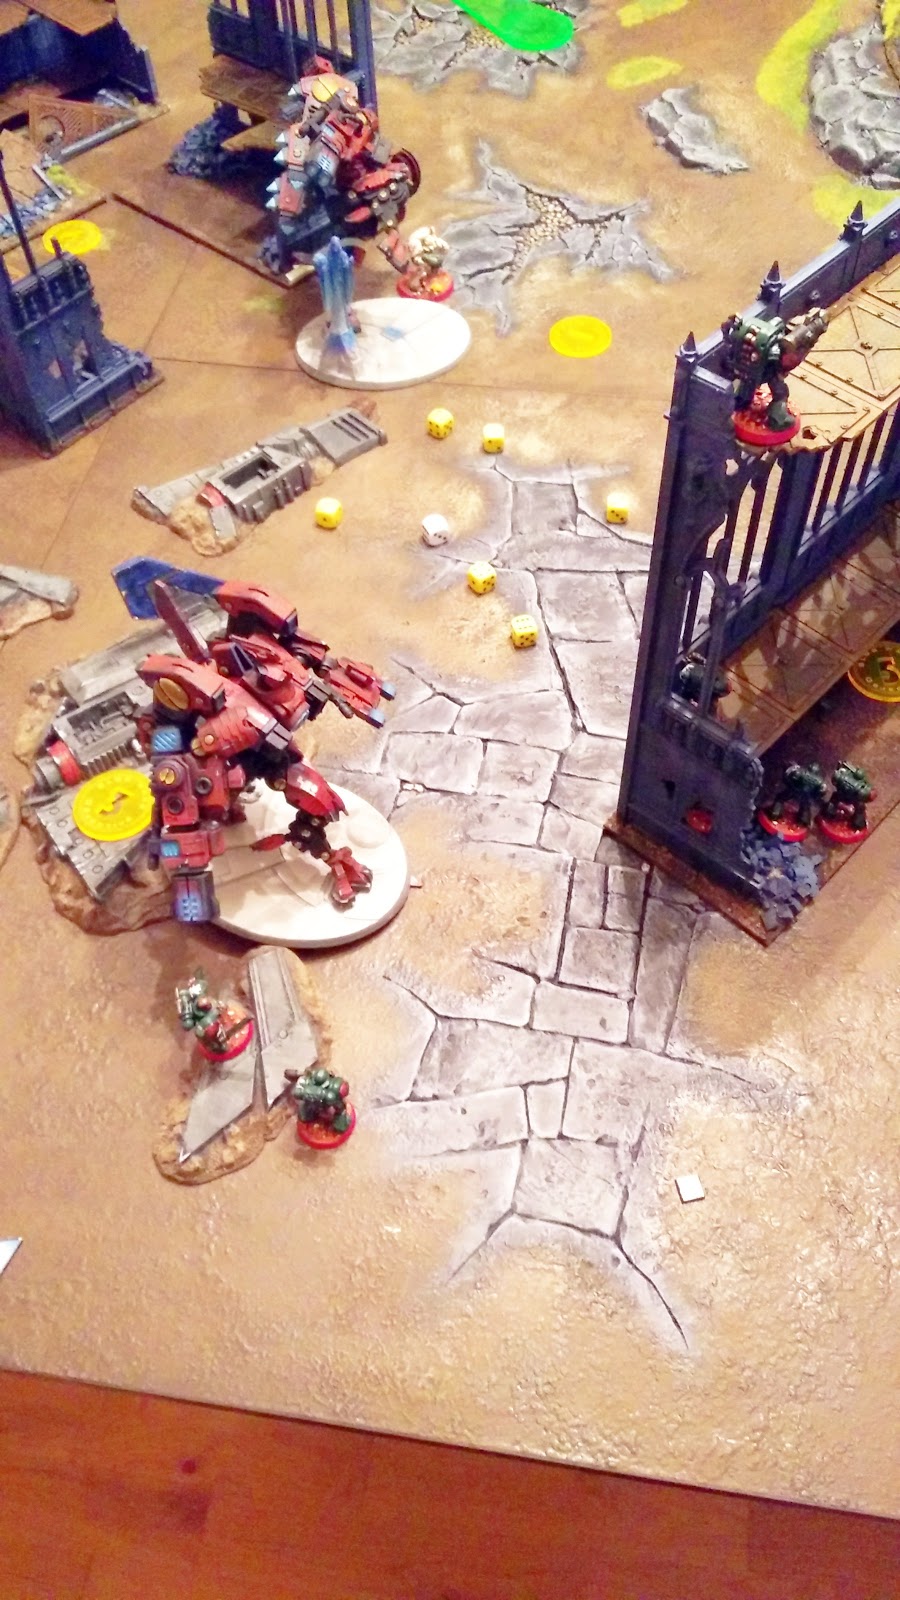
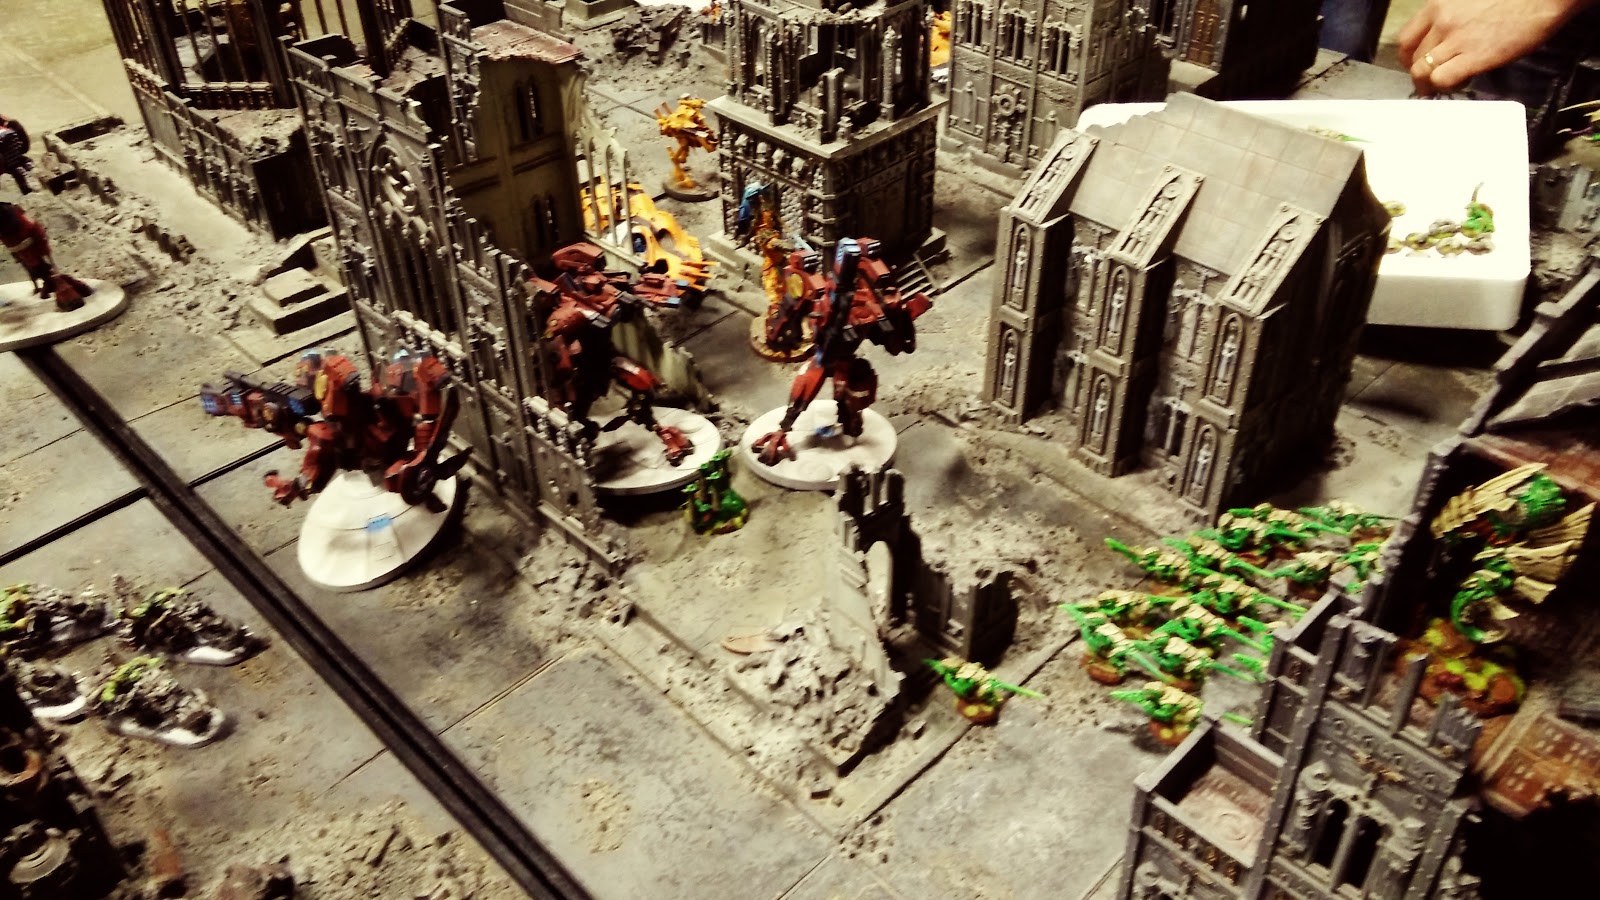
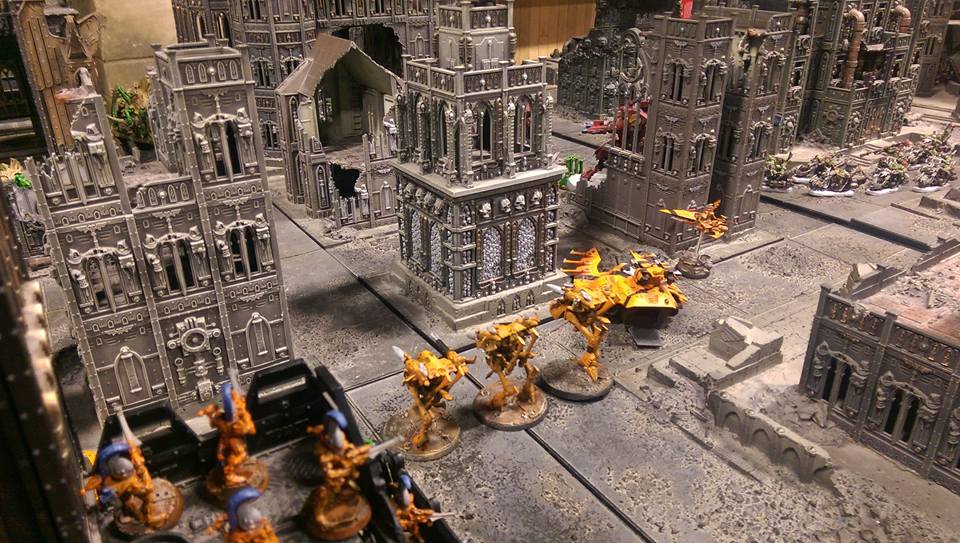
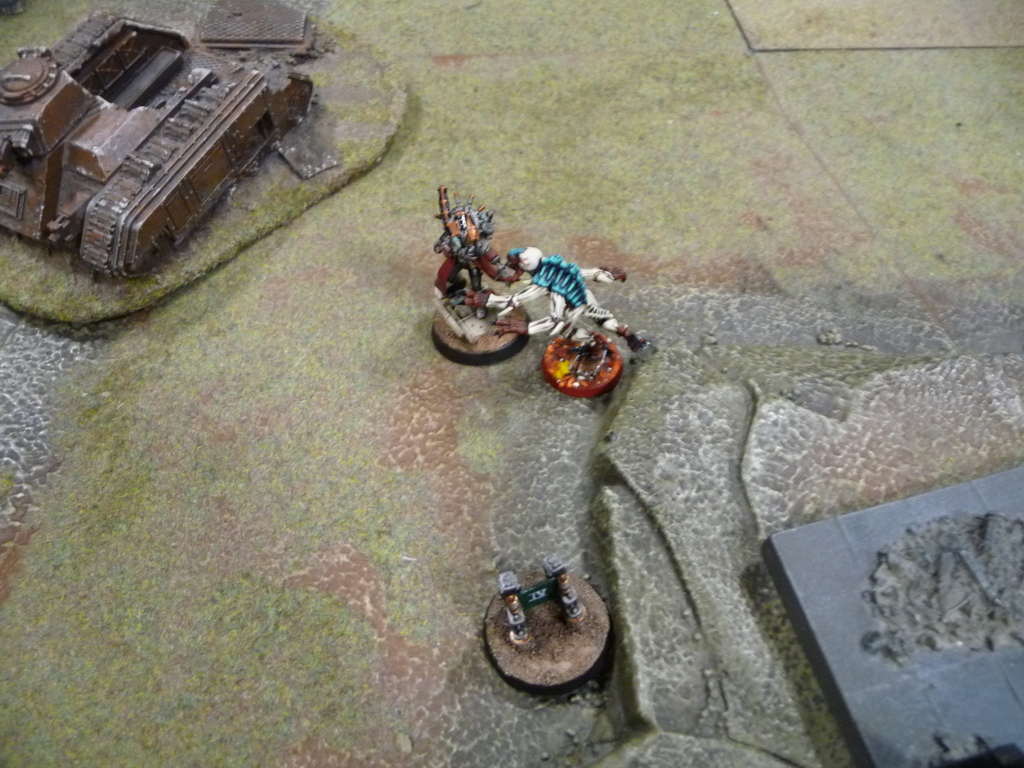
The remaining Ravenwing on my left flank shot at the fire Warriors, killing just one, the Bastion also took another. I was hoping to thin the numbers for assault and as I was only 1″ away at the beginning of the turn didn’t think it was risky. Then I assaulted and overwatch by them AND the Riptide lurking behind the ruin meant I needed a 10″ charge roll through cover… Yep these guys did it, hence the Evel Knievel pose as they jumped to the first floor!
I won the combat by 2, the Tau broke and I over-ran them consolidating towards the centre of the board. I also claimed objective 4 for another VP
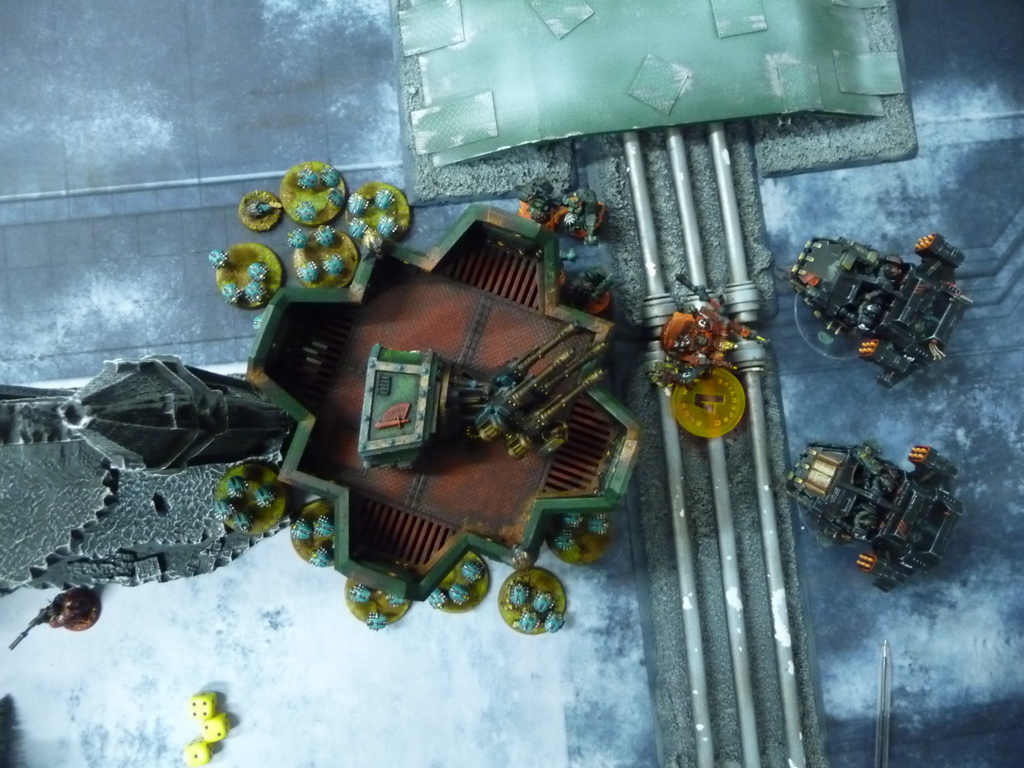
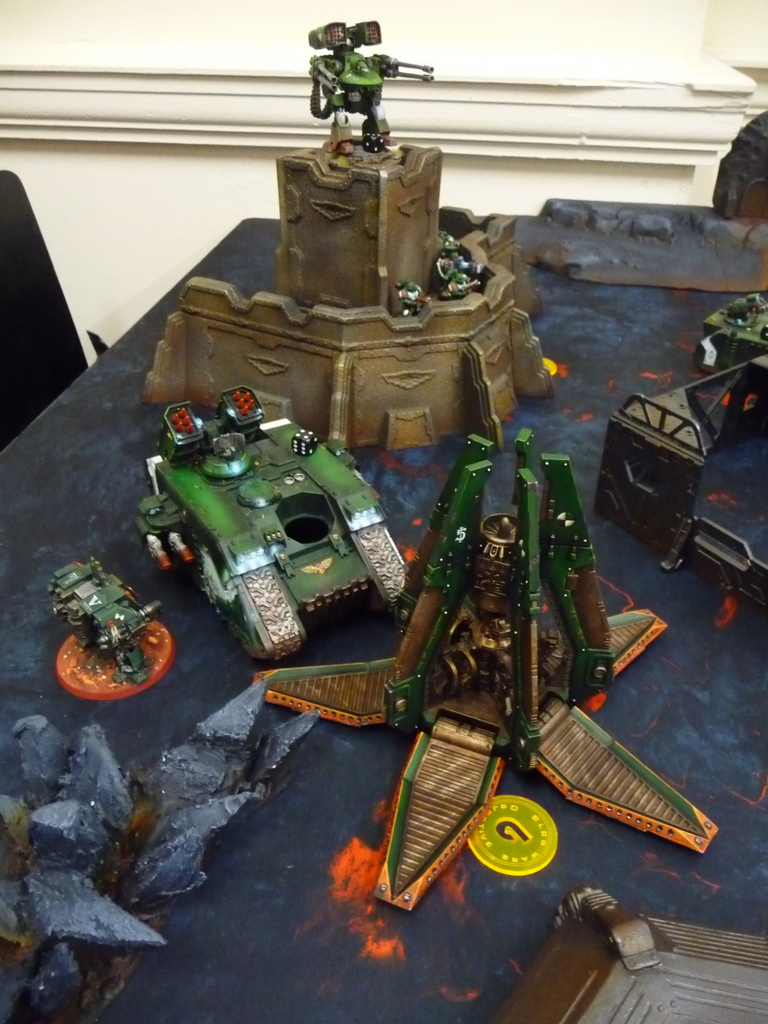
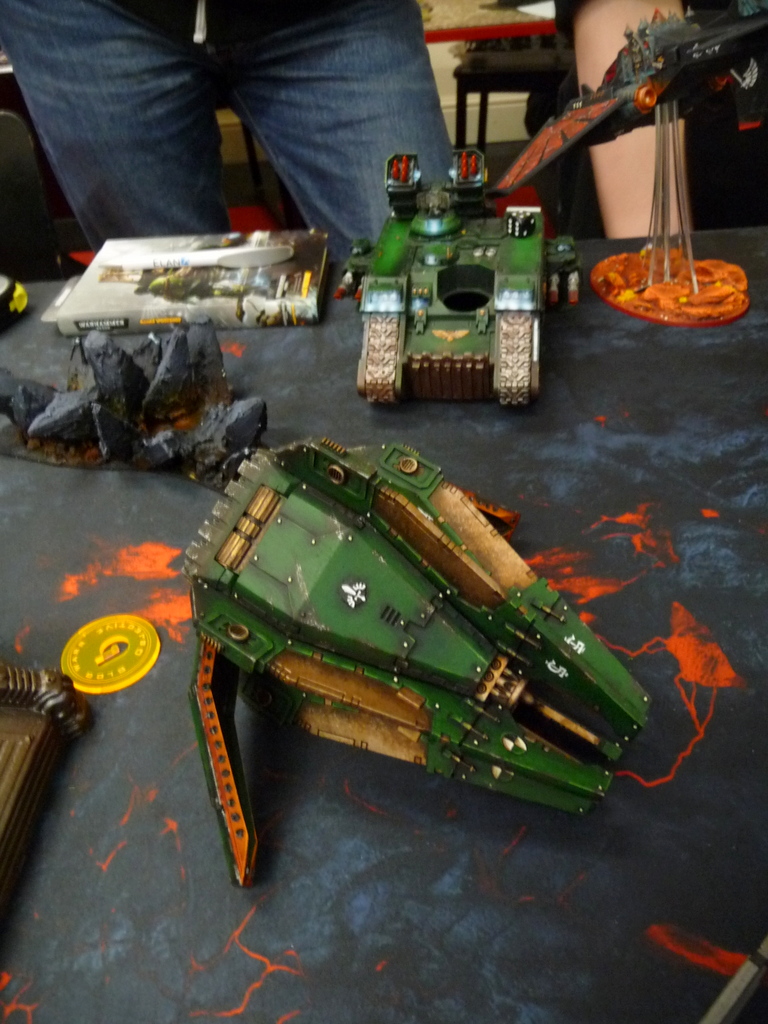
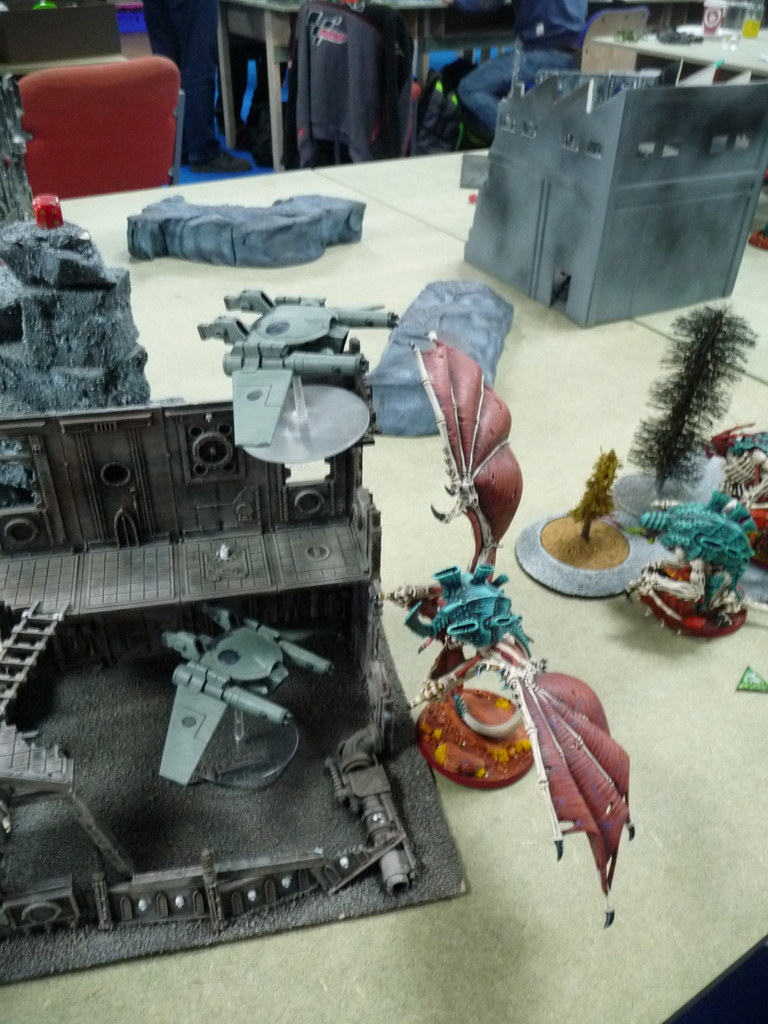
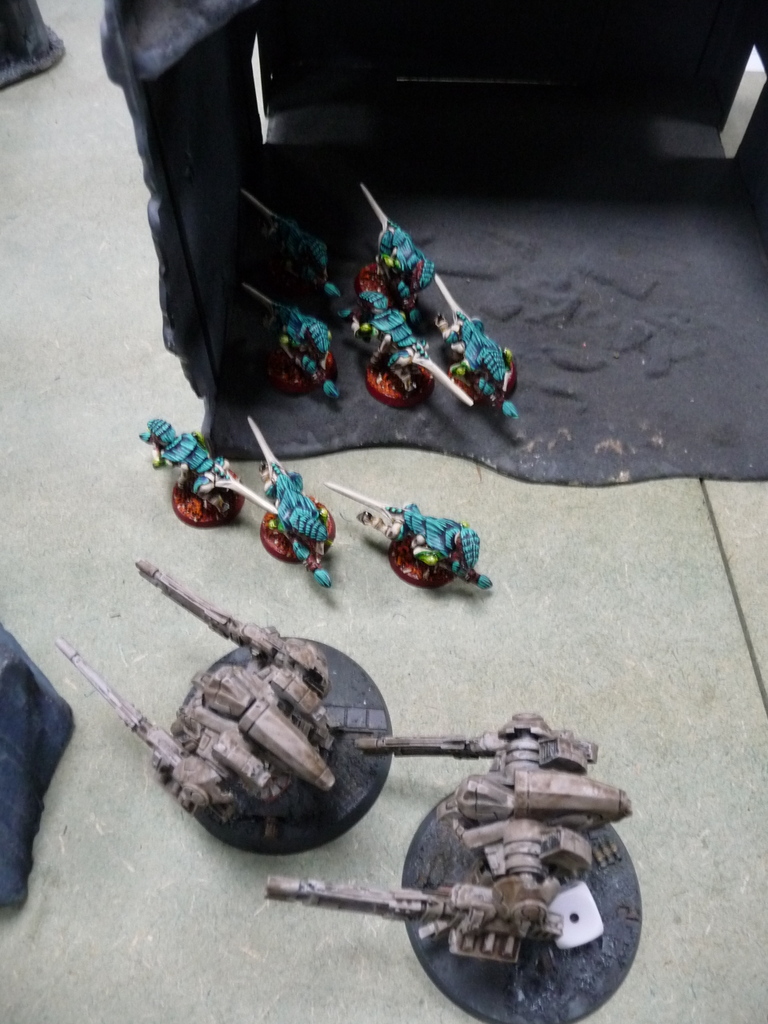
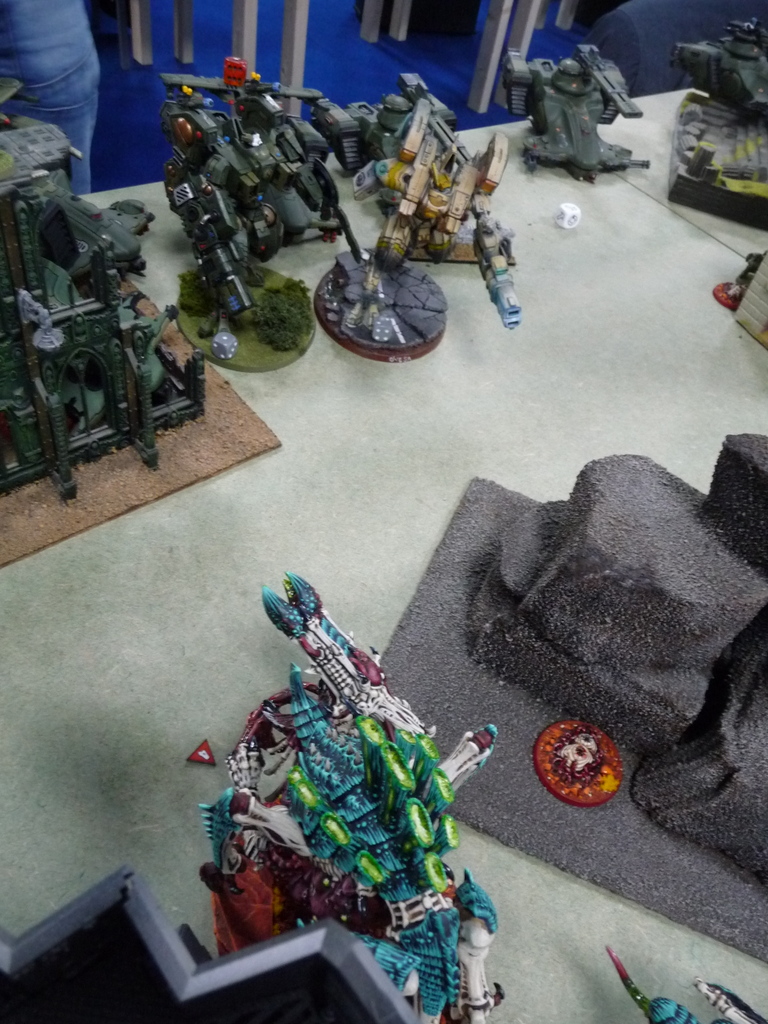
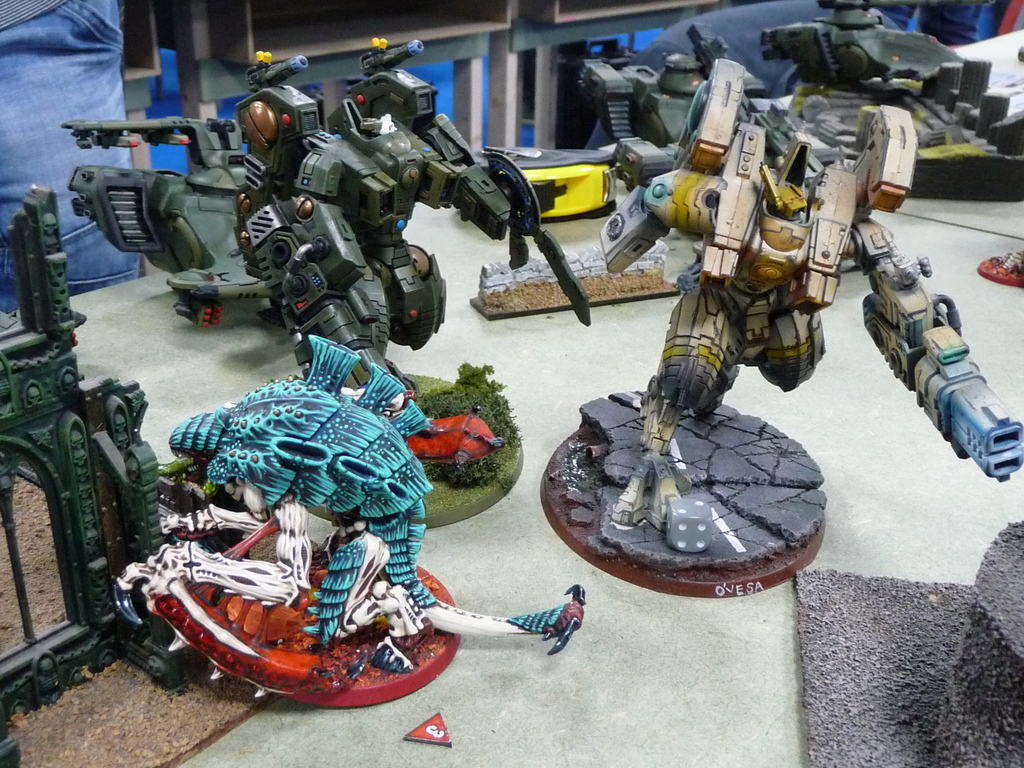
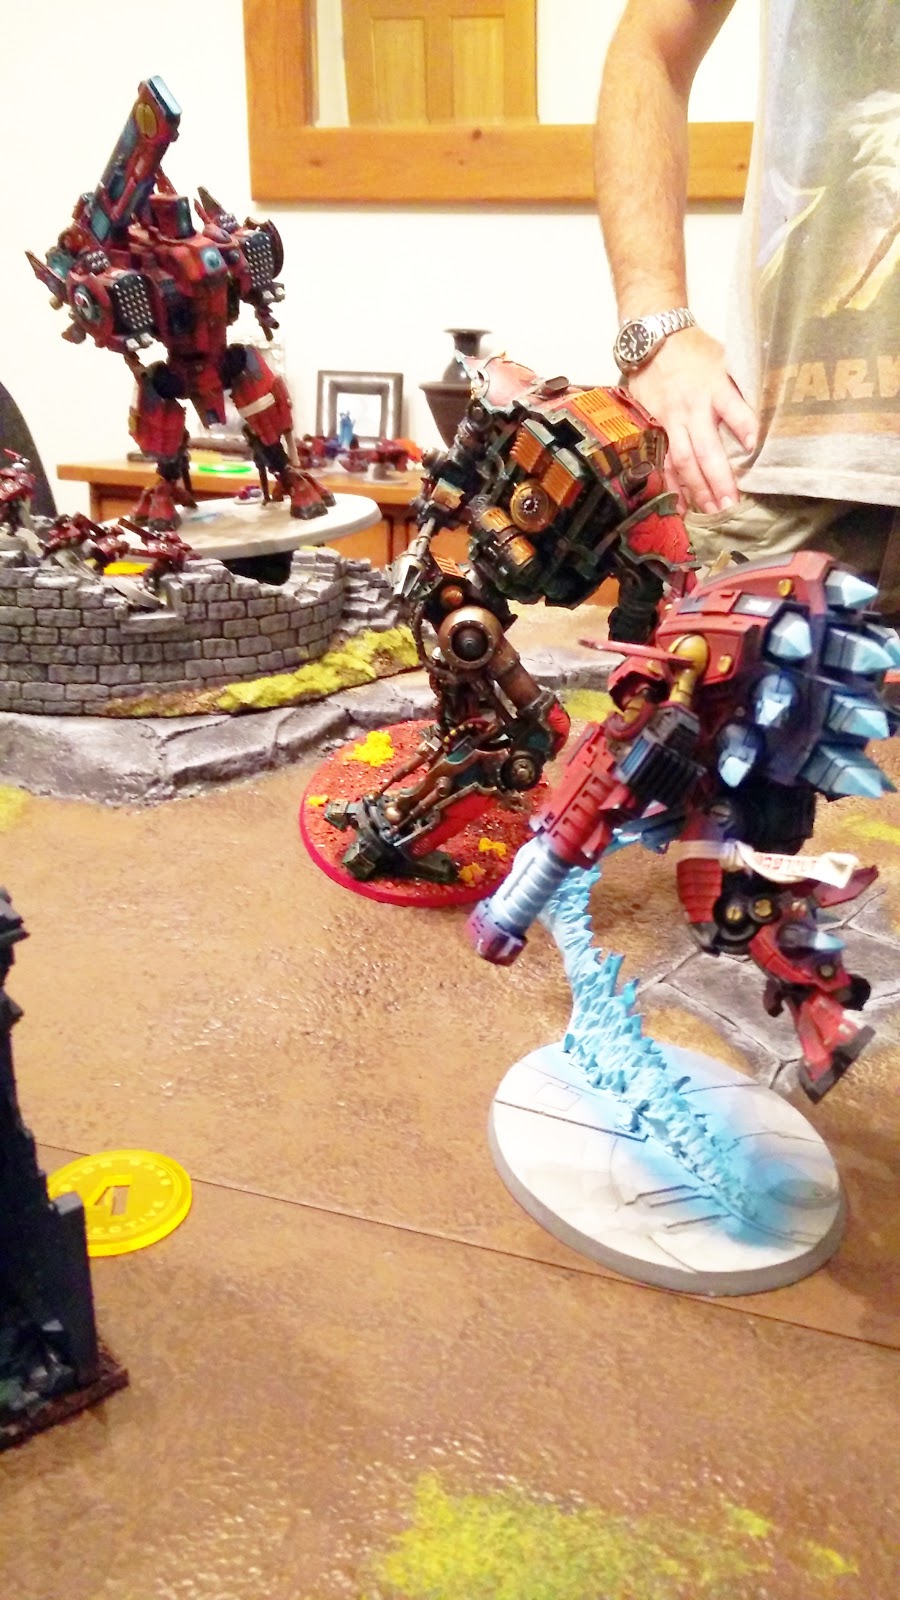
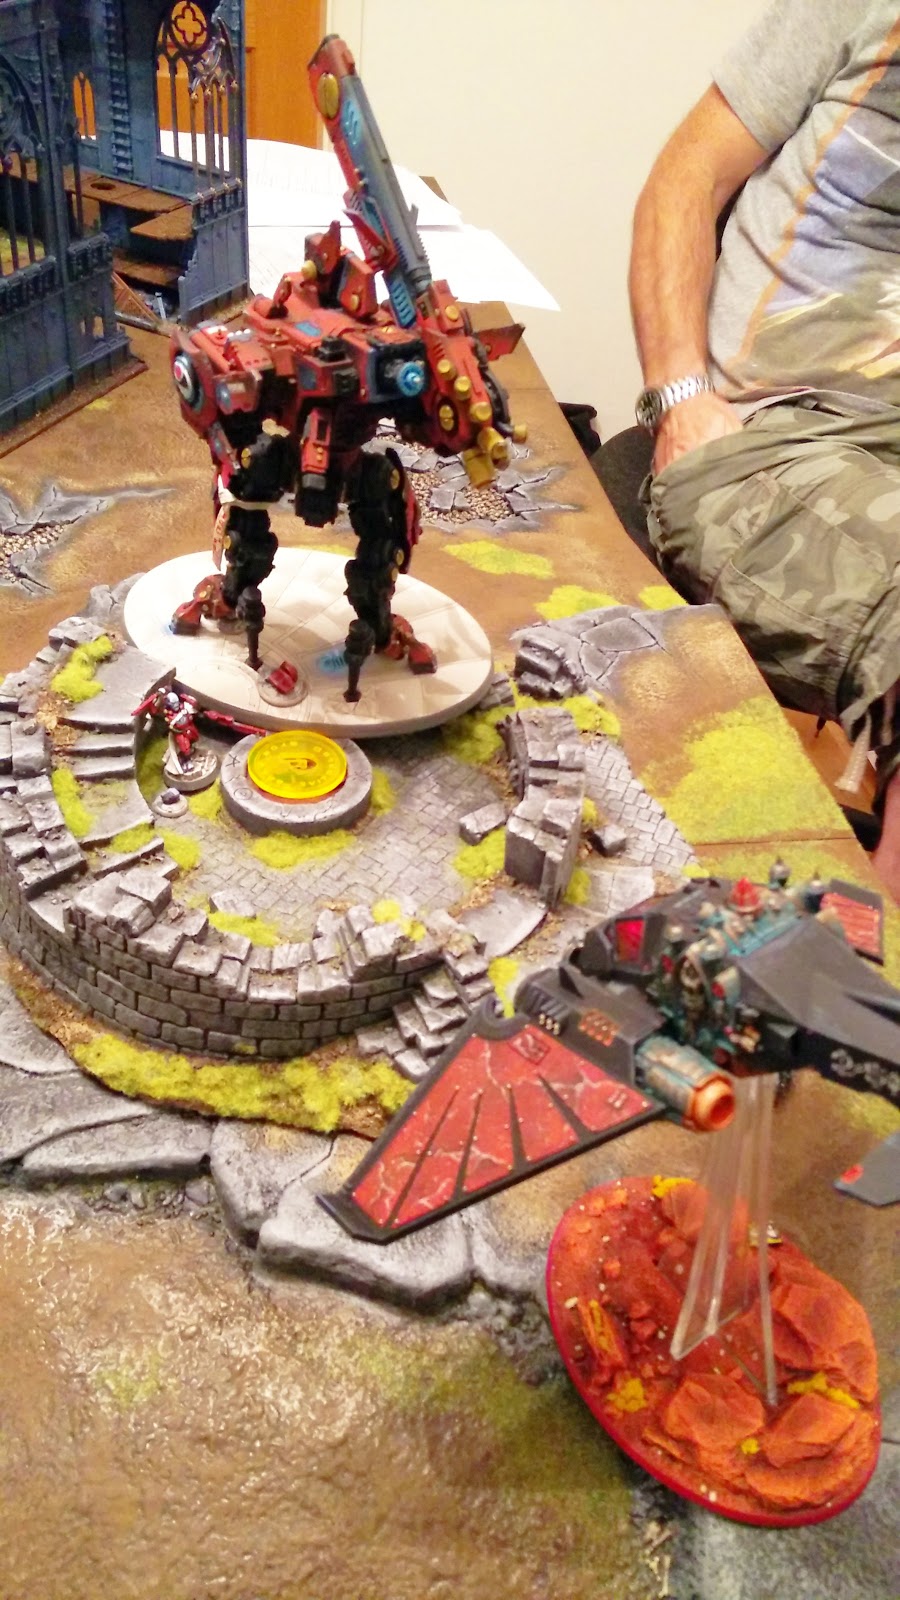
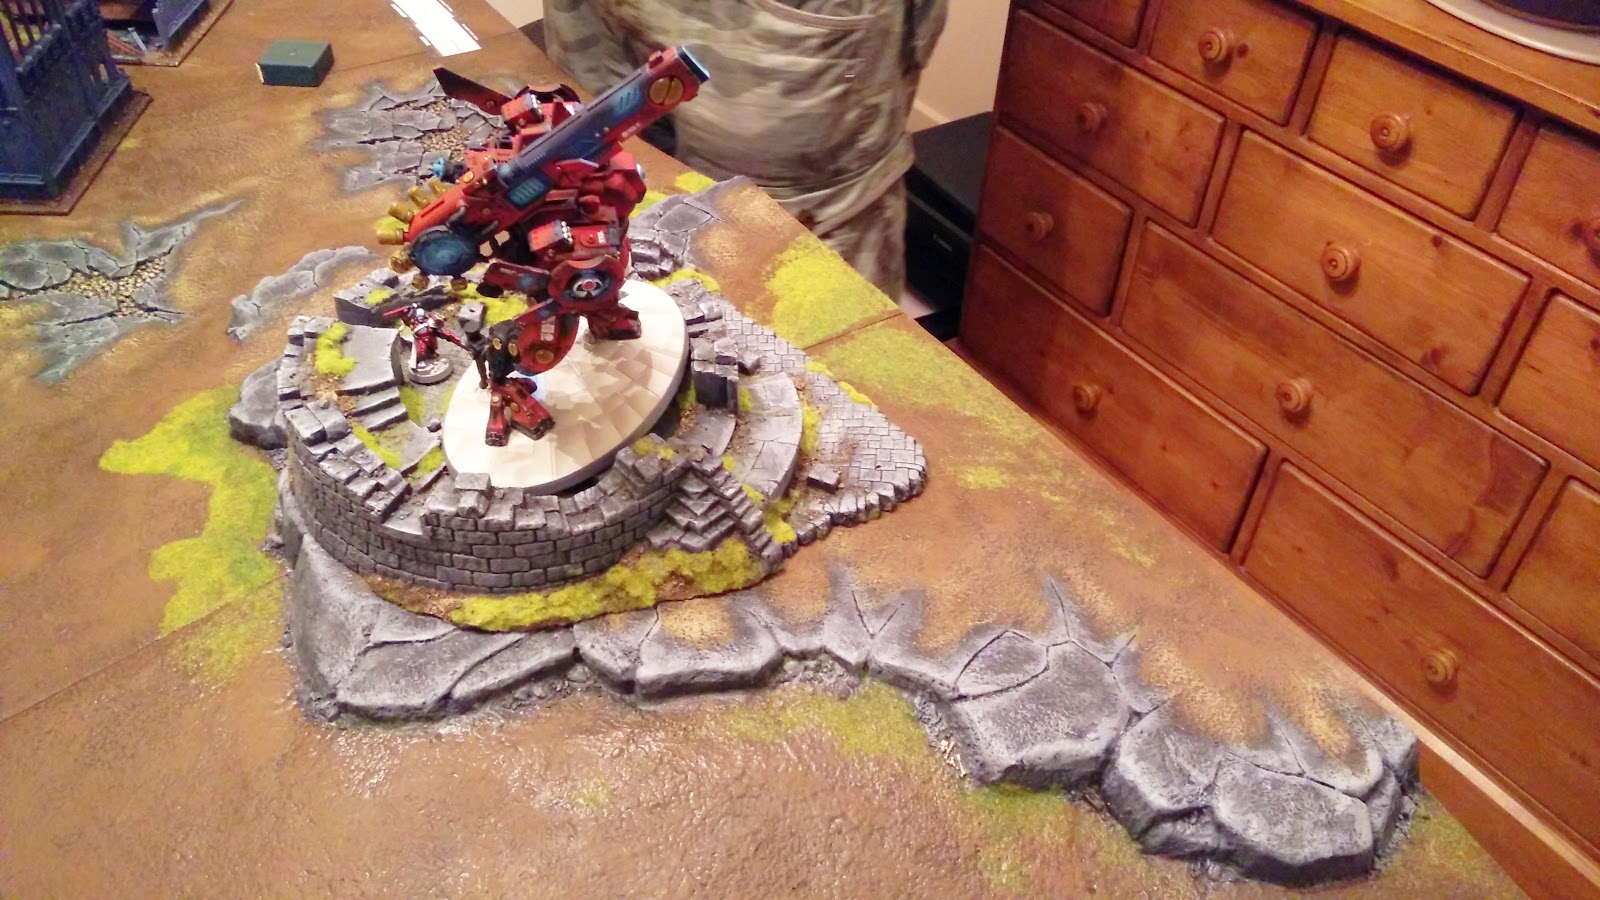
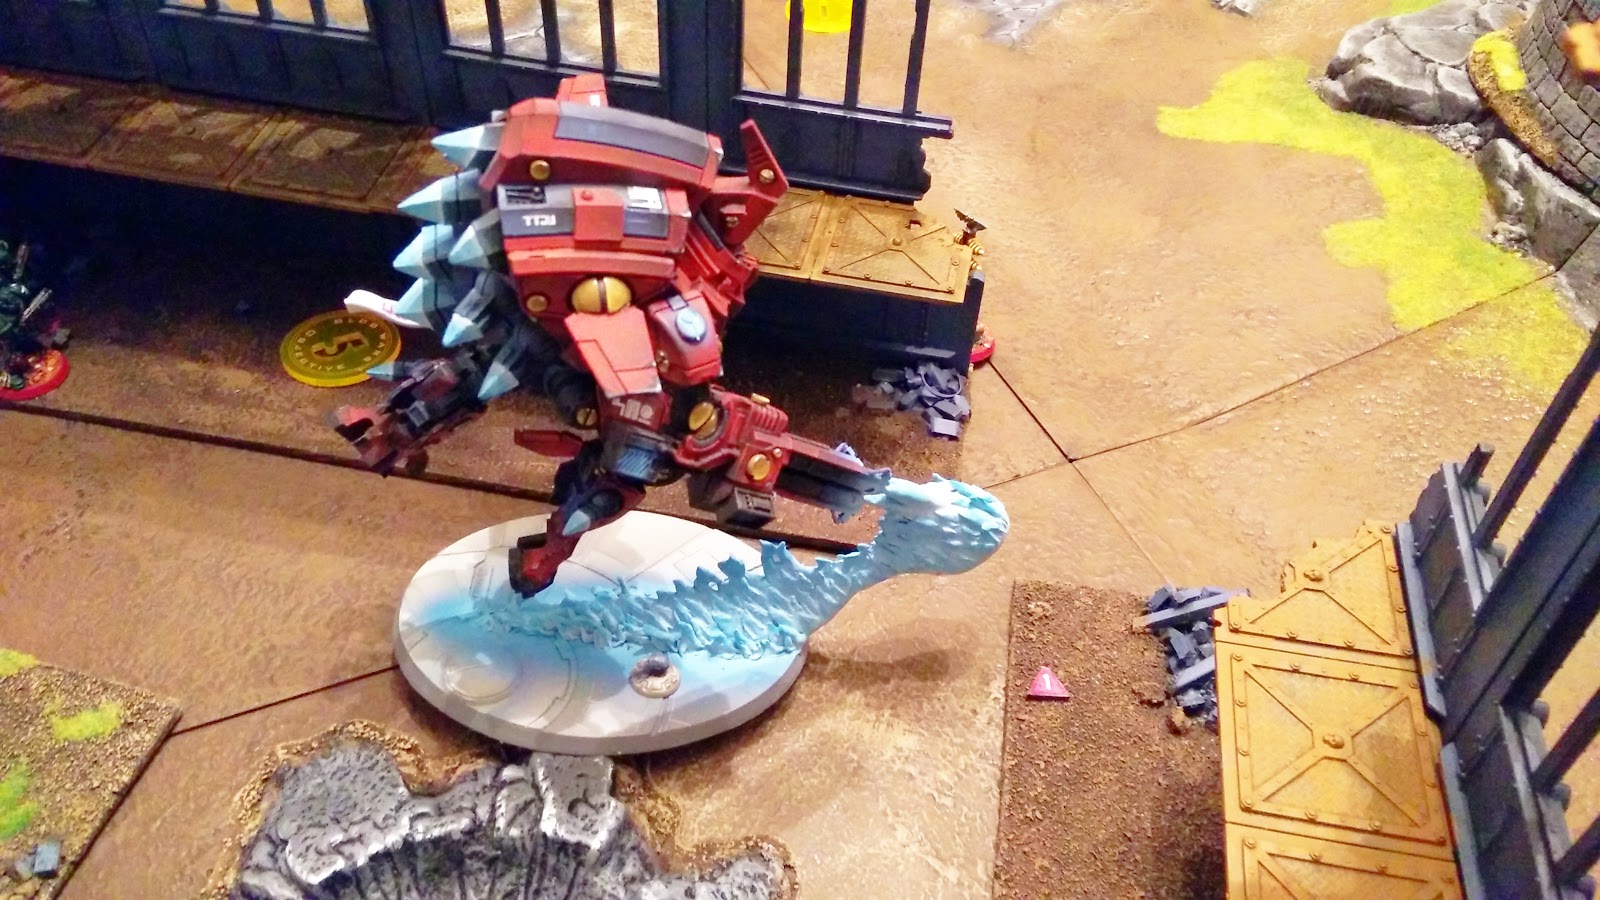
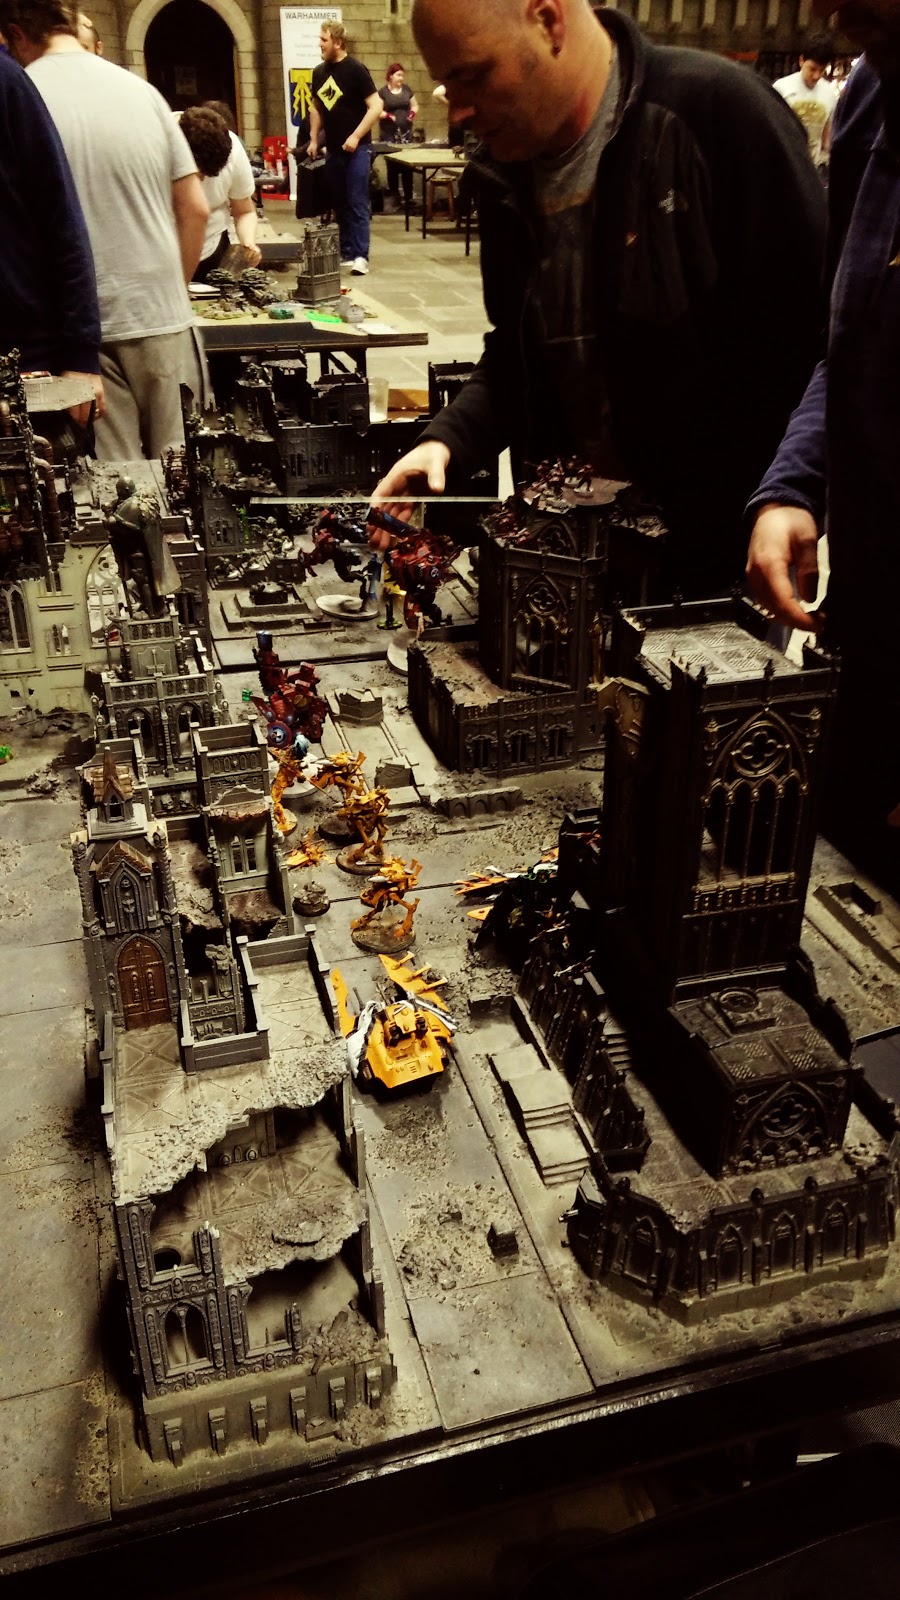
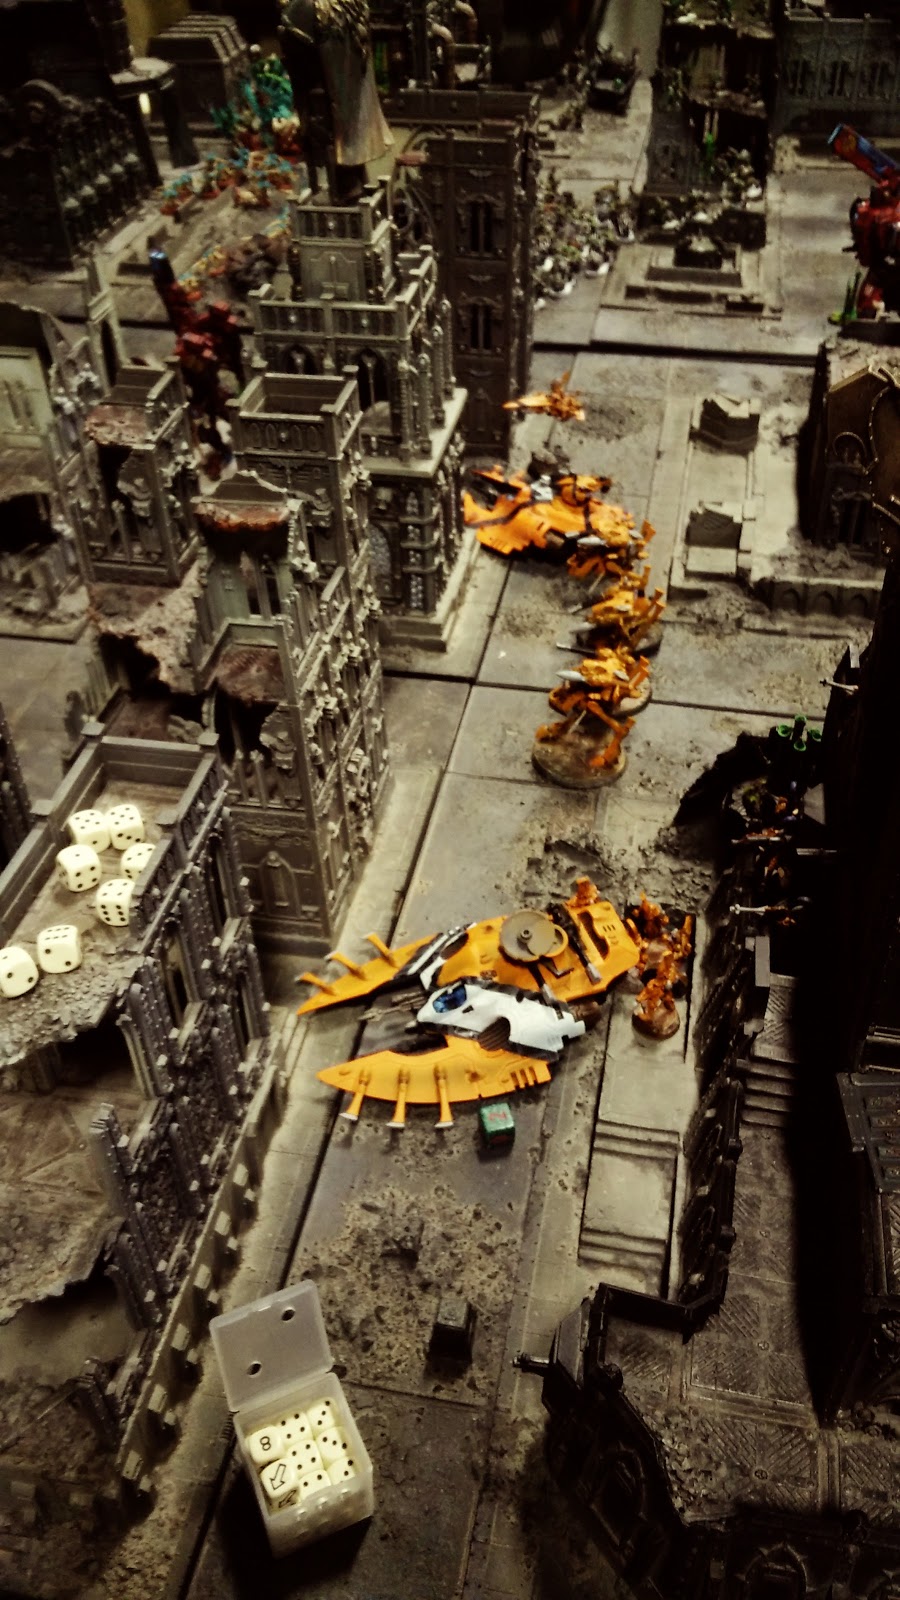
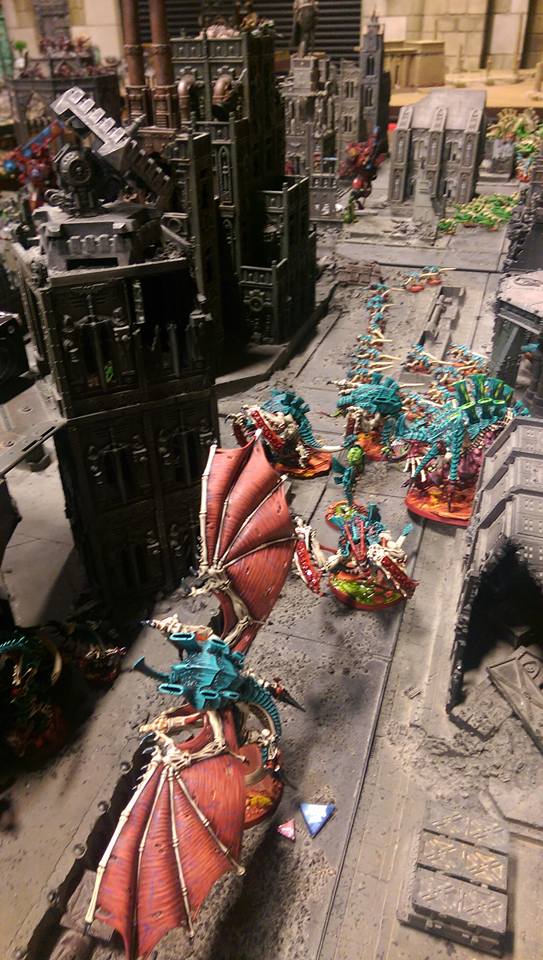
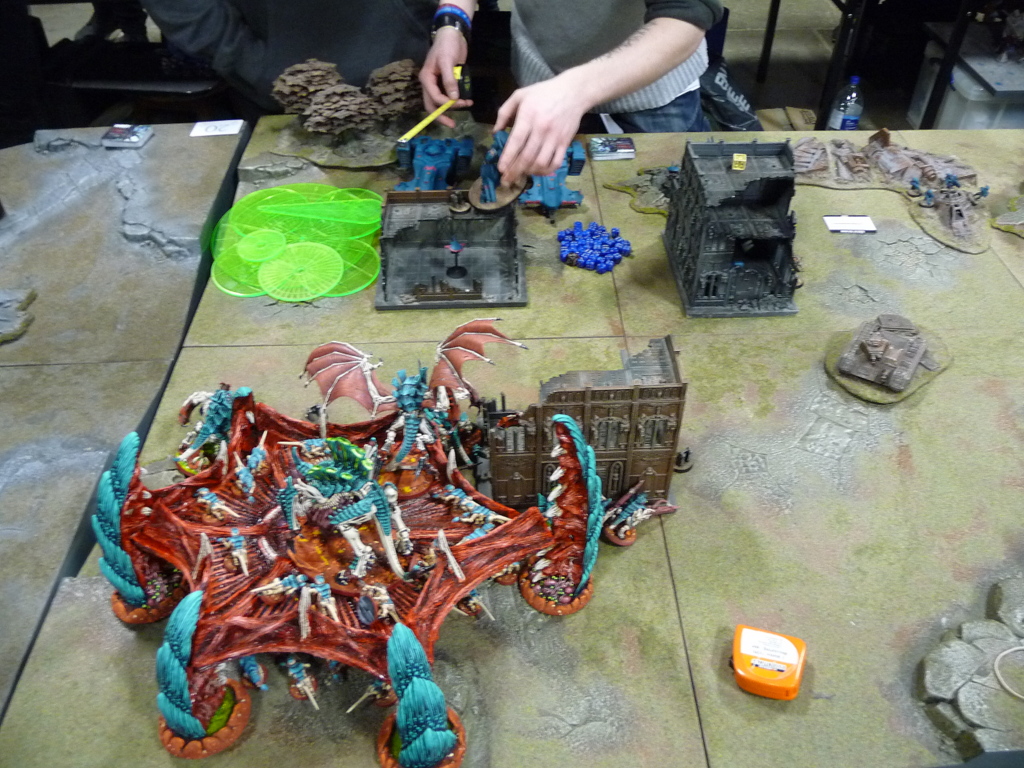
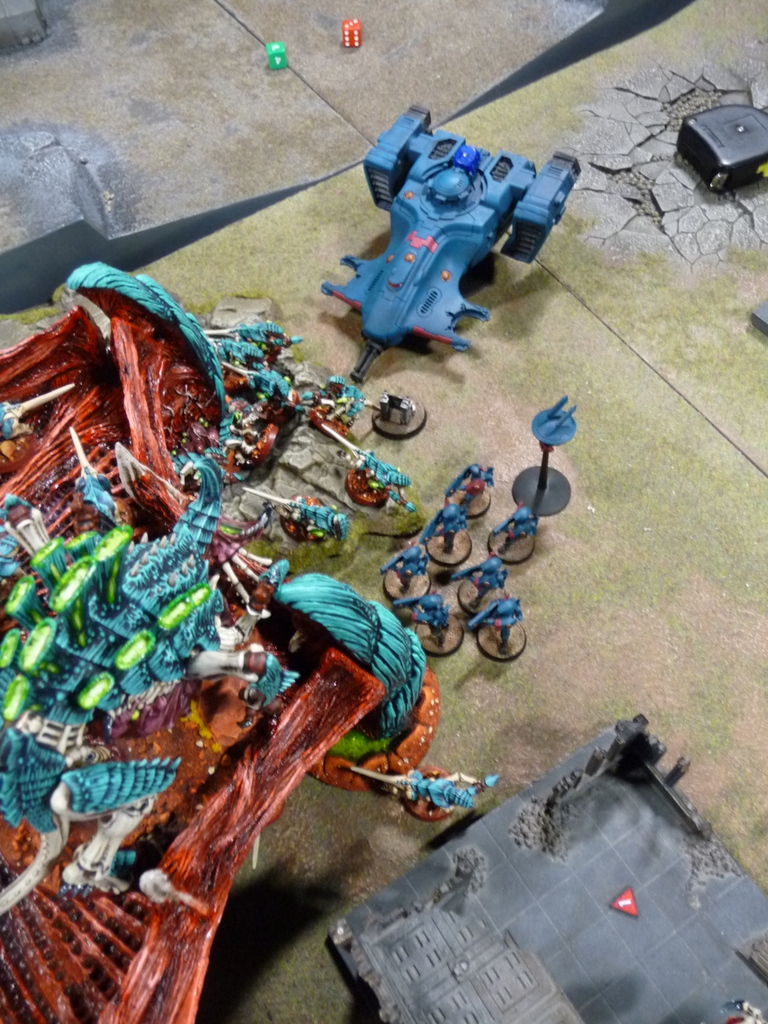
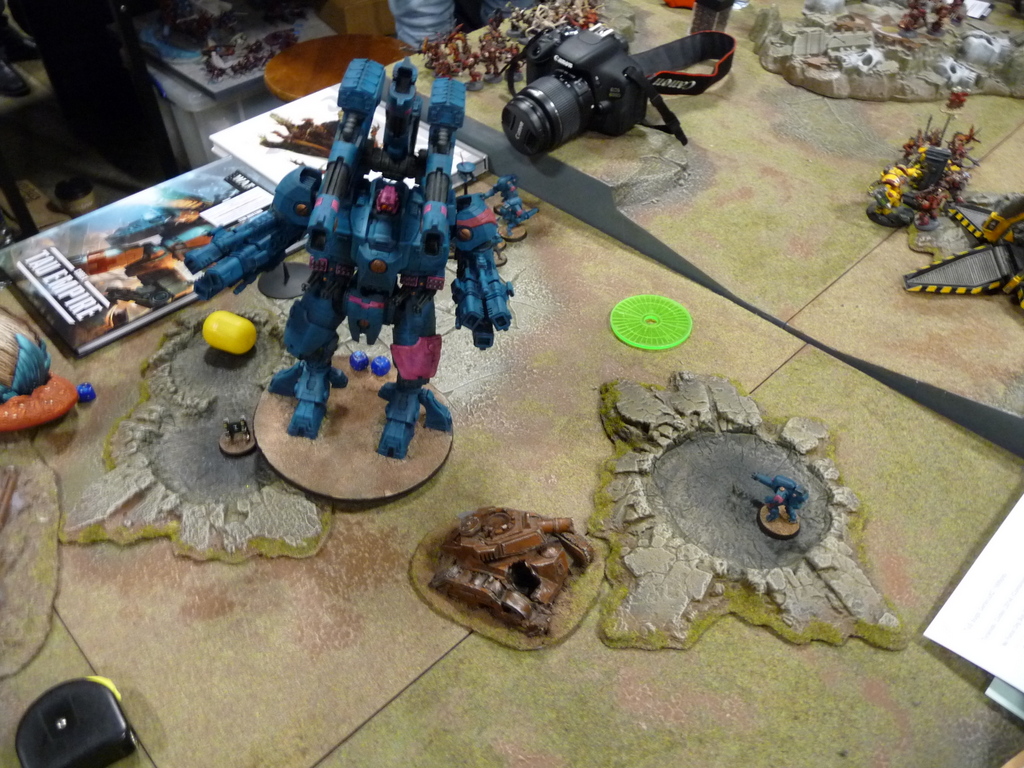
The XV-109 arrived, flying into position directly behind the Lancer. With no shield to protect his rear armour he got plasma-flamed to oblivion [everything else, including the Storm Surge missiles missing by miles].
The resulting explosion did no further damage to anyone else.
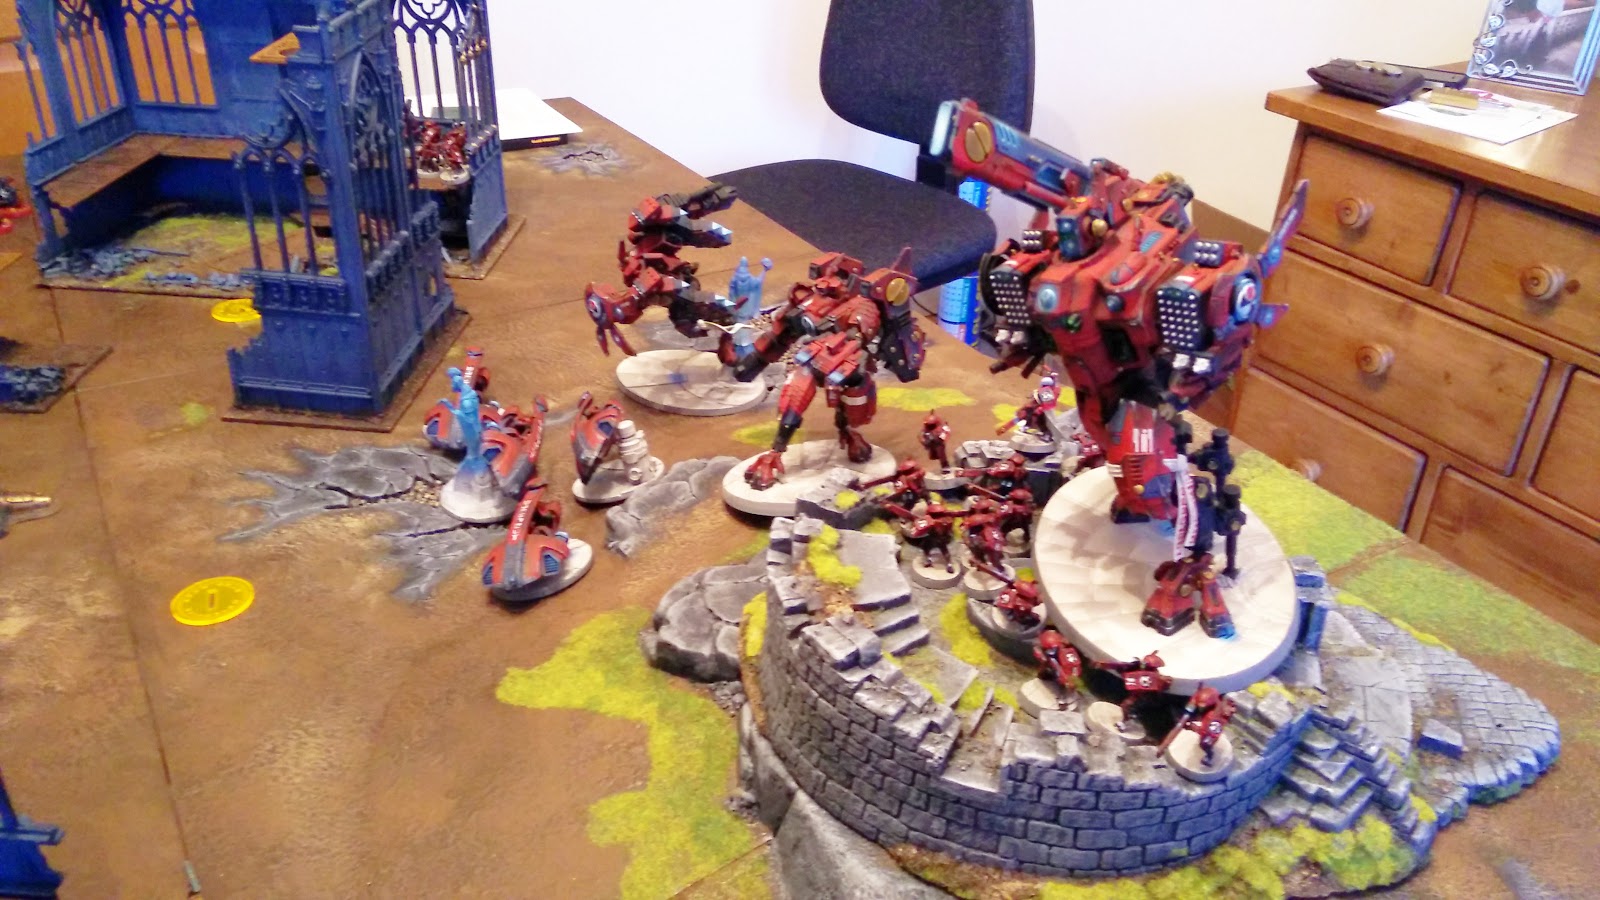
This gave Liam D3 VPs for taking down a big walker, he got 2 VPs on the roll. He also gained a VP for holding objective 1.
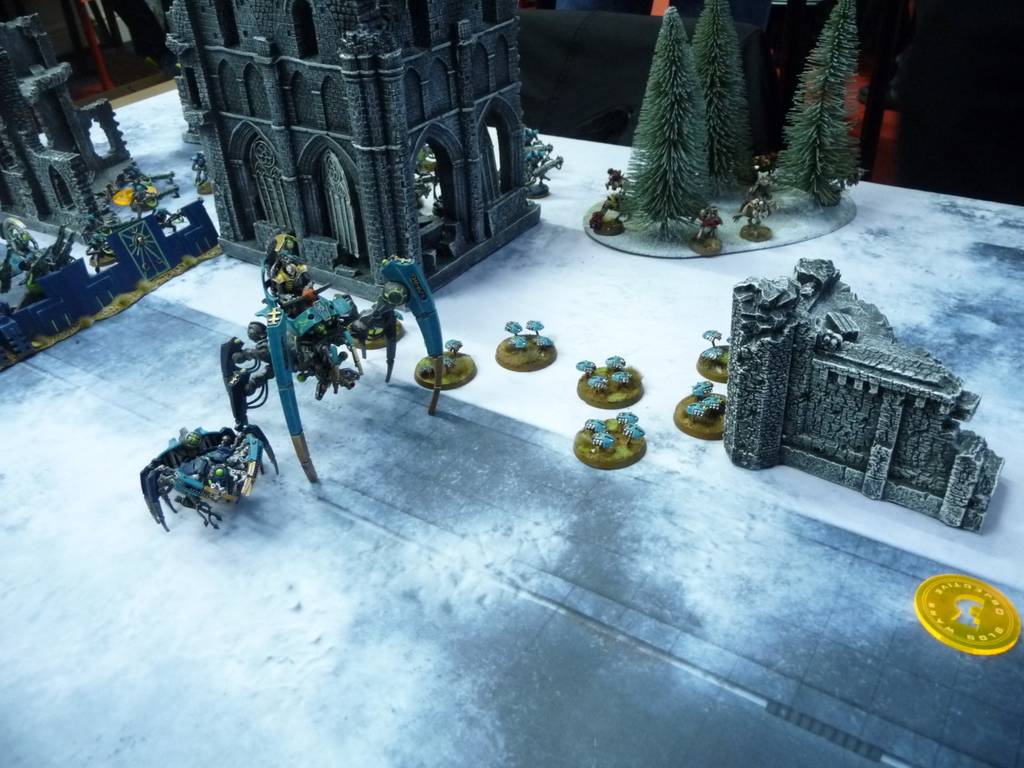
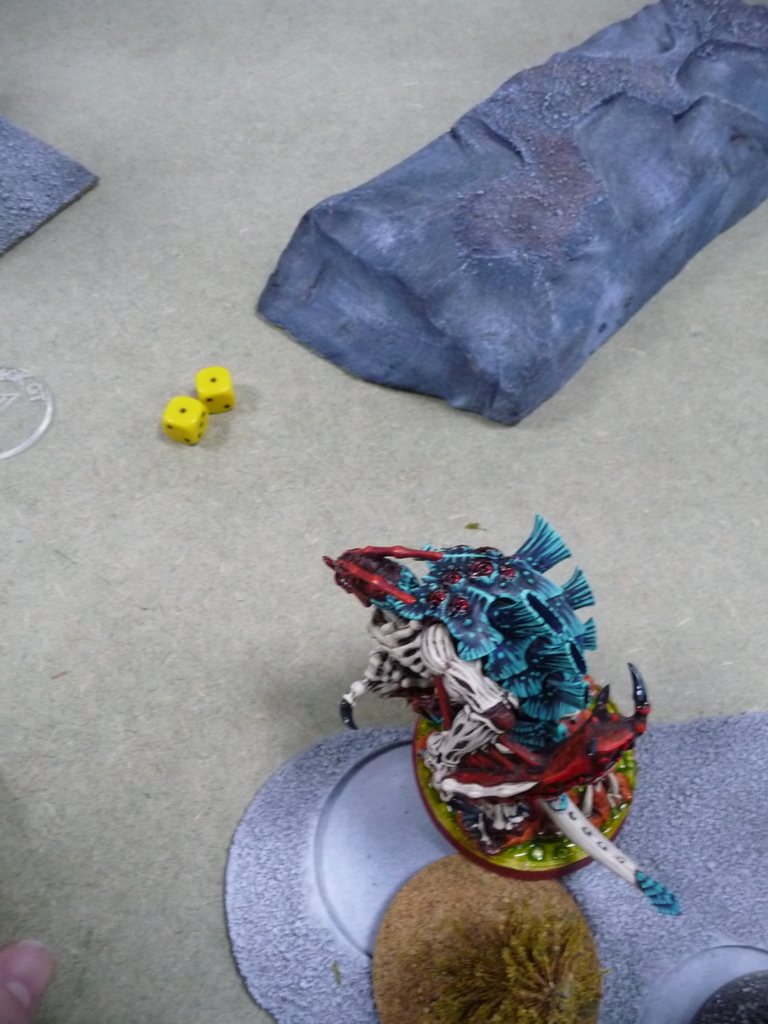
The Riptide focused on the Ravenwing, I think he won, making the score at the end of turn 2 5:7 in Liam’s favour.
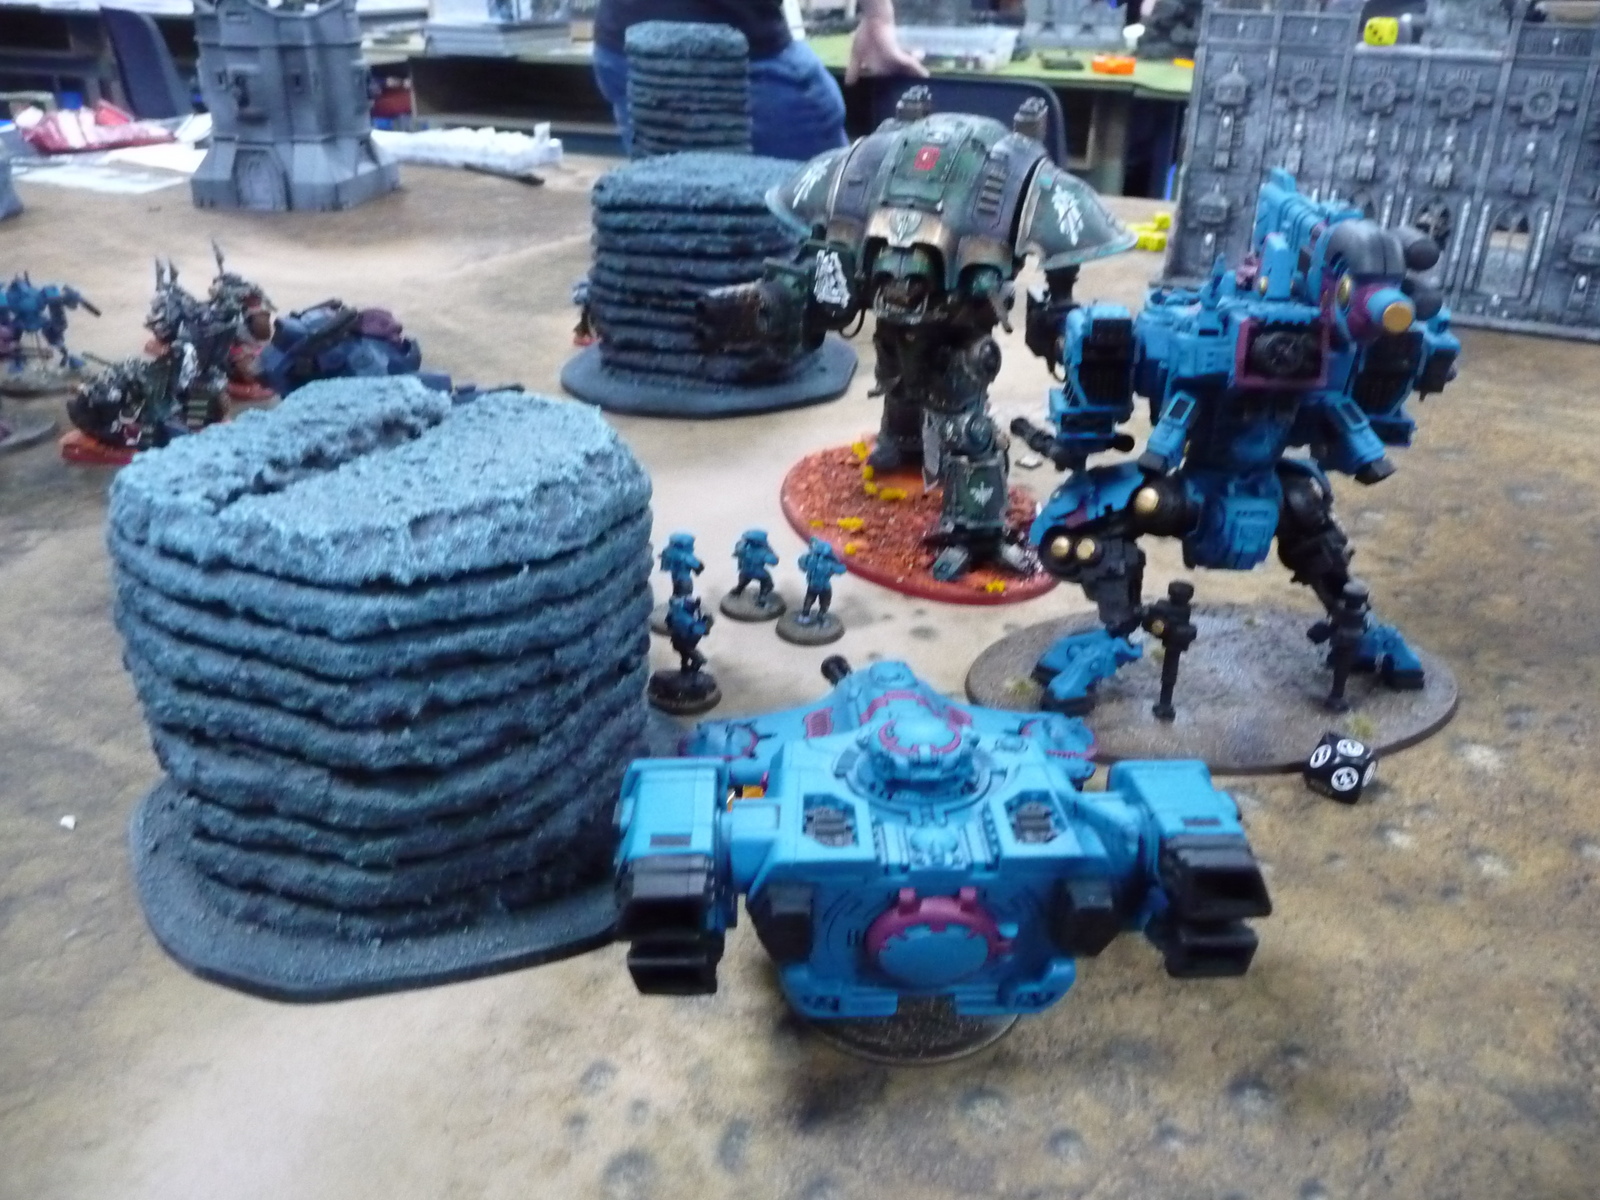
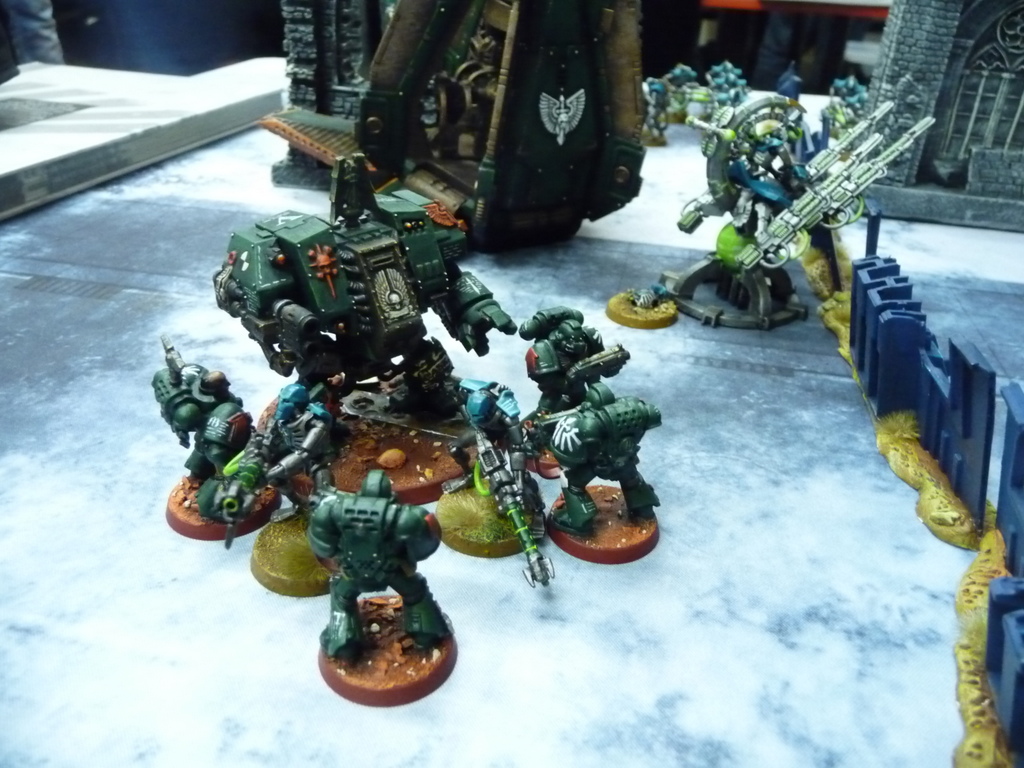
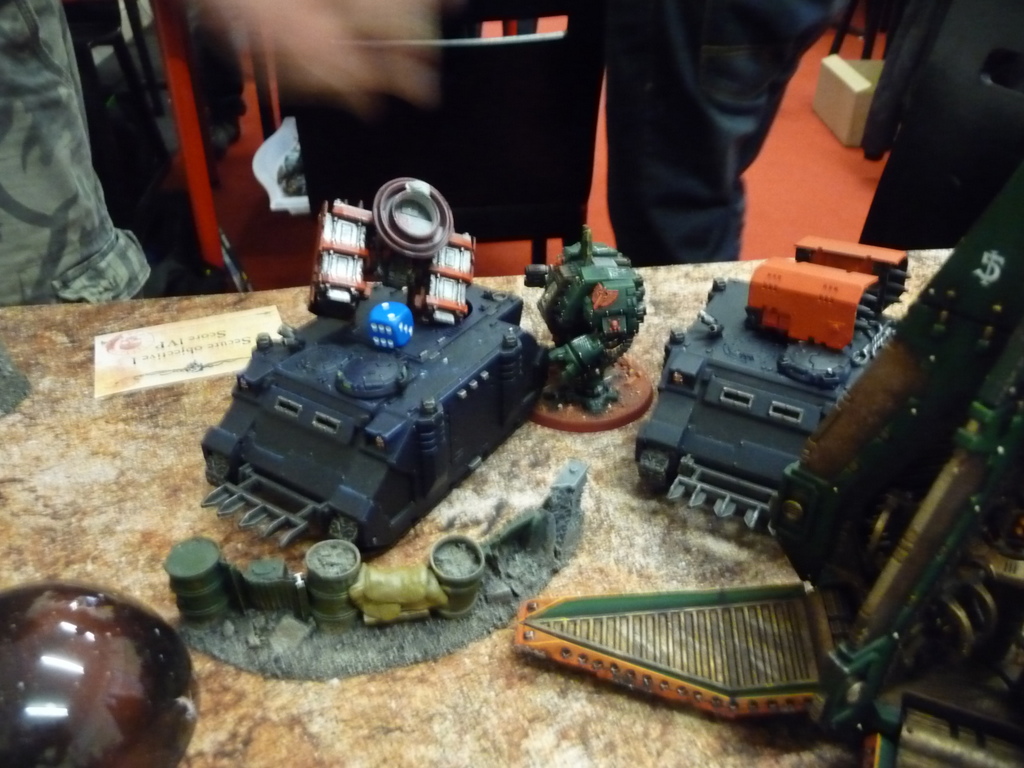
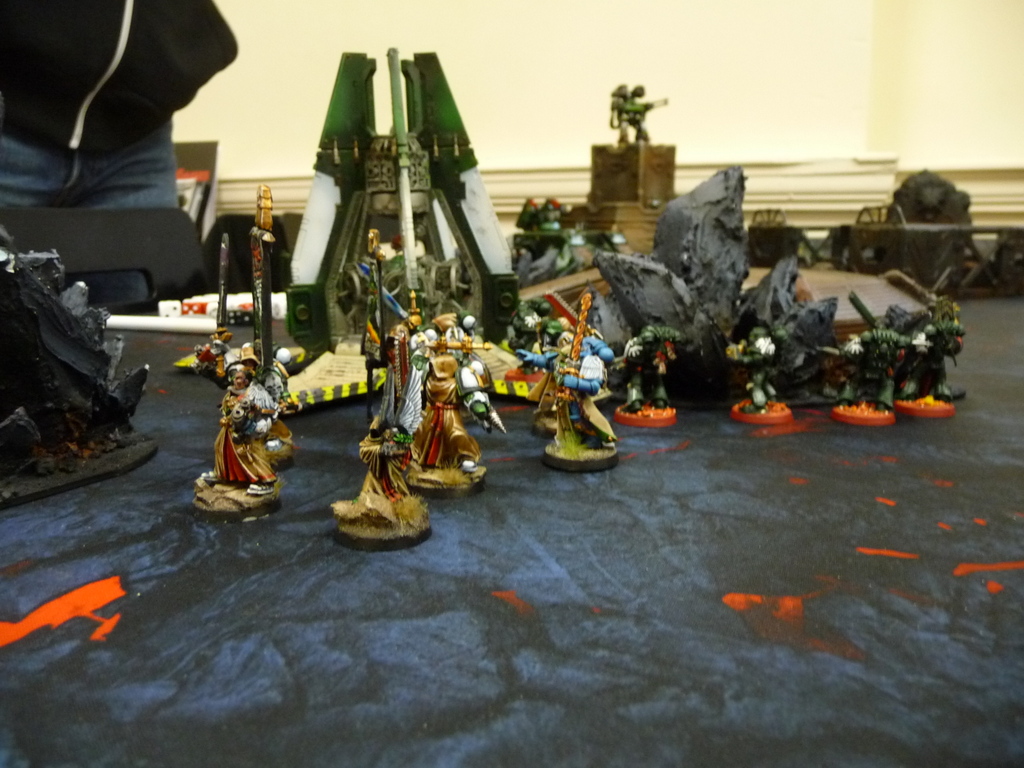
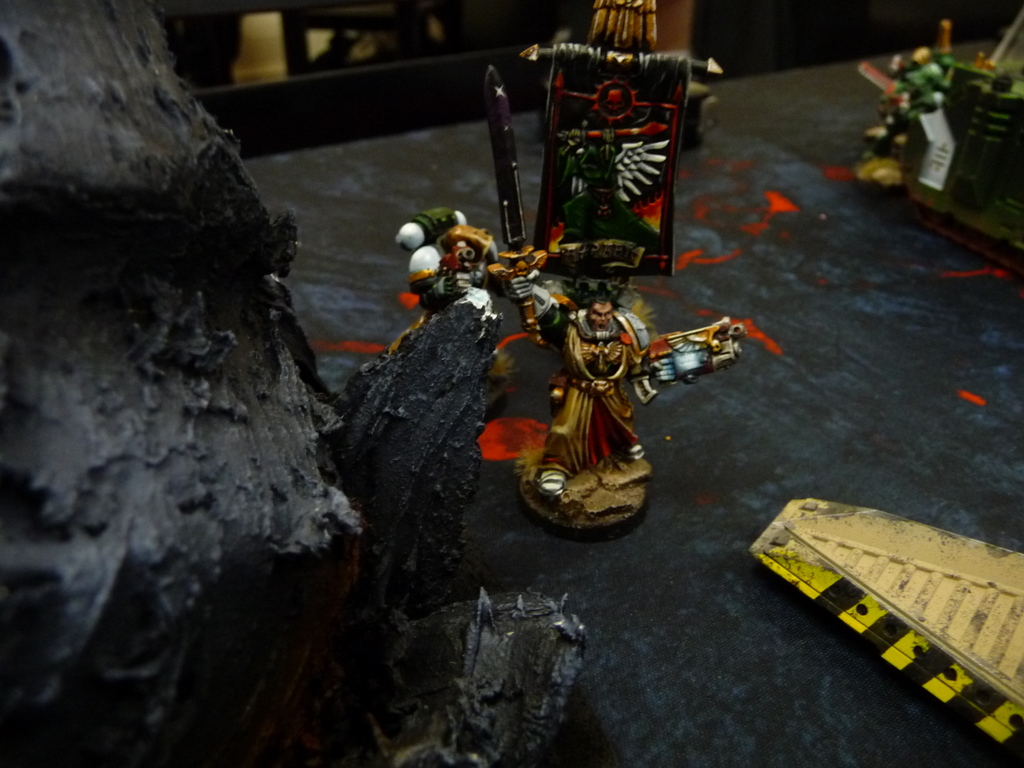
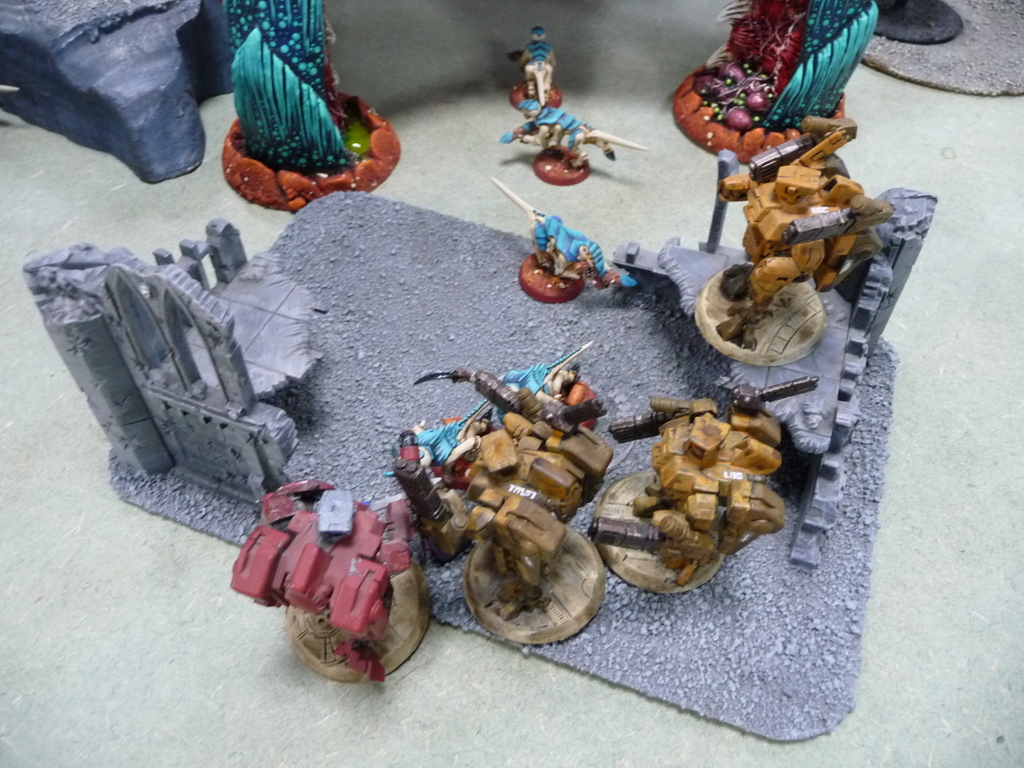
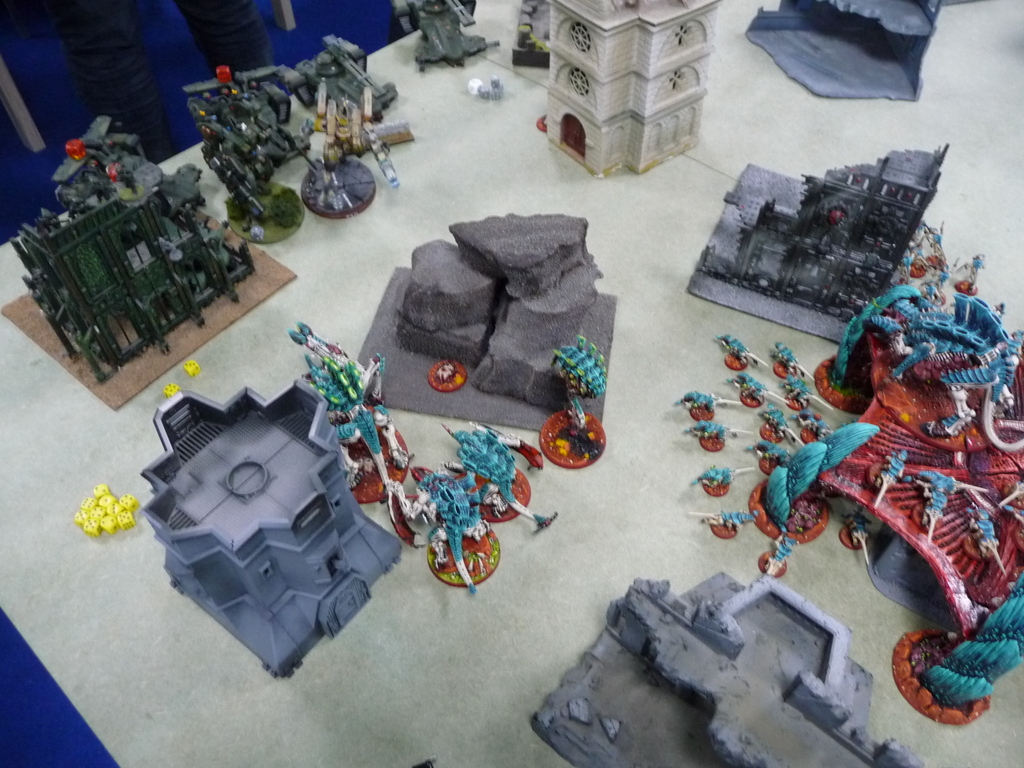
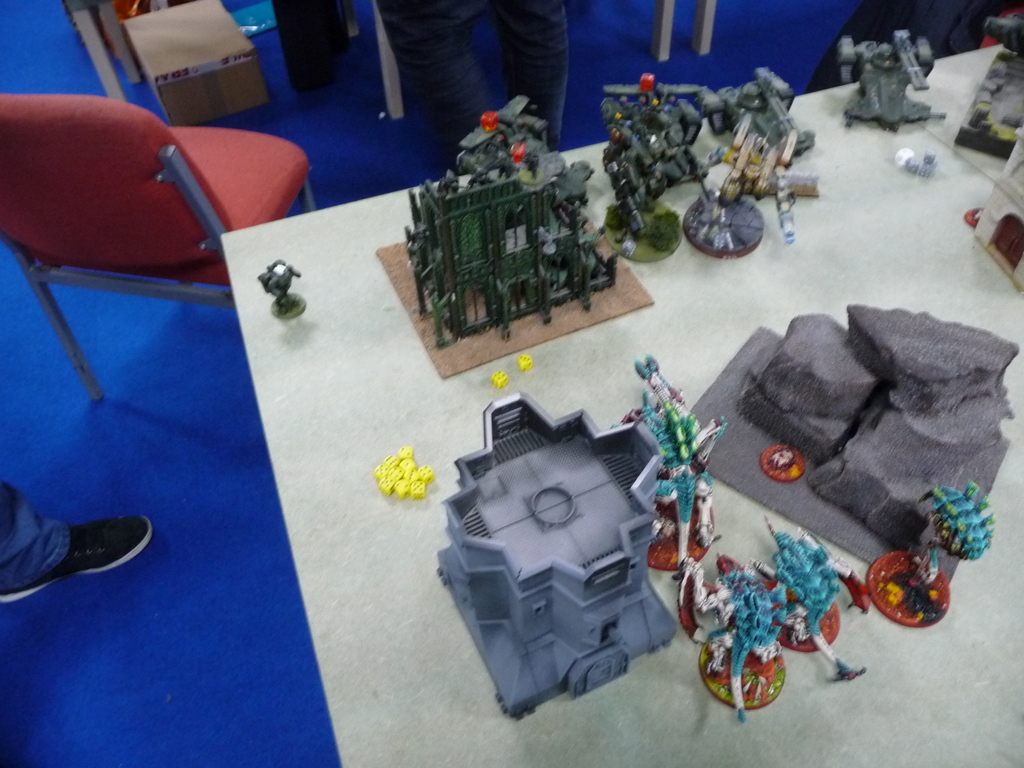
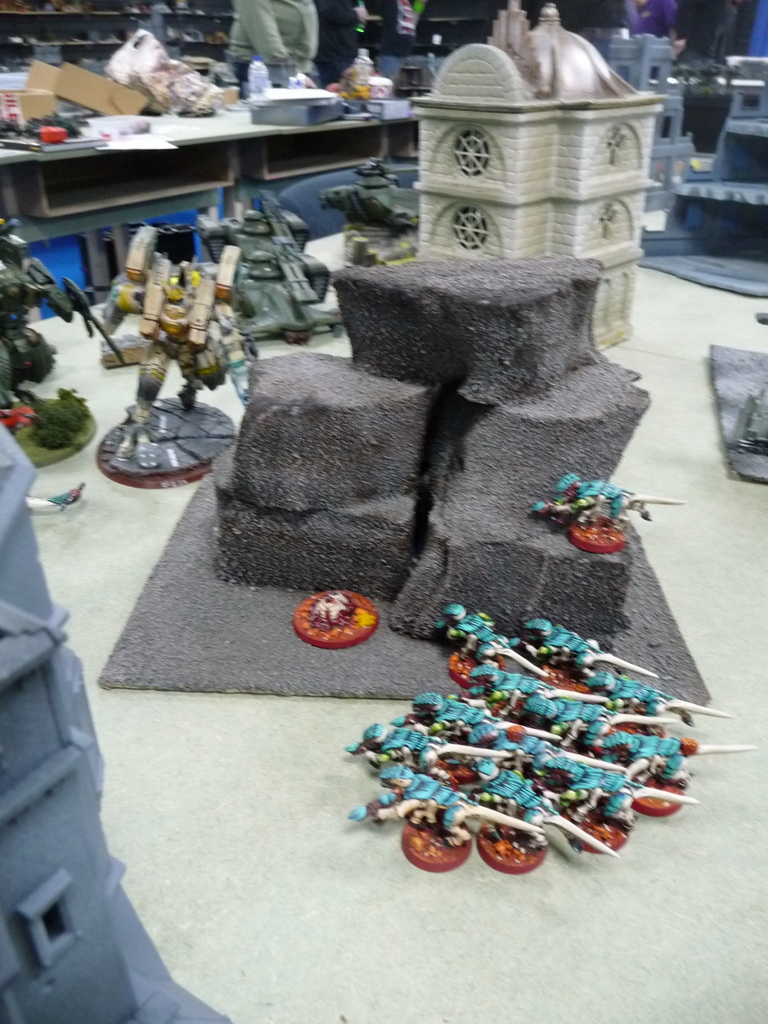
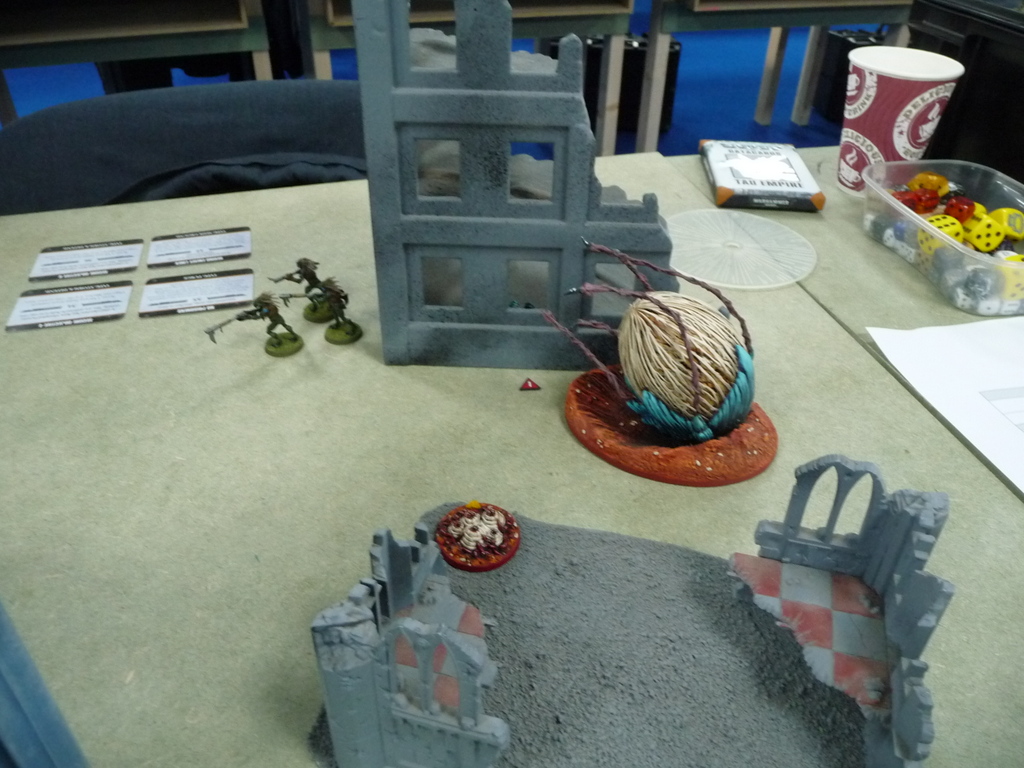
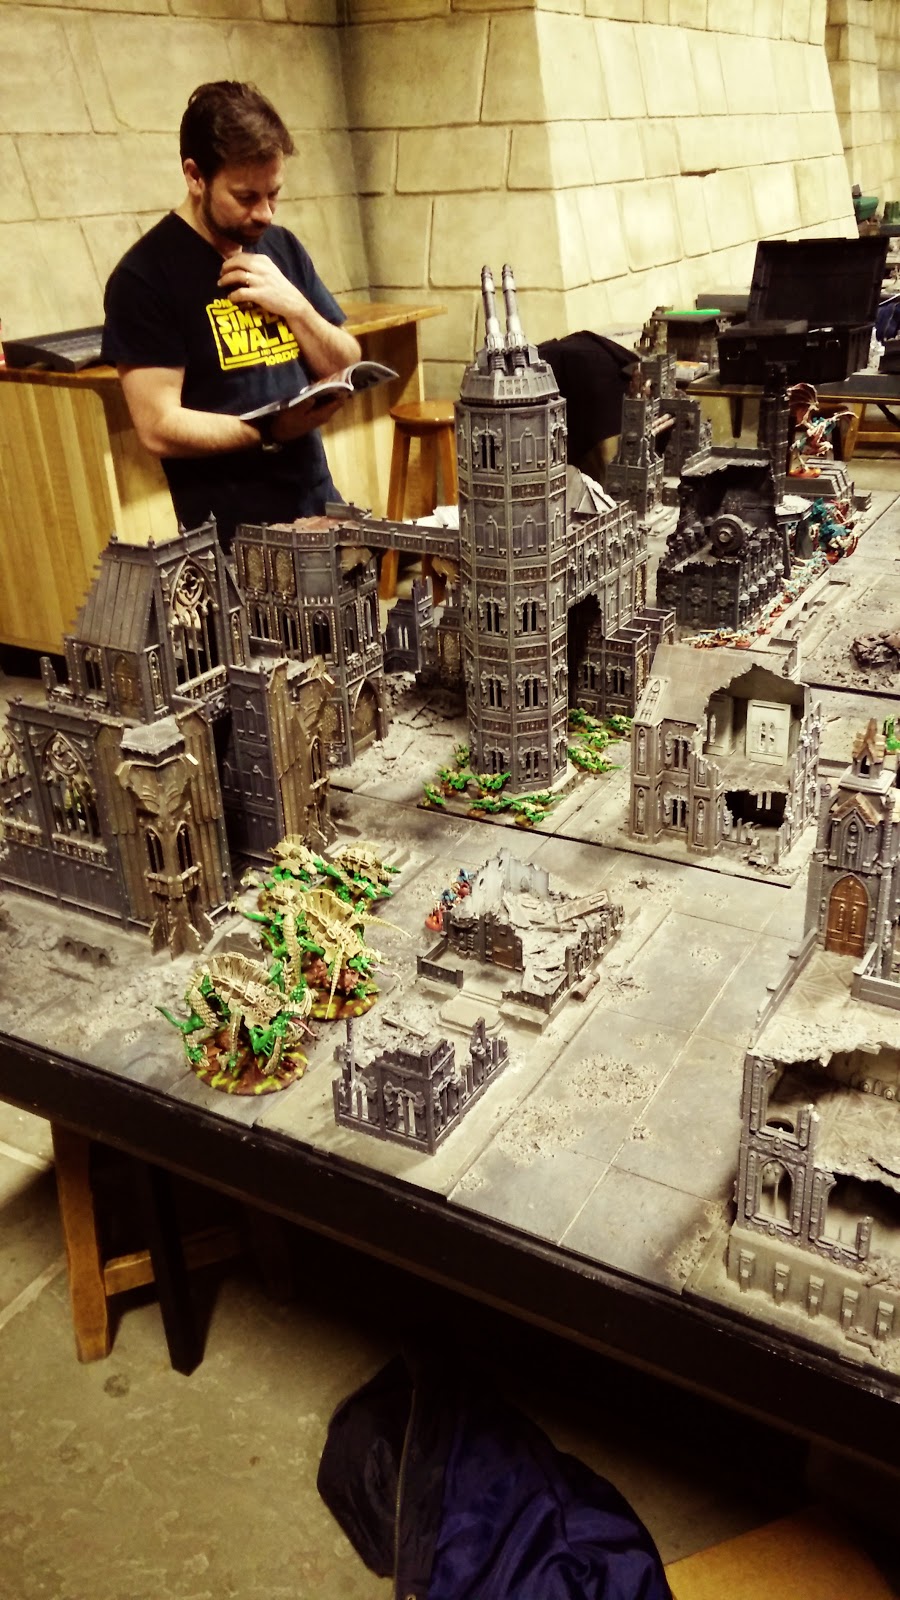
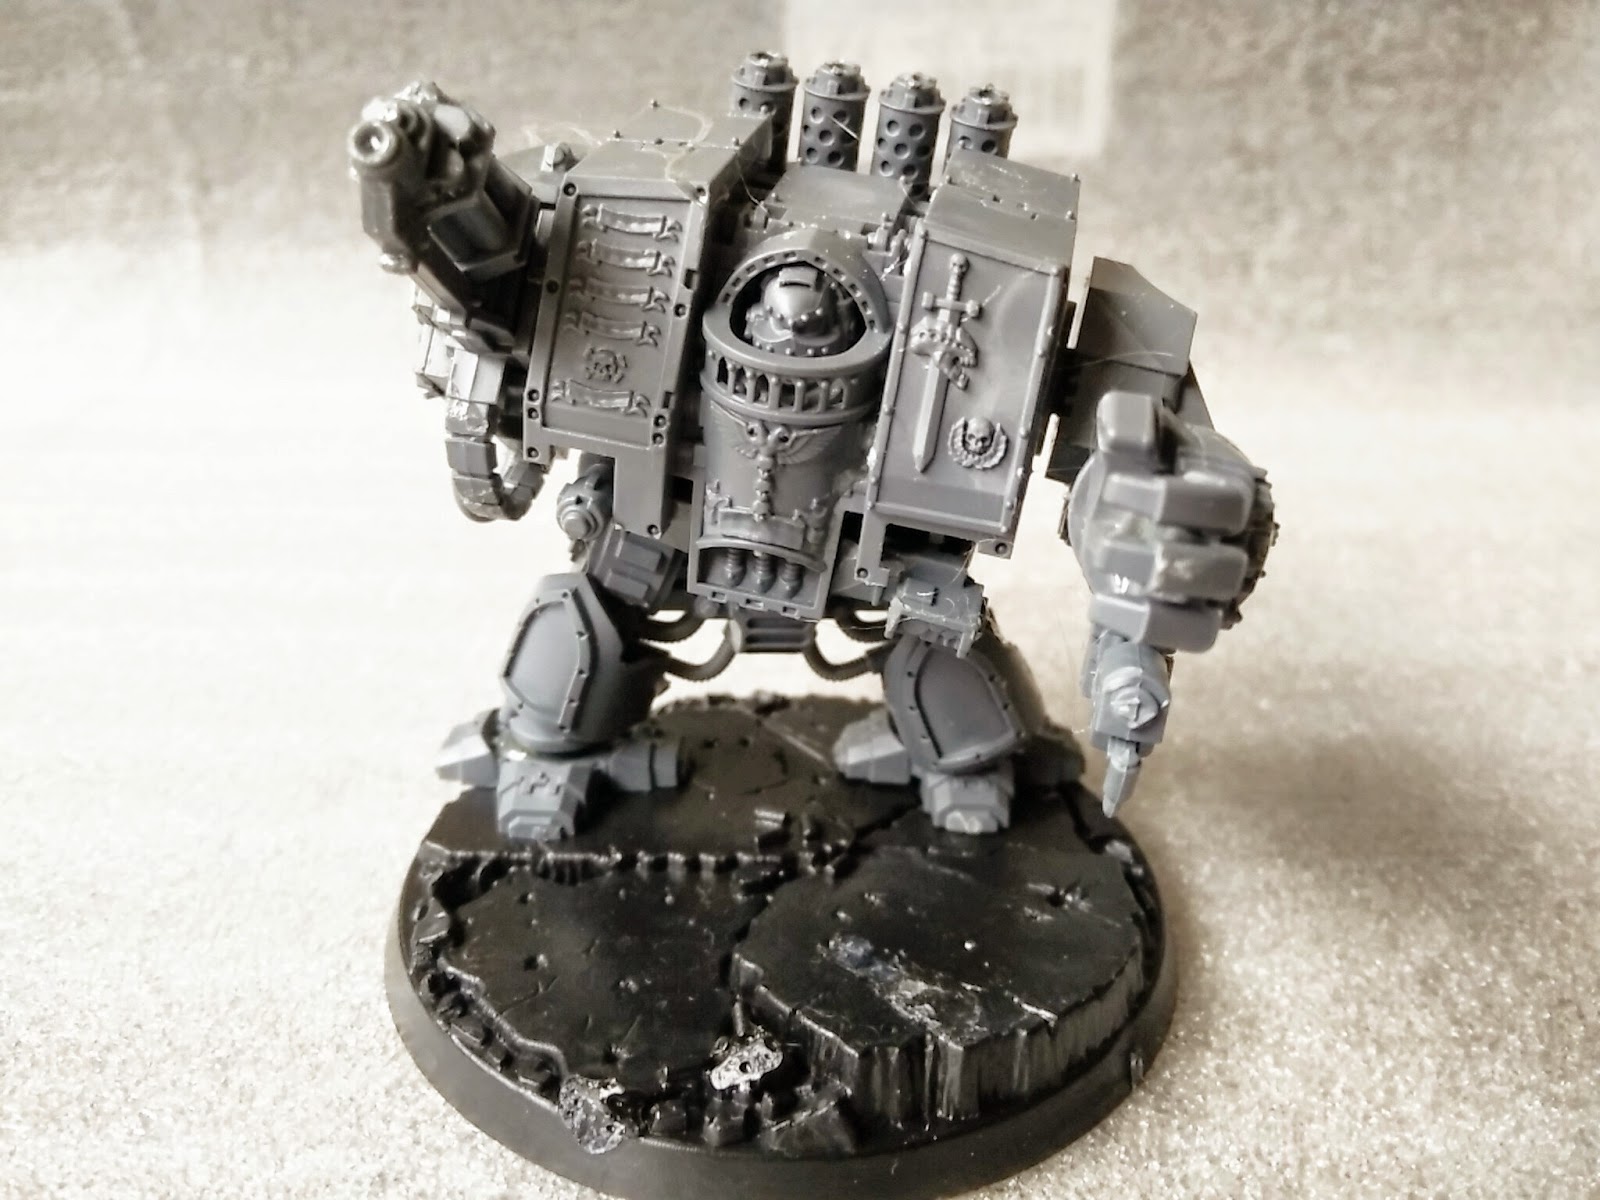
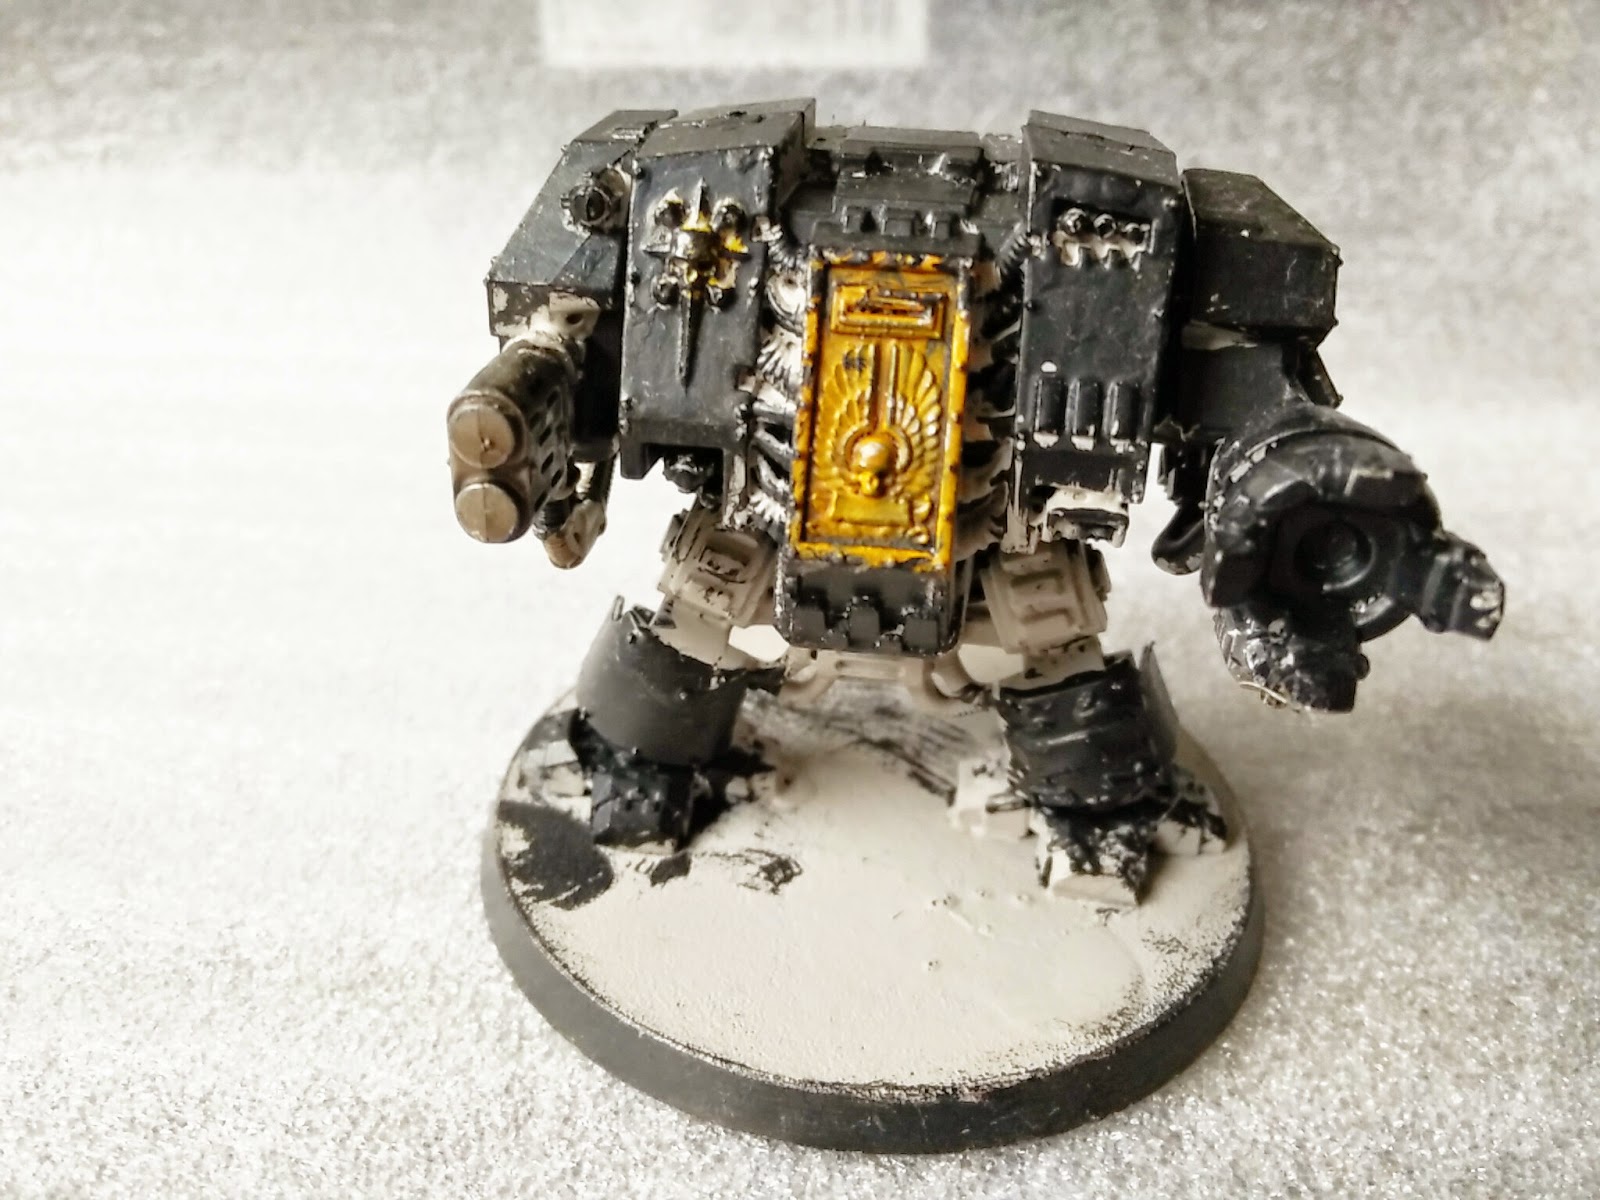
Turn 3 and Deathwing arrive. I need yo kill their leader for D3 points to get me back in the game, it’s at this point I’m regretting the Lancer not assaulting those Fire Warriors he’s joined to.
I throw everything at them but a Warrior and the Leader survive to thwart my attempts. I do however score 2 VPs for gaining objectives 5 and 4, we’ve drawn even again.
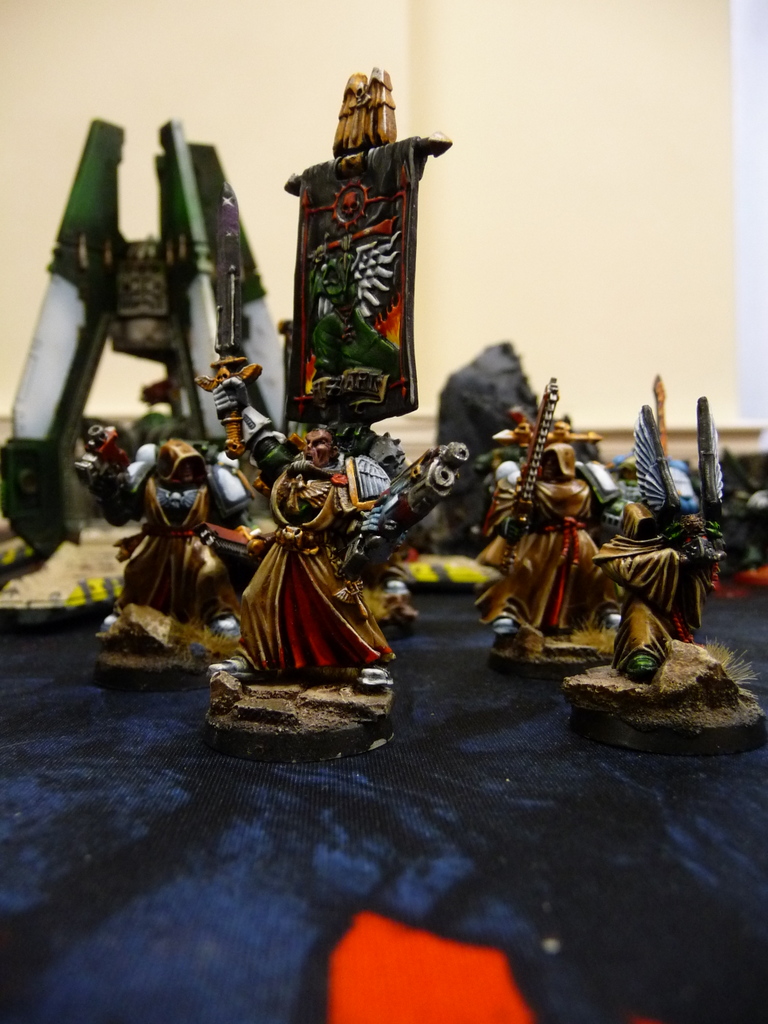
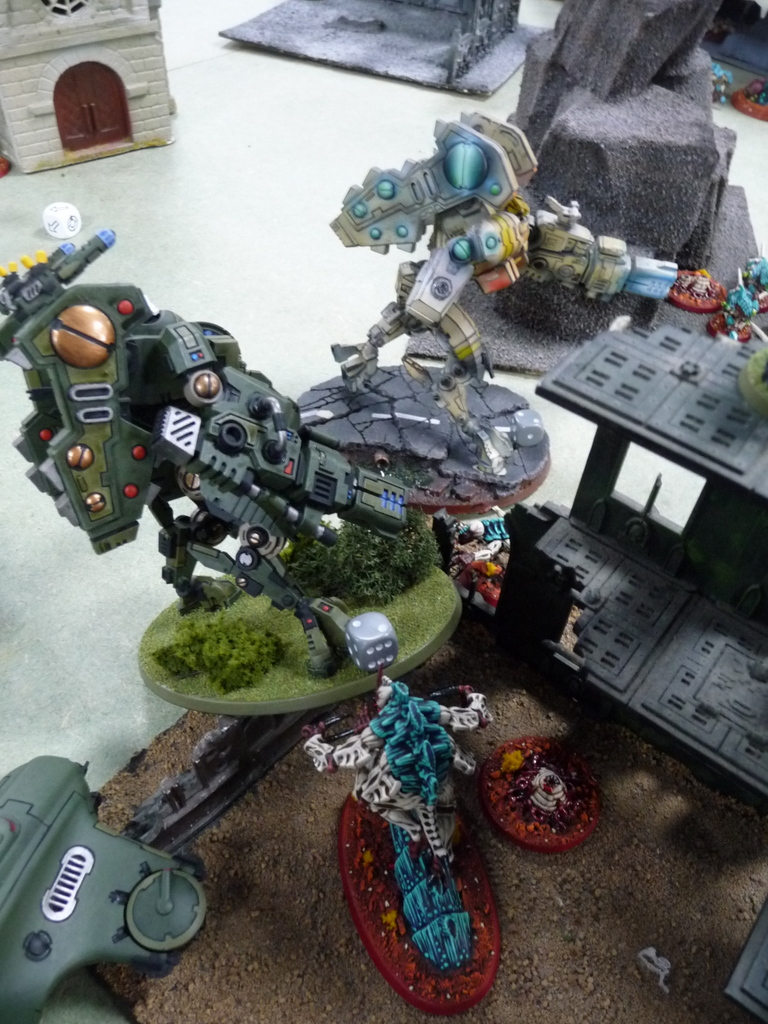
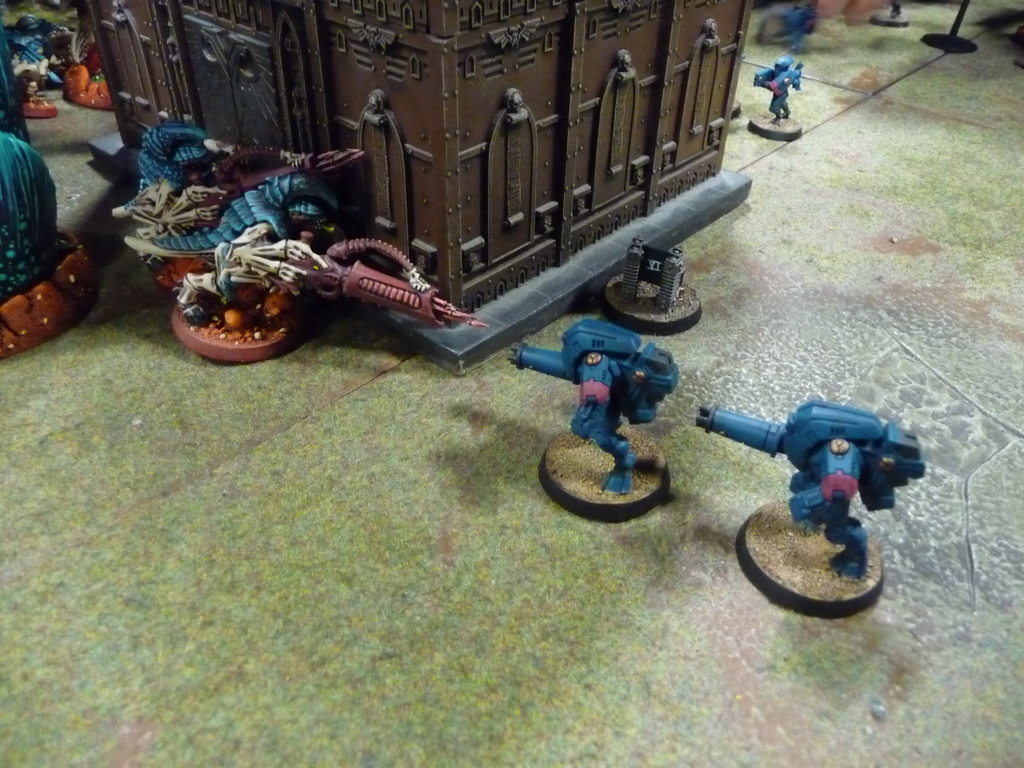
The Deathwing assault at some point [presumably the turn after they arrive] with only three left, one being the sergeant with powers sword, another the Apothecary with Narthecium and the last being my ‘big gun’ with power fist I do little damage thanks to some upgrade that prevents me getting the extra attack on the charge. The Riptide would subsequently crush the three of them and controlling objective 1 elsewhere would take Liam into the lead by 1 VP.
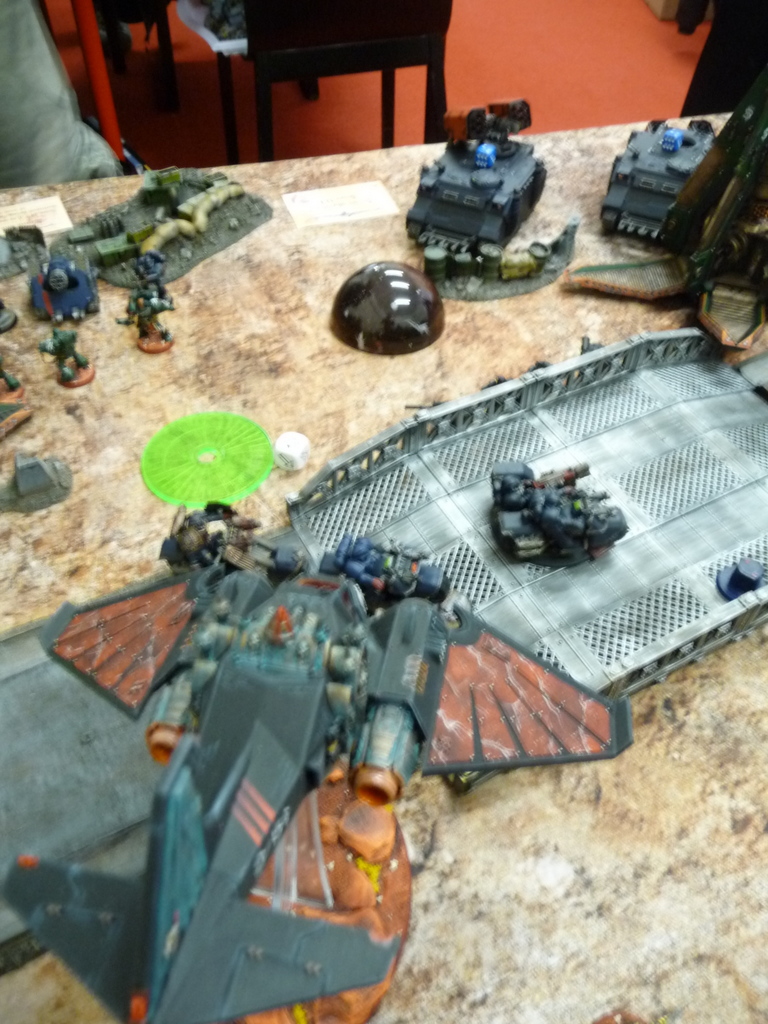
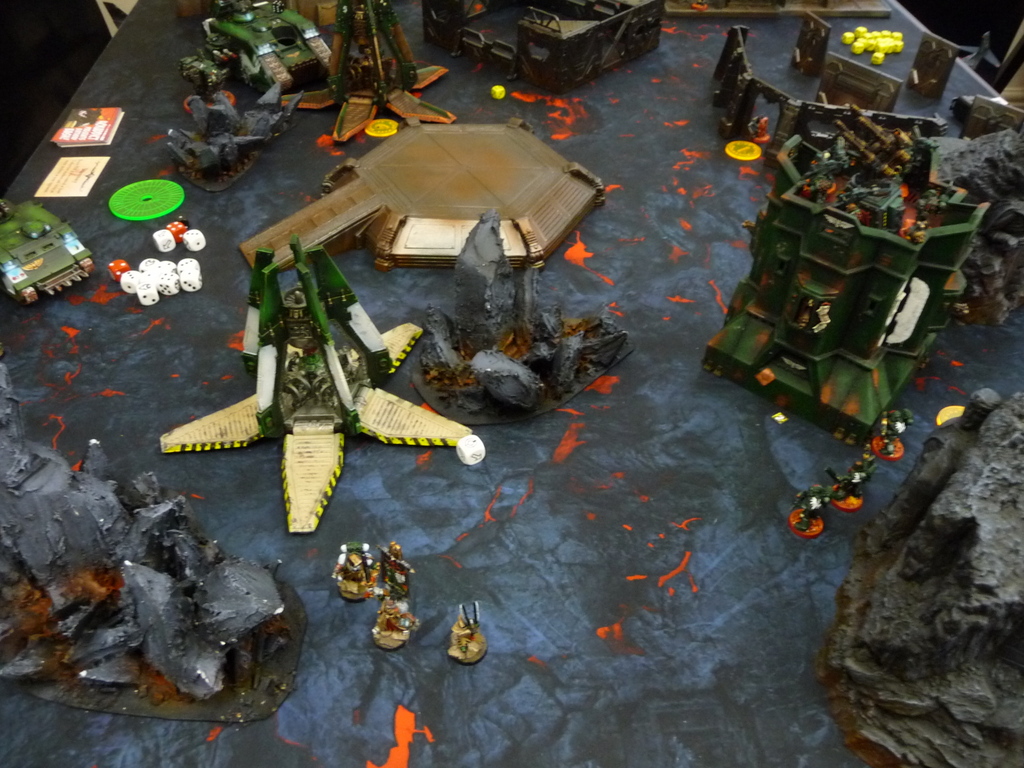
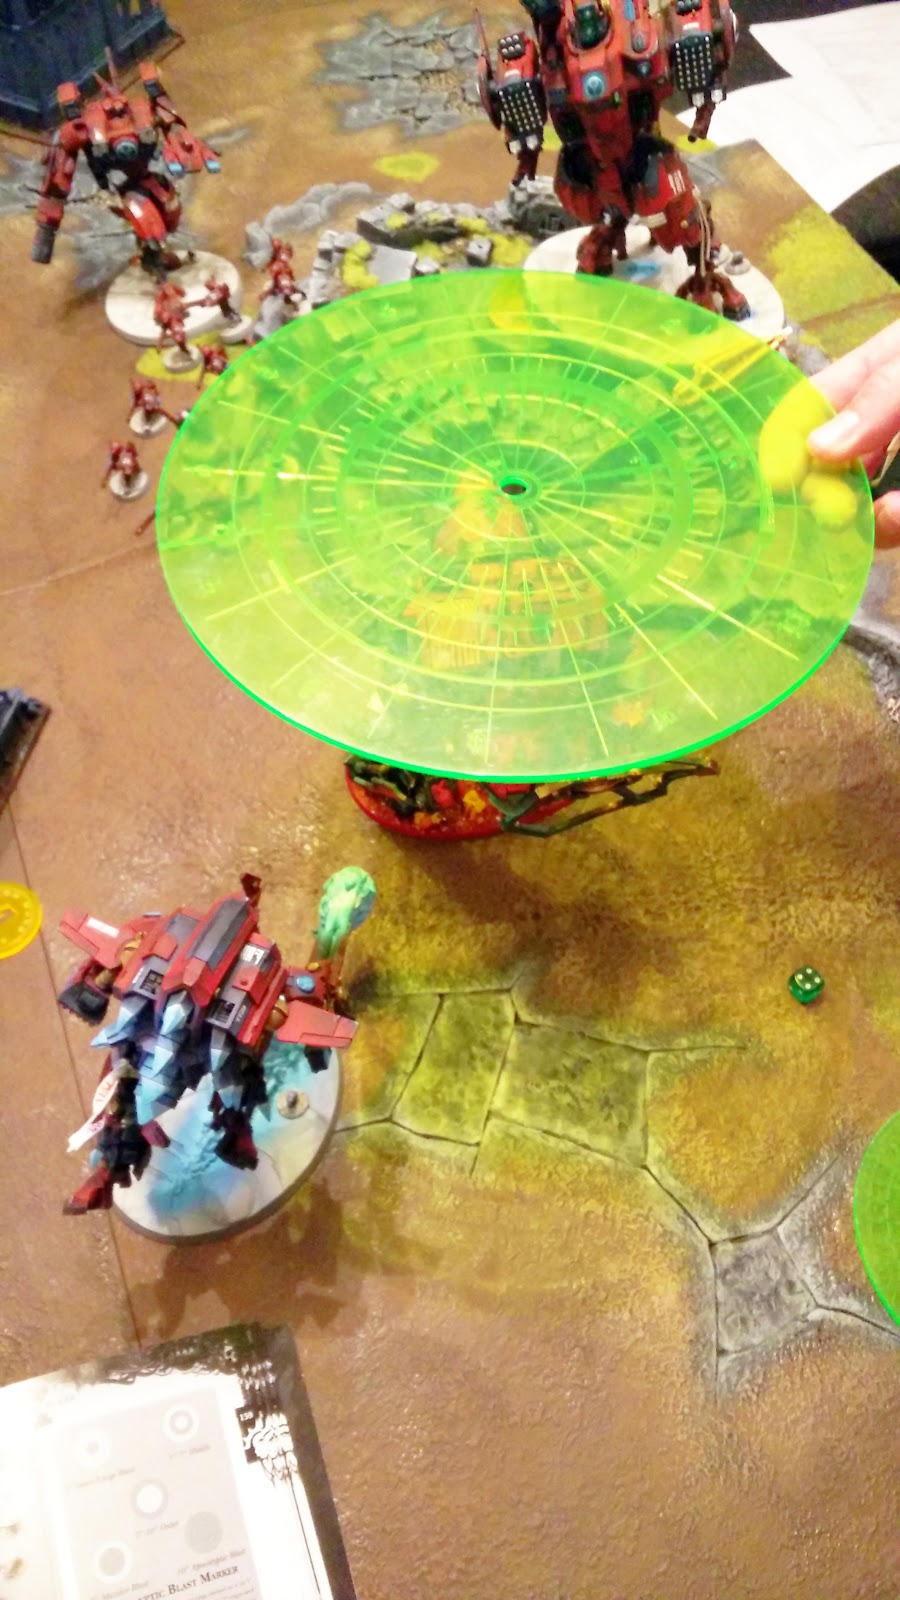
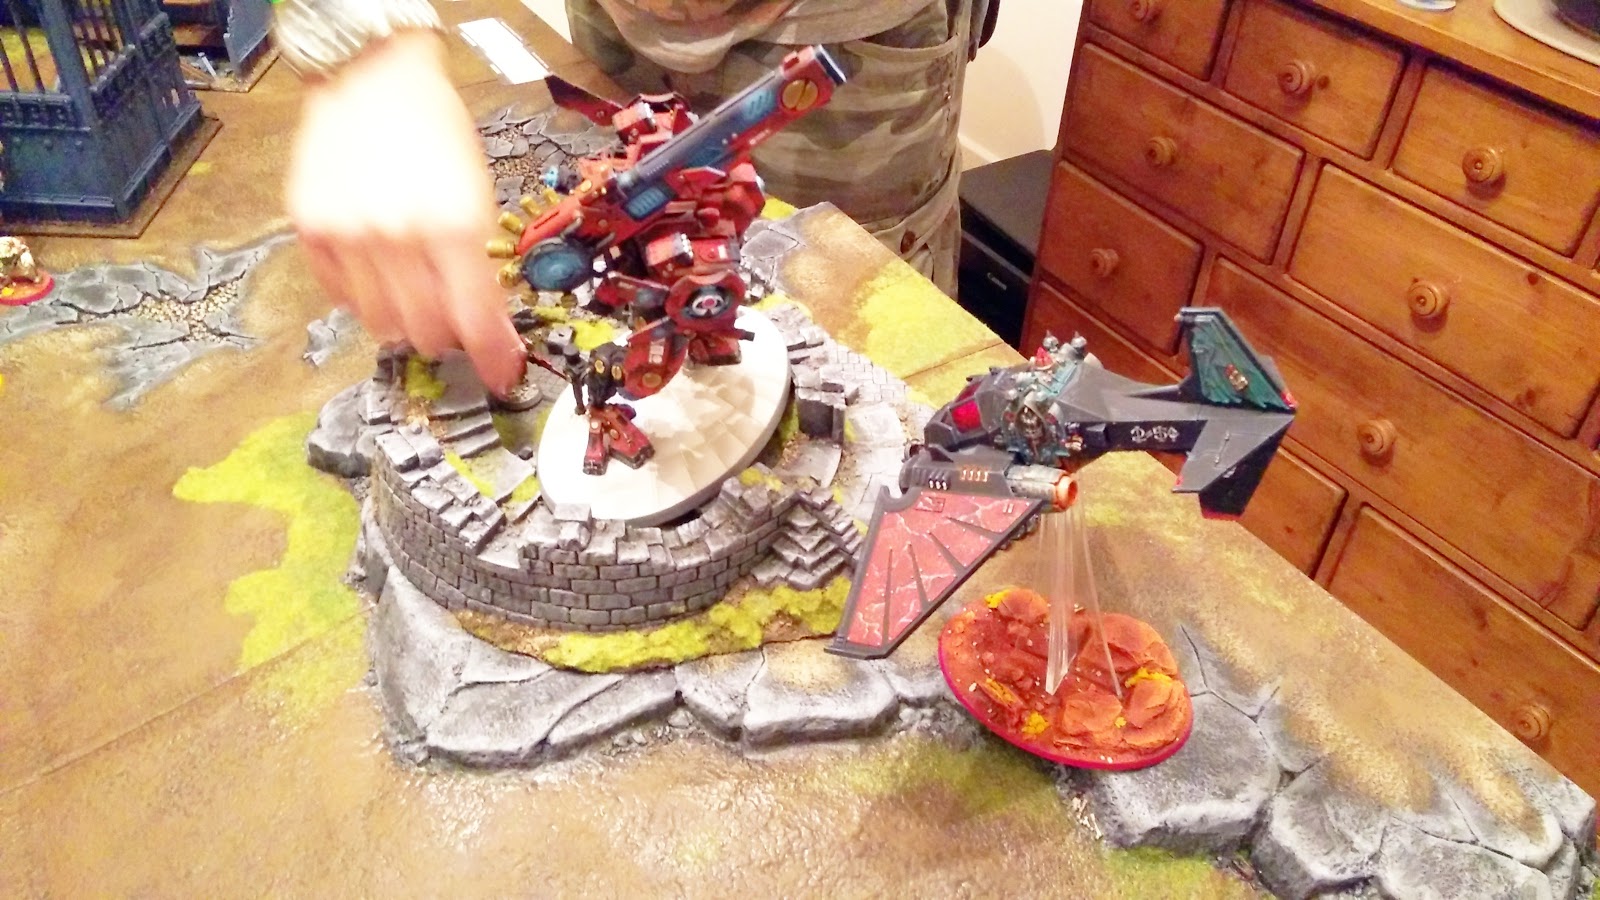
My next turn saw the Dark Talon hover, so I can get a shooting attack on the Warlord and hope the Rift Cannon will double and take out the Storm Surge too. Unfortunately the cannon misses, deviates wildly and no doubles 😦 The Warlord survives the Hurricane Bolter by heroically throwing his bodyguard into the blessed bolter shells. Thanks to hovering I couldn’t release the Stasis Bomb, so the mission and Slay the Warlord goes begging I get nothing this turn still 7:8
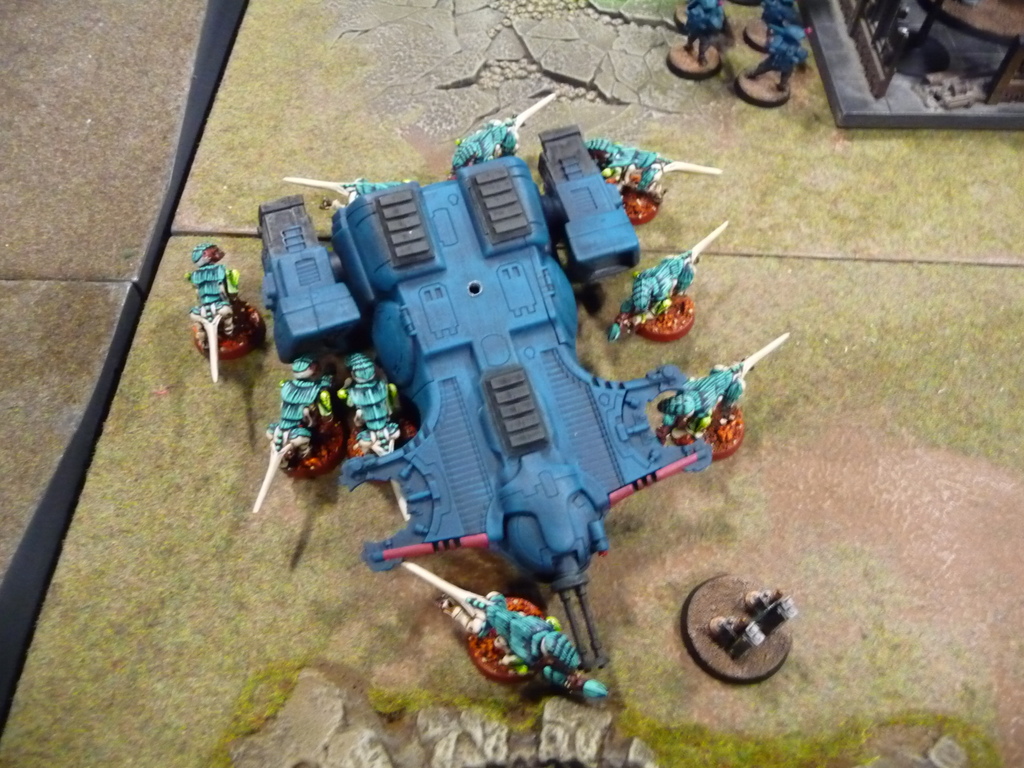
With the flyer vulnerable in hover mode the Storm Surge brought all it’s weapons to bear.
Which were significant, with obvious results.
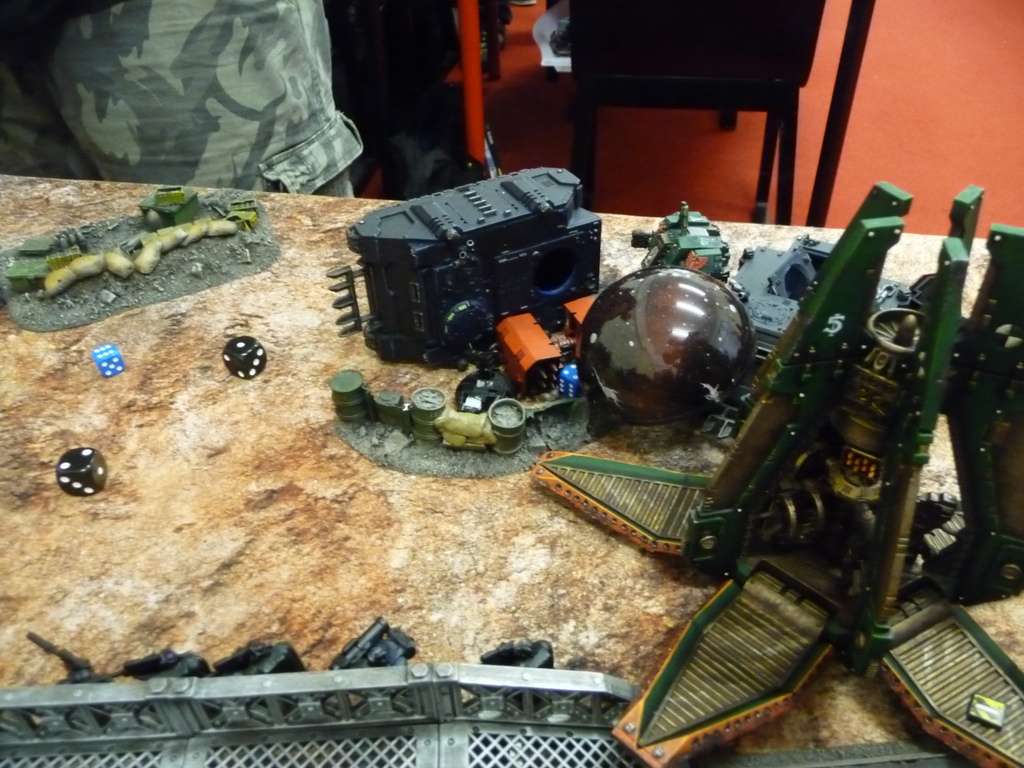
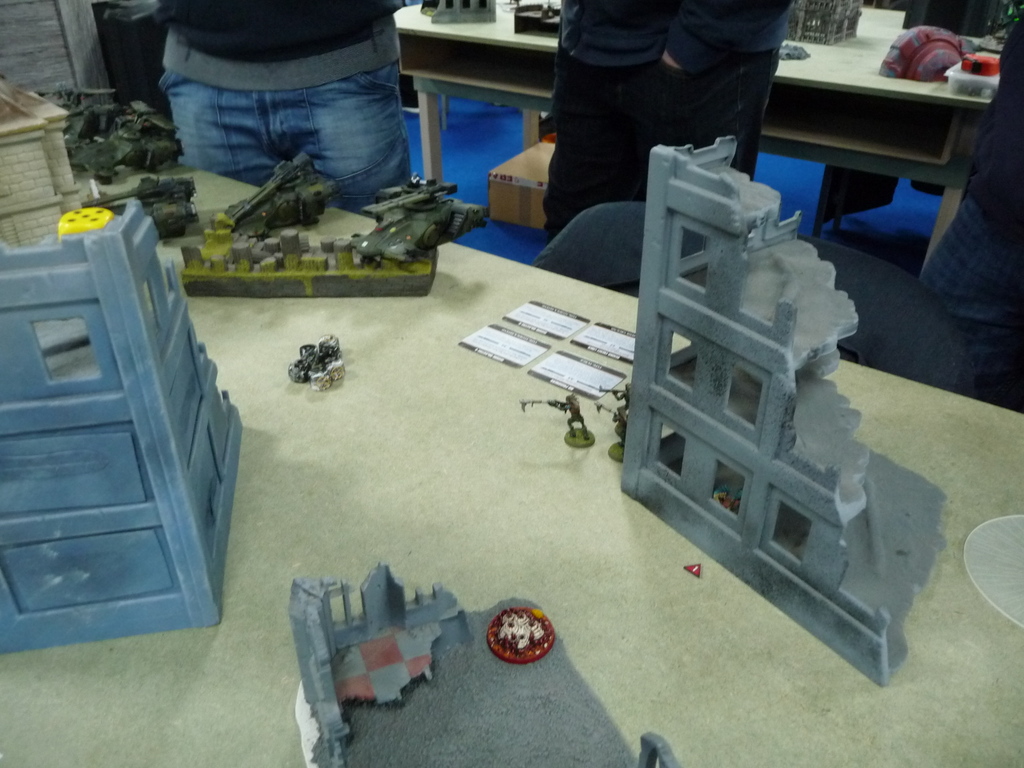
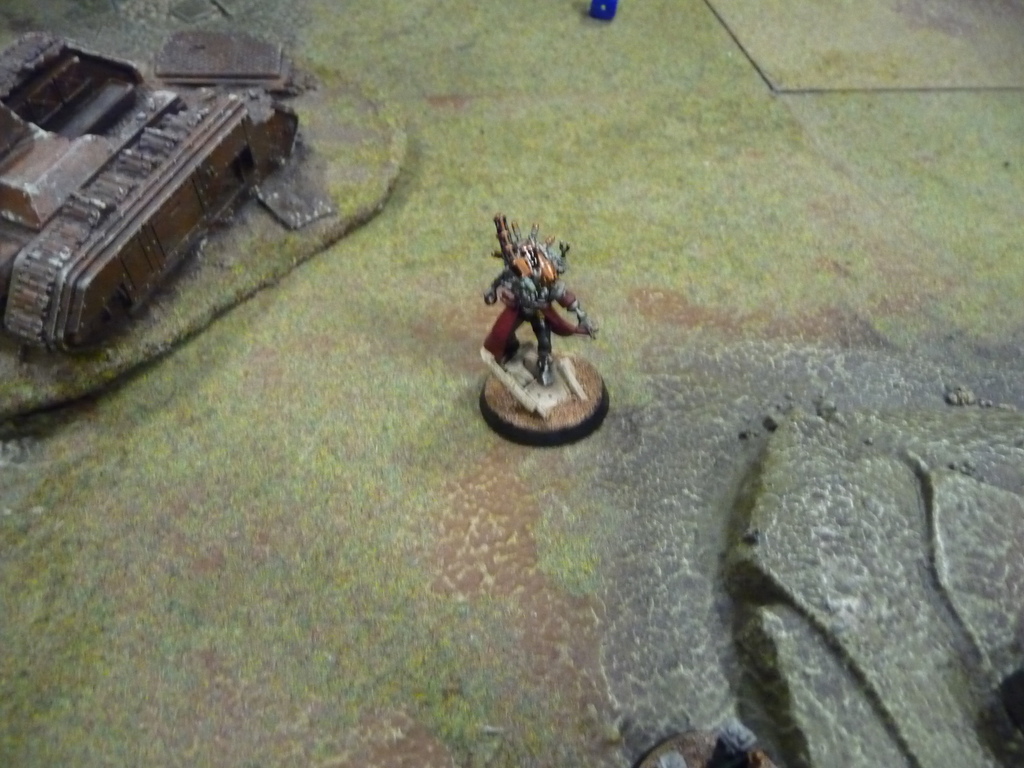
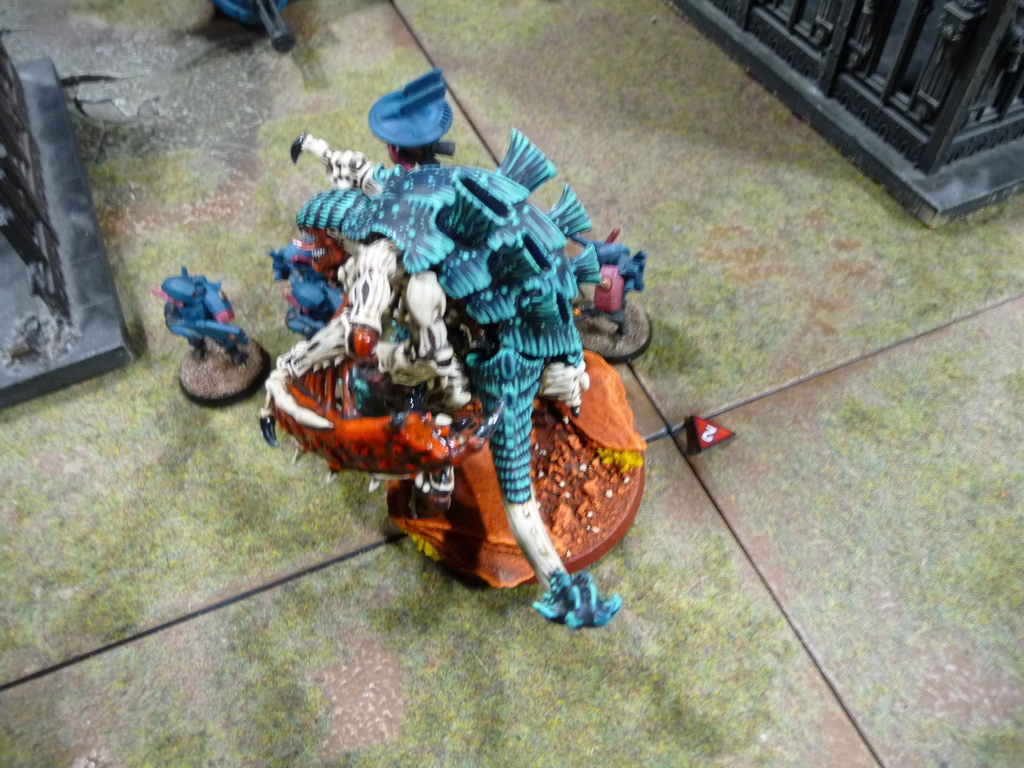
The Riptide roasts the Techmarine getting Slay the Warlord.
The other Riptide smashes the Bastion to pieces [has it ever survived?] Liam gets Line Breaker, completes another mission of being in my DZ, claims objective 3 AND gets D3 VPs for having twice as many objectives as I do. You guessed it Liam gets 3 VPs on the roll. So the maximum 5 VPs from all his Maelstrom cards, plus the 2 VPs for Slay the Warlord and Line Breaker resulted in a final score of 7:15. It was 12:30am so I called it there.
Before I look at any of my actions Liam was adamant that the battle report made something very clear – his dice rolling was appalling. Mine was ridiculously lucky but his was atrocious in his eyes and wanted everyone to know how bad it was. That said let look at how he beat me 7 VPs to 15!!! 😉
Bottom line I screwed up with the Lancer, I should have charged the Fire Warriors. Hindsight is always 20:20 and to be fair I did not realise the XV-109 could be so devastating, or in fact remember it was coming on!. Rergardless that exposed back is quite the weakness for the Lancer so I must remember that in future.
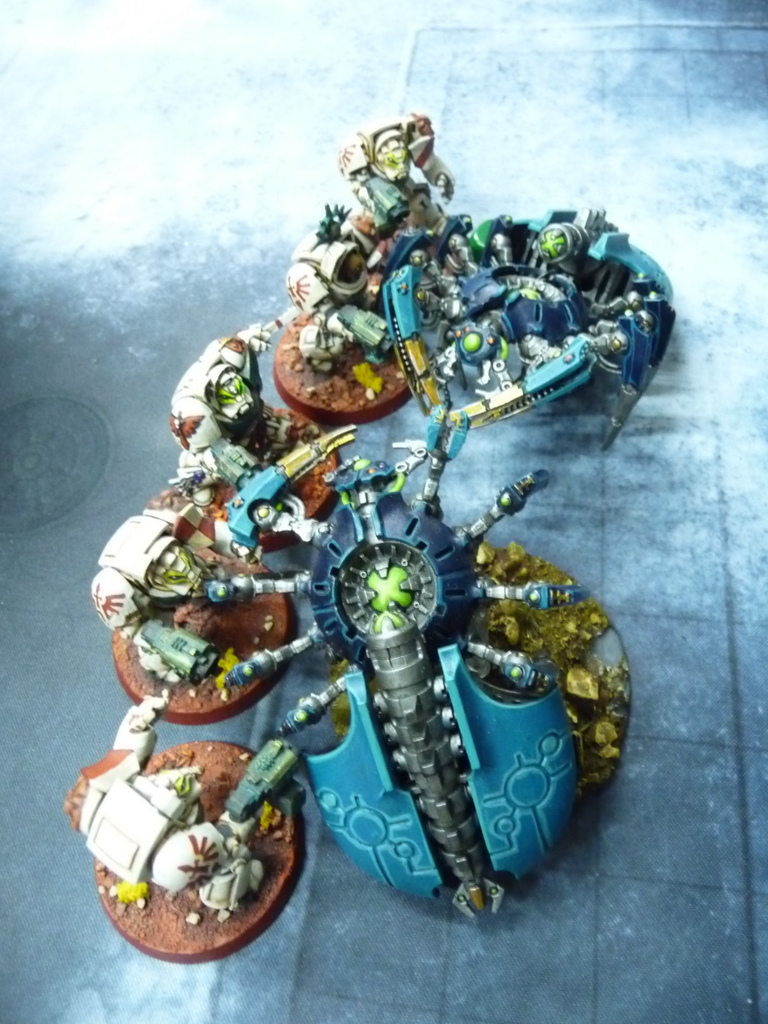
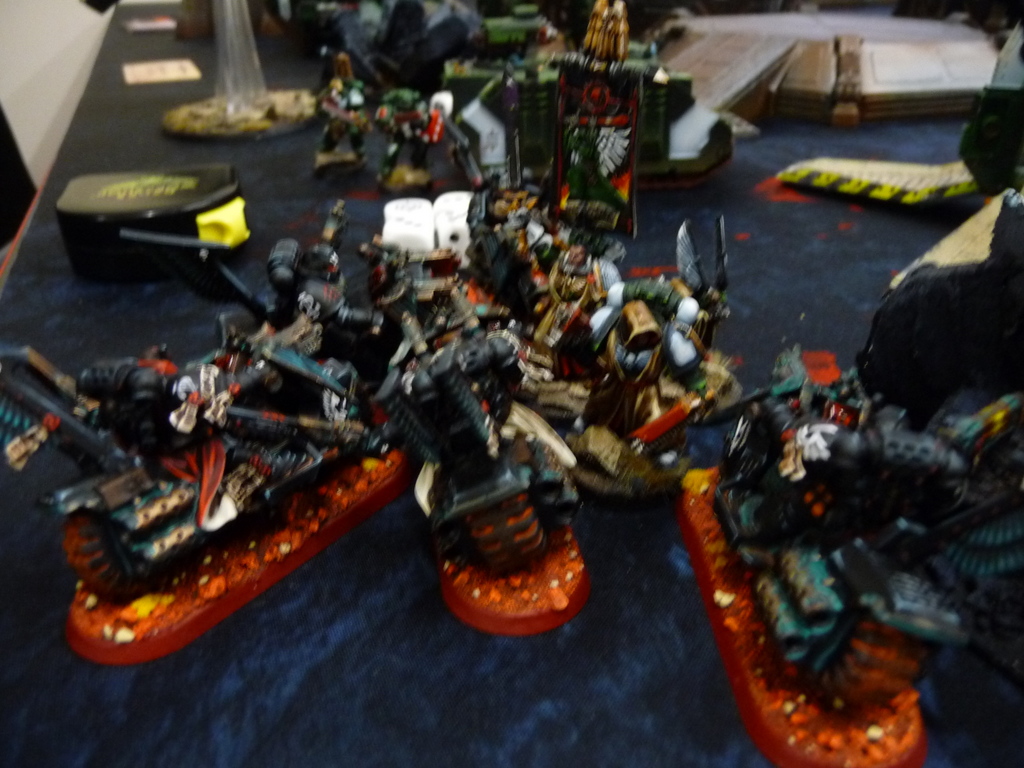
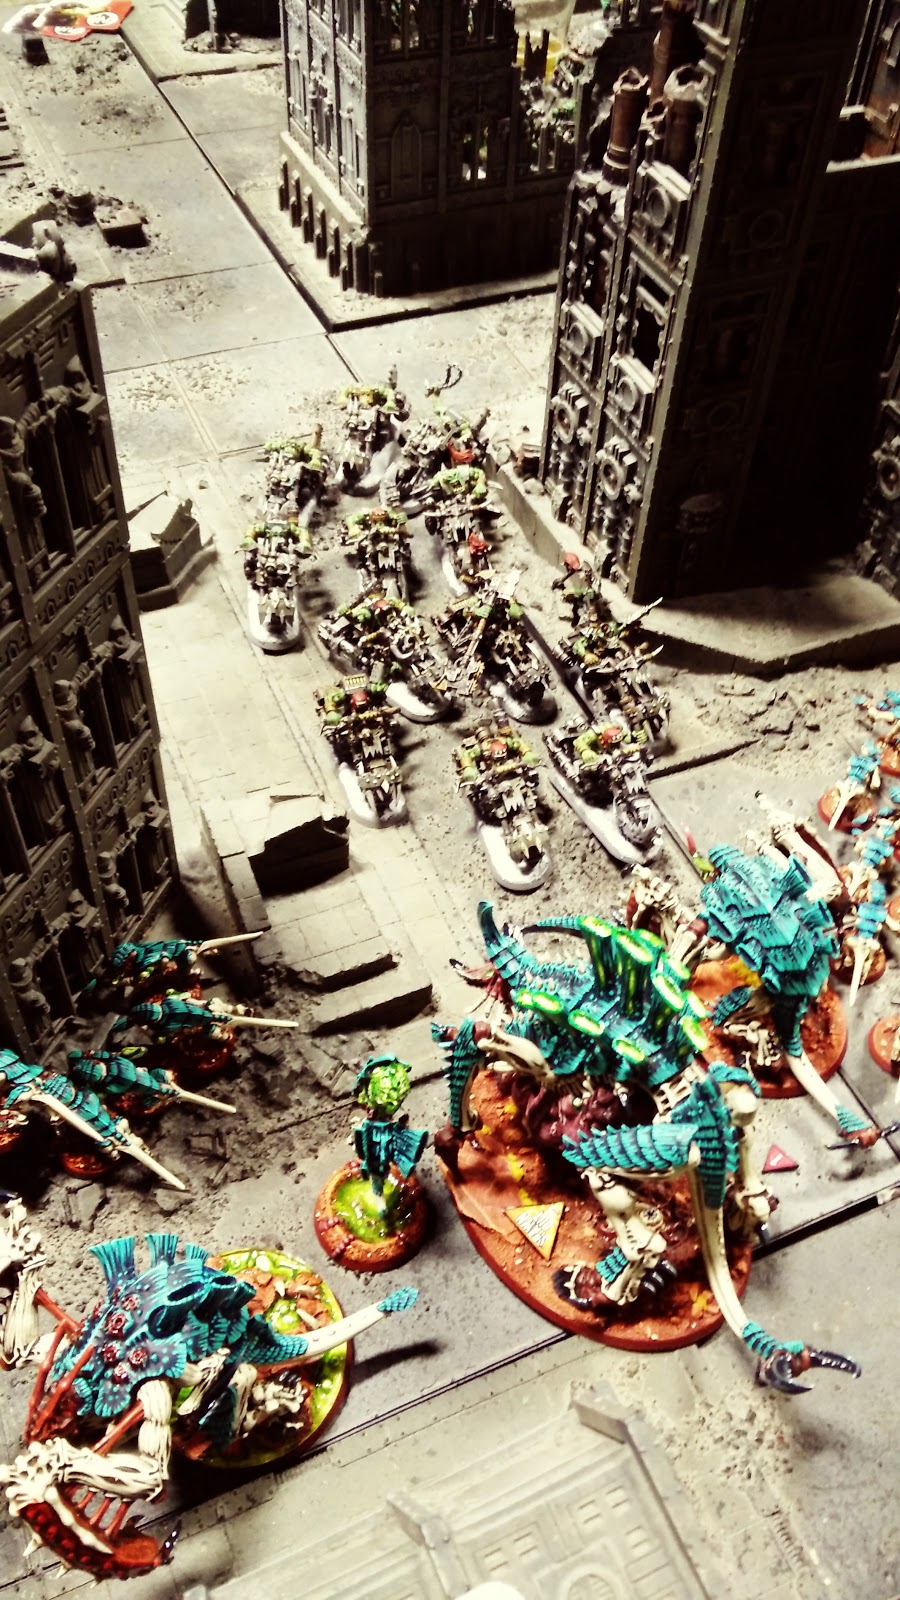
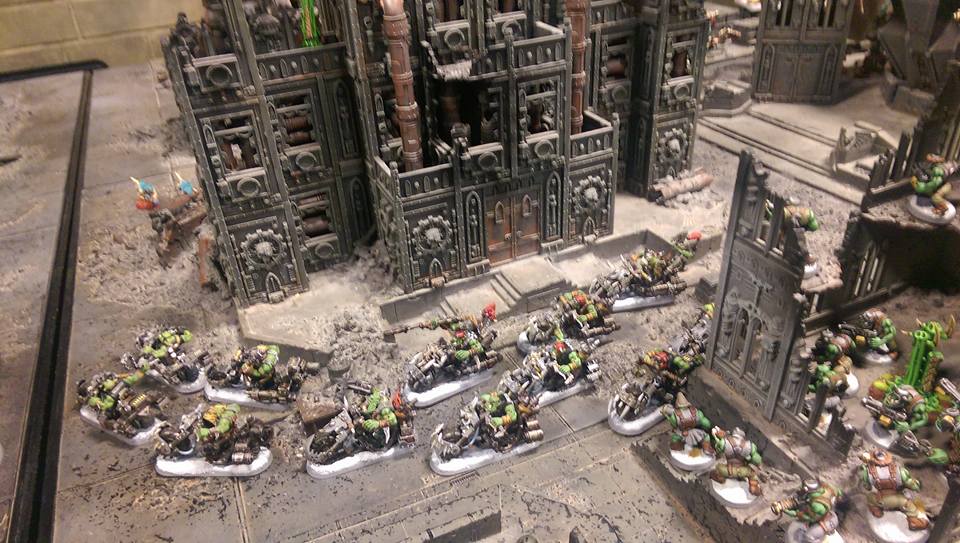
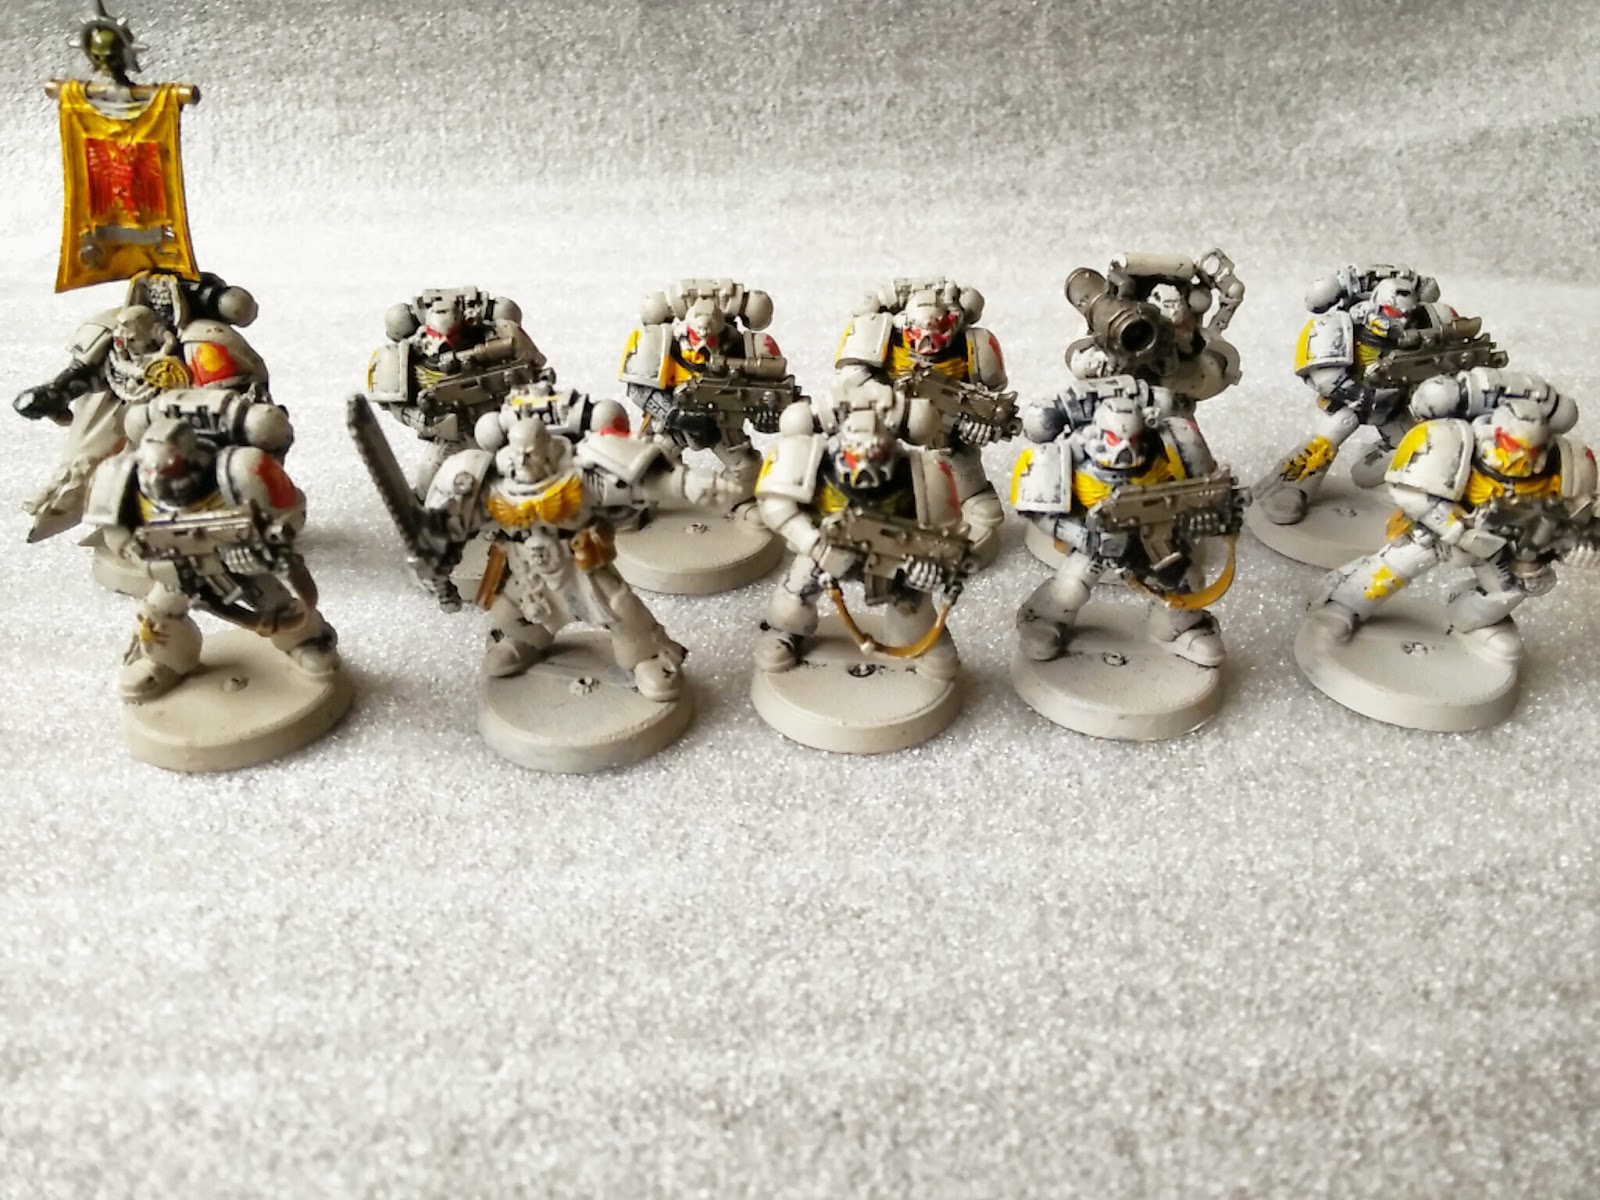
I was also impressed by the bikes and I’m looking forward to adding some more, they’d have definitely been more effective than the Deathwing. Another 8 bike would have been more shooty, more board control and more target saturation. I need to get more bikes done. I never imagined my Dark Angels being Ravenwing heavy but they are seriously effective [as has been observed by many] and playing with them I can see the appeal and if I can get to grips with how to use them I think I could really enjoy the fast hitting nature of bikes.
Anyway, it was a great game, one I casually threw away but I still see these as learning experiences so I’ll try to be more aggressive next time with what I have at my disposal.