‘nids part 265 – Biotitan Tyranid Hierophant pt.18 – TO DONE!

Back in August I completed my Tyranid Hierophant but only shared my phone pics. I also took some pics with my digital camera but they required a fair bit of tidying up, specifically the ones on the white background. I’m not entirely sure if they’re any better but I needed to upload them to the blog and finally got round to it.

Not entirely sure what to say about these pics to be honest, it all seems a long time ago but like I say, they needed adding to the blog/gallery page so I’ll just leave you to scroll through the pics.

And the ‘white’ background shots which were a pain to take and clearly the lighting was insufficient and the choice of a glossy sheet of paper did not do me any favours…

So there we have it, and all the links to the project [though some might be incorrect?].

Part 1. | Part 2. | Part 3. | Part 4. | Part 5. | Part 6. | Part 7. | Part 8. | Part 9. | Part 10. | Part 11. | Part 12. | Part 13. | Part 14. | Part 15. | Part 16. | Part 17. | Part 18. |

Terrain is everything – TT Combat Gothic Ruins MDF kit – TO DONE!

My Old Skoolfriend Pete, who originally got me into Games Workshop games, until that point I’d just been collecting Citadel miniatures, managed to get me a TT Combat Gothic Ruin B at Christmas. I’ve only now just had the chance to build it.

What really attracted me to this kit was the extra laser cut card detailing to help lift the flat mundane MDF, more akin to my own efforts in terrain templates.

I was just really impressed with the extra detailing and spotted some of what was left on the card could be used to further embellish the buttresses.


On the right is the skirting board element, but they were inside the arch piece and each board was separated by those thin strips, which I added to each top for more detail and depth. I even added a piece on the front.

I also cut a strip of mounting board to cap the roof wall, and had a strip of card folded to cap the corner.

Interior-wise, I added some more of the 2mm strips to the roof wall to make it panelled. Mounting board for skirting boards. 

Then I had some 5mm card strips to make vertical panels and conveniently the grey board was half the thickness of the mount board so I could add a 2mm strip down the centre so make more definition.
My only regret are the doors, I did absolutely nothing to add detail to them, not even hinge strips. I don’t know how I’ll live with myself but nevermind.

I left the roof clear as the 2nd and 3rd storey inner piece would be detachable.

The corner piece, hidden behind the grey board is a crenellated pattern that interlocks.

If you look at the line of the roof that crenellated embellishment was the ‘sprue’ off cut from the MDF which I added with a mice miter joint to make it more detailed.

Inside more 5mm mounting board strips to emphasise the vertical height.

I had a 10mm strip of mount board off cut that also had some heavyweight paper strips already stuck, ideal for moulded skirting board.

Again, the doors bereft of detail, but I’ll probably be adding stained glass in the windows.

2nd and 3rd storey inner piece attached but I will be creating a separate base so they can be used as two distinct buildings.

Plenty of space on the roof of the first storey.

Honestly the scale of this thing, it’s a beast! £12 [or less] for such a piece of terrain, that is multifunctional [if you leave it so it can be split] and has all that extra detail. I honestly think it’s one of the best value terrain kits around.

At around a foot tall, it’s big enough to hide Knights behind, yes the 2-3 story piece alone can even do that!

Sure, a Citadel kit has much more detail and nowadays possibly even more options to build and repurpose but if budget is an issue and you don’t want to go to all the trouble of my own FREE templates then this is an absolutely amazing kit to check out. Great value, great design and extra details to raise it above the mundanity of standard MDF. And plenty of scope to add your own embellishments to make it even better.

I’ll be priming it black, adding some slight texture and then Red Oxide zenithal first coat next. The it’ll be  painted in the same way as the Sanctum Imperialis to discover if you can mix and match these two types of terrain and still retain some consistency in your table top battles.

 I builds it, I gets the badge!

1750pts battle report – Imperial Knights & Dark Angels v Renegade Knights & Chaos Space Marines

Liam had observed we haven’t had a game for a long time so we arranged get together but what to play? Having tried Kill Team and Deathwatch Overkill we thought it should be 40k but as I had the chance bring my [mostly] Knights for convenience and their first march AND the fact Liam is the only one with a similar company of Knights it seemed like a more balanced match up. That said he has Renegade Knights which only have access to two stratagems I wanted something different, more narrative.

There was an Echoes of War mission in Vigilus Defiant called Forlorn Charge. It was Knights and Freeblades versus Ork Stompas, Morkanauts and Gorkanauts. It compressed the Knights into a 2’x2′ corner with the ‘Orks’ creating their ‘scrap city’ and deploying first. There were also benefits for running a Fortification network and some additional stratagems. I thought this might help Liam out but it transpires the Attacker gets all the coolest extra Strats but even so Liam deployed the terrain and chose his Fortress of Redemption as a Fortification [gaining 3CP extra]. Liam spent some time trying to get the 1750pts but as it was ‘narrative’ and I had all the Knight strats I was quite happy for him to have significantly more points. Victory conditions were for my Knights to destroy all his Knights and buildings for a Major Victory, Minor if I killed more than were left alive and Defeat if it was any other result.

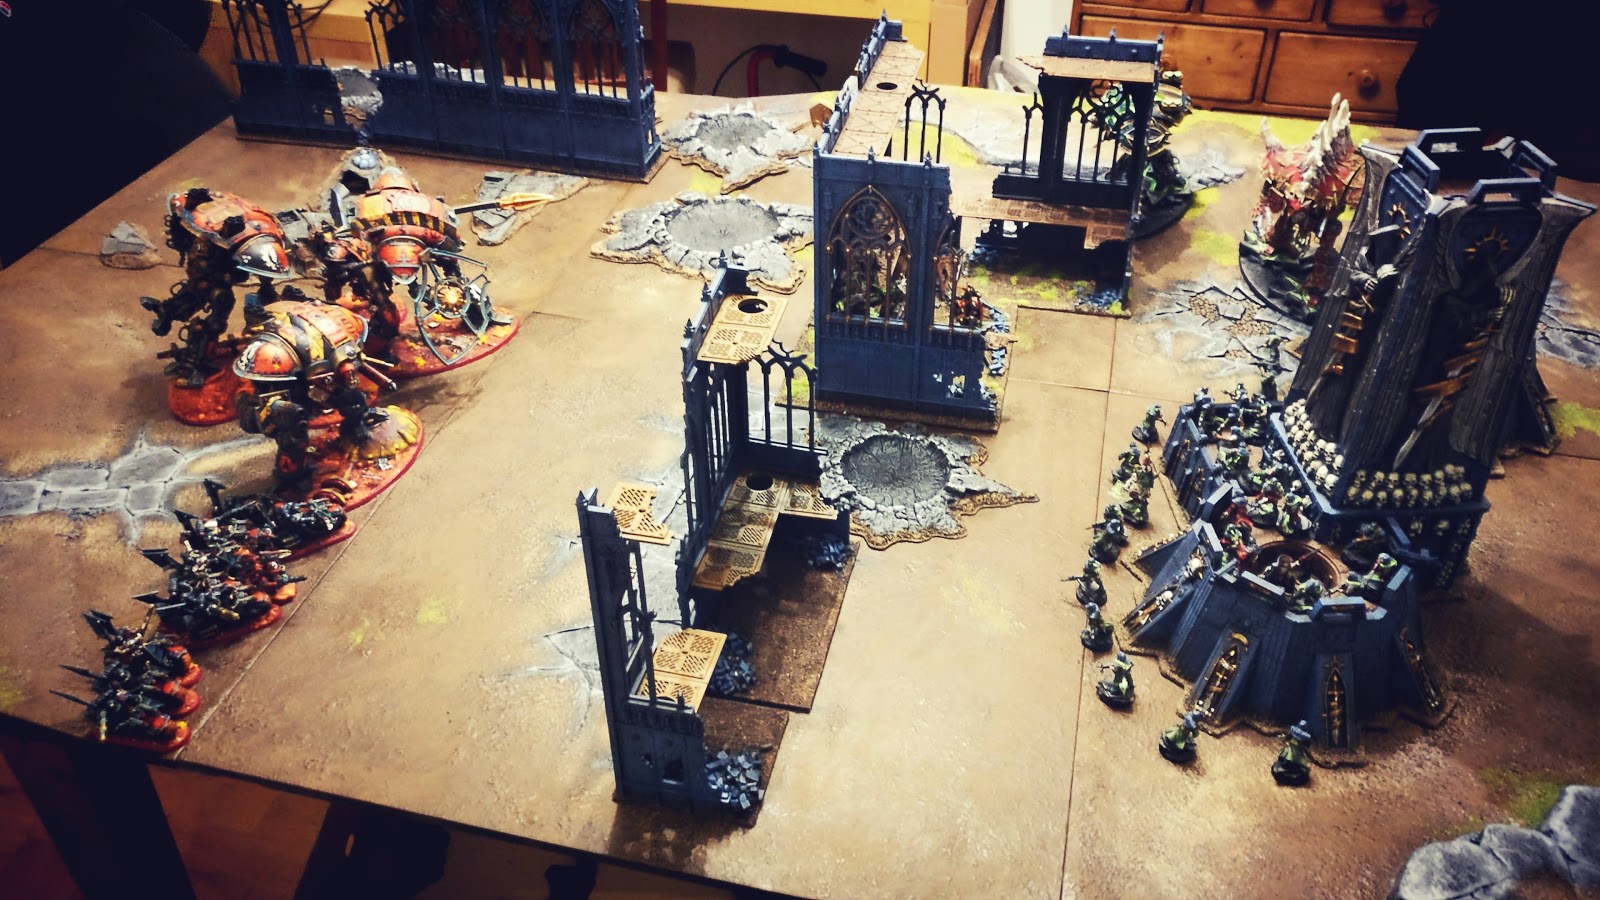
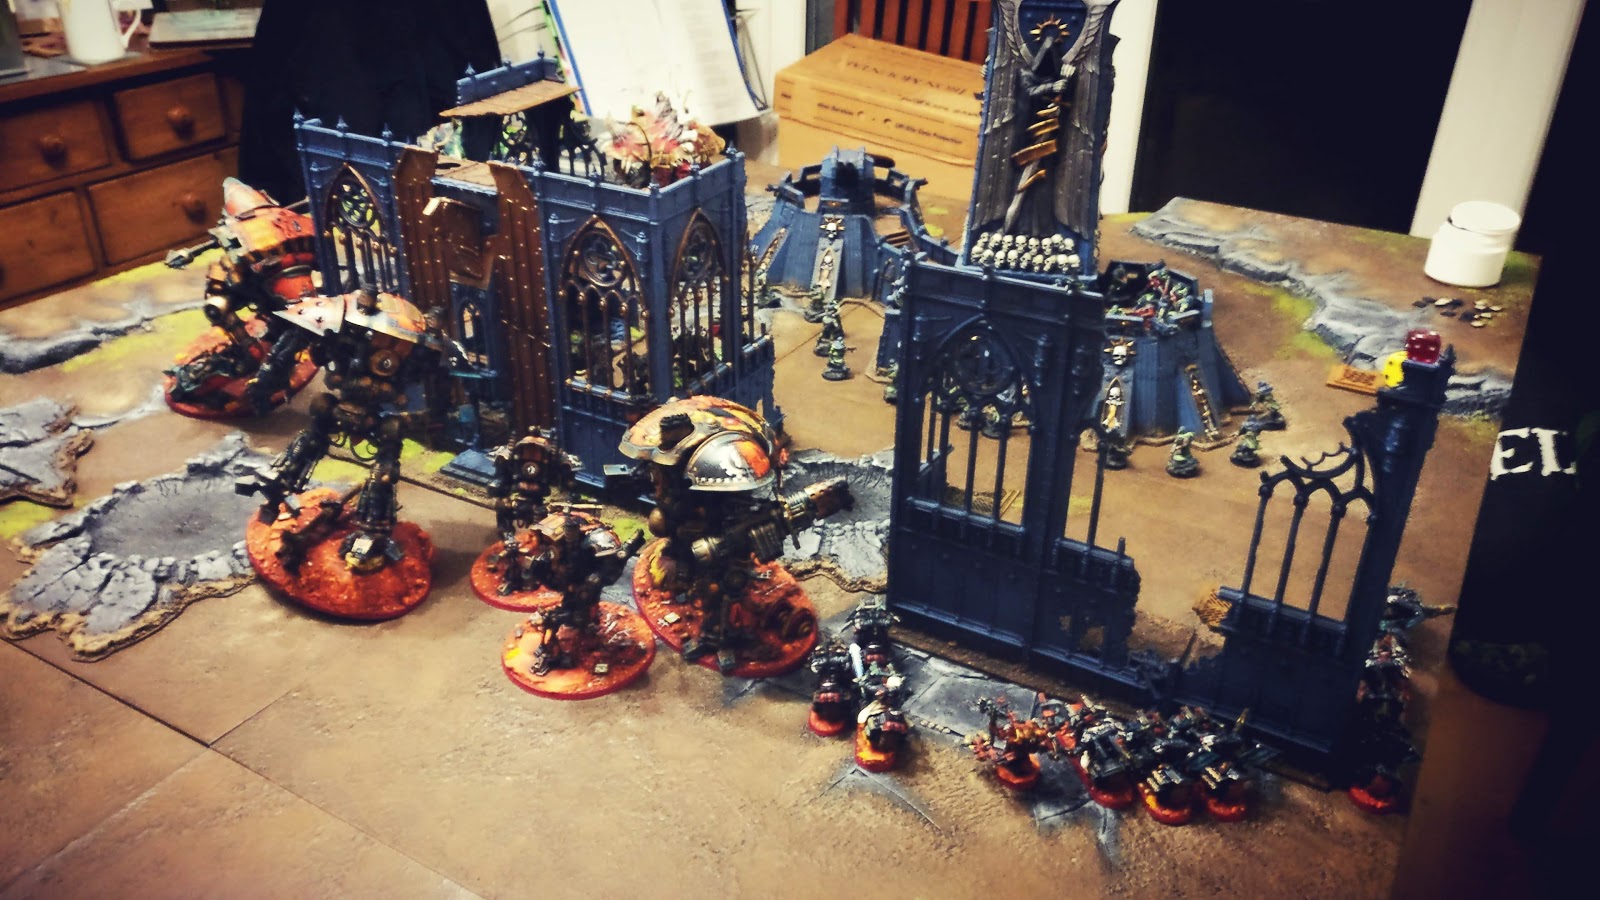
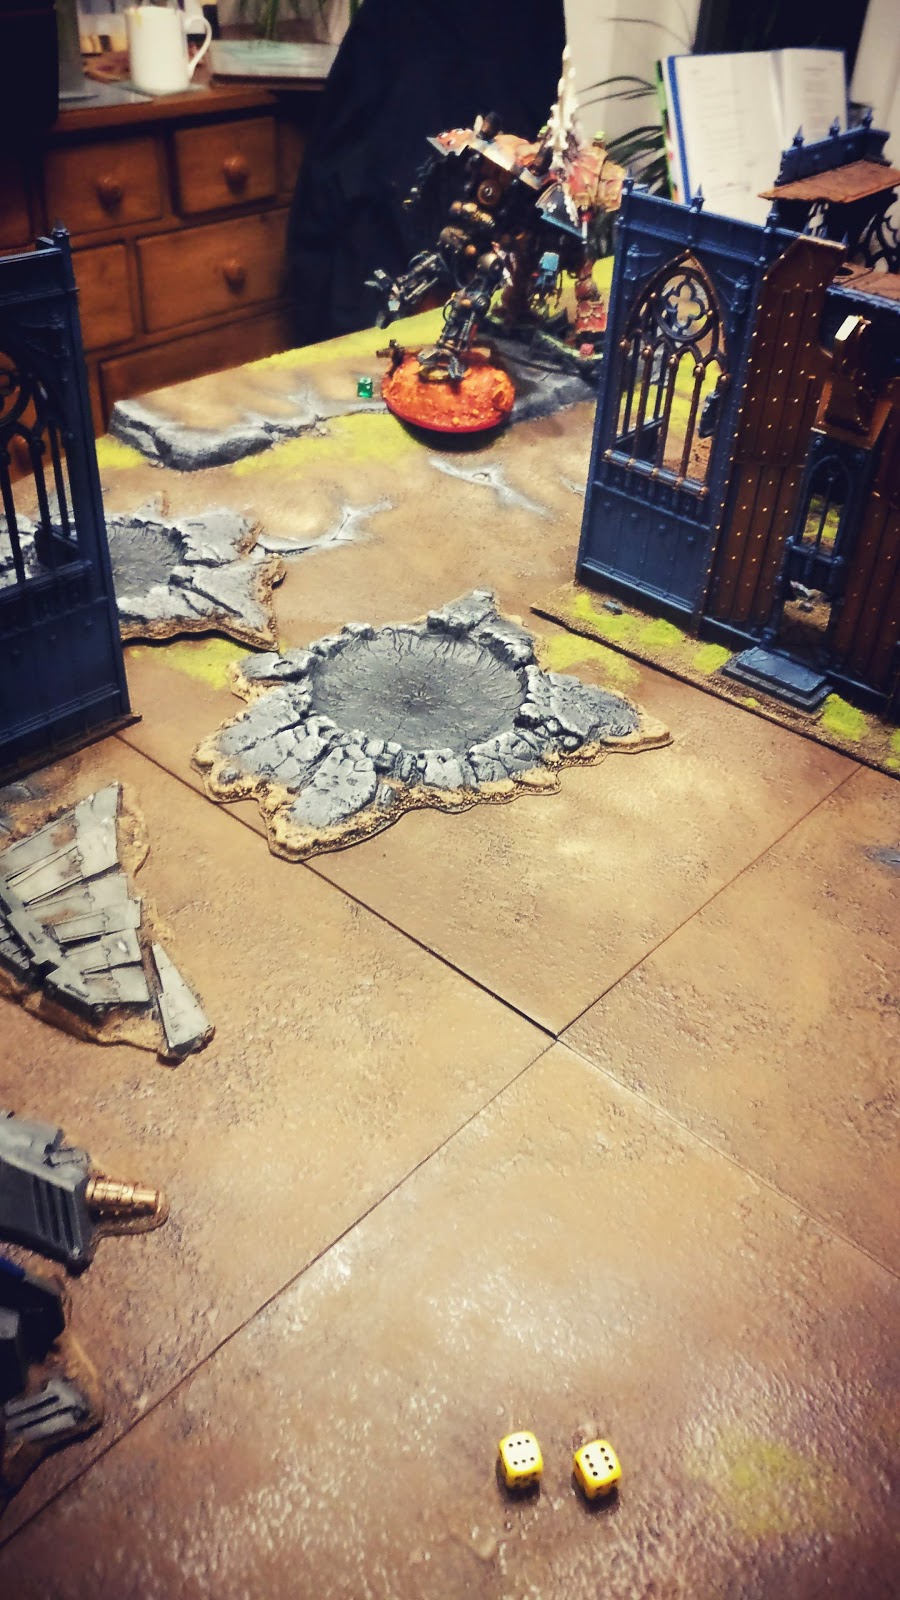
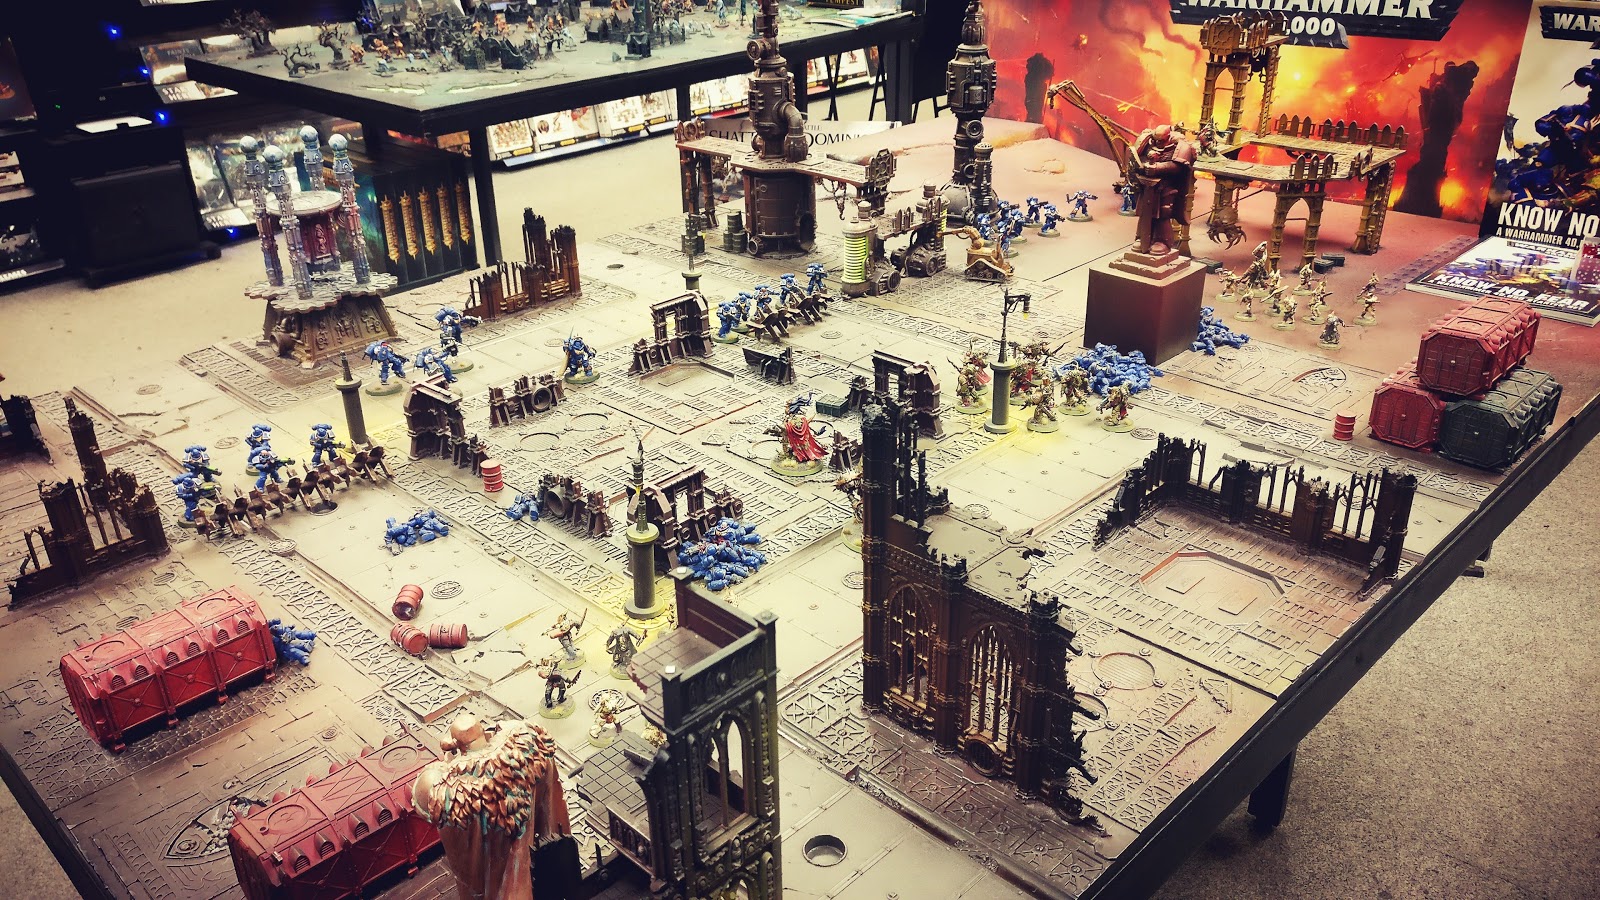
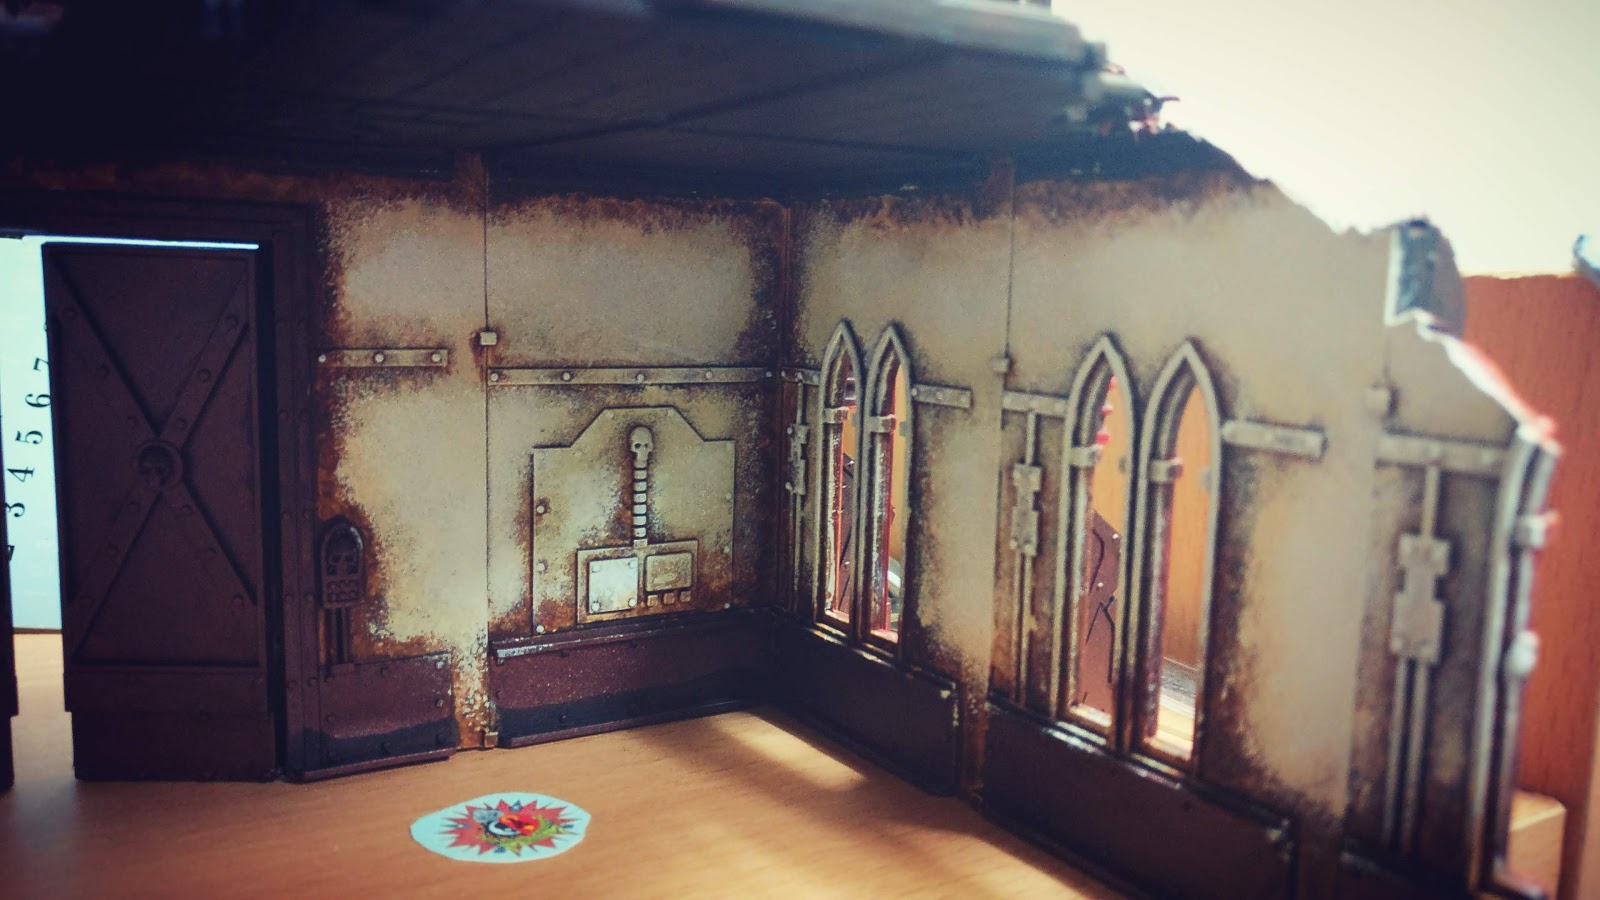
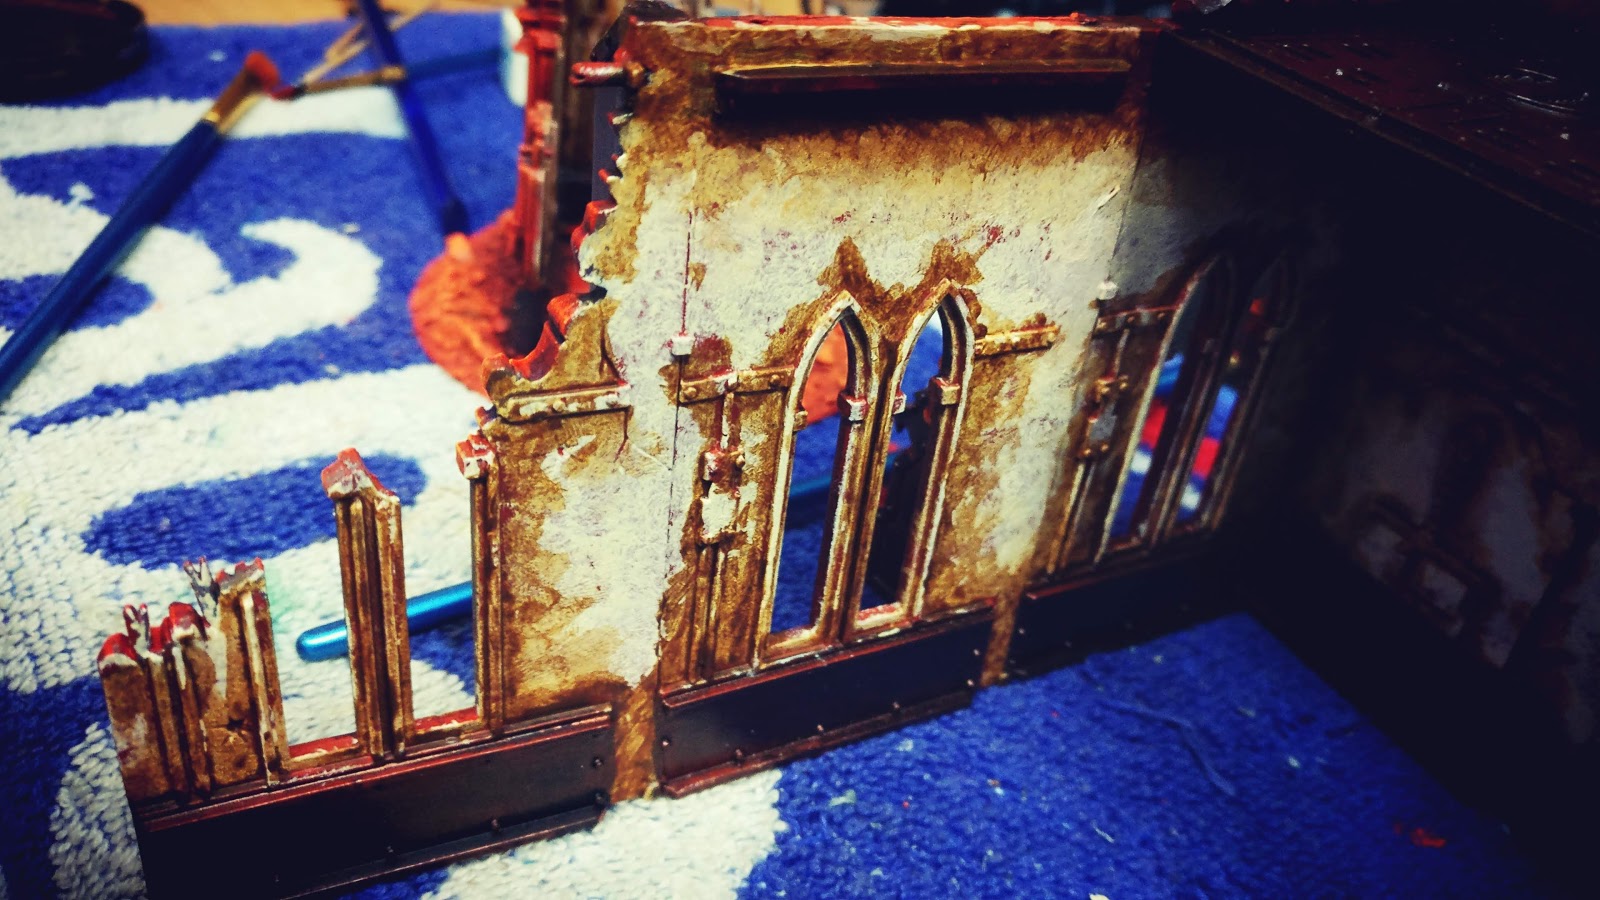
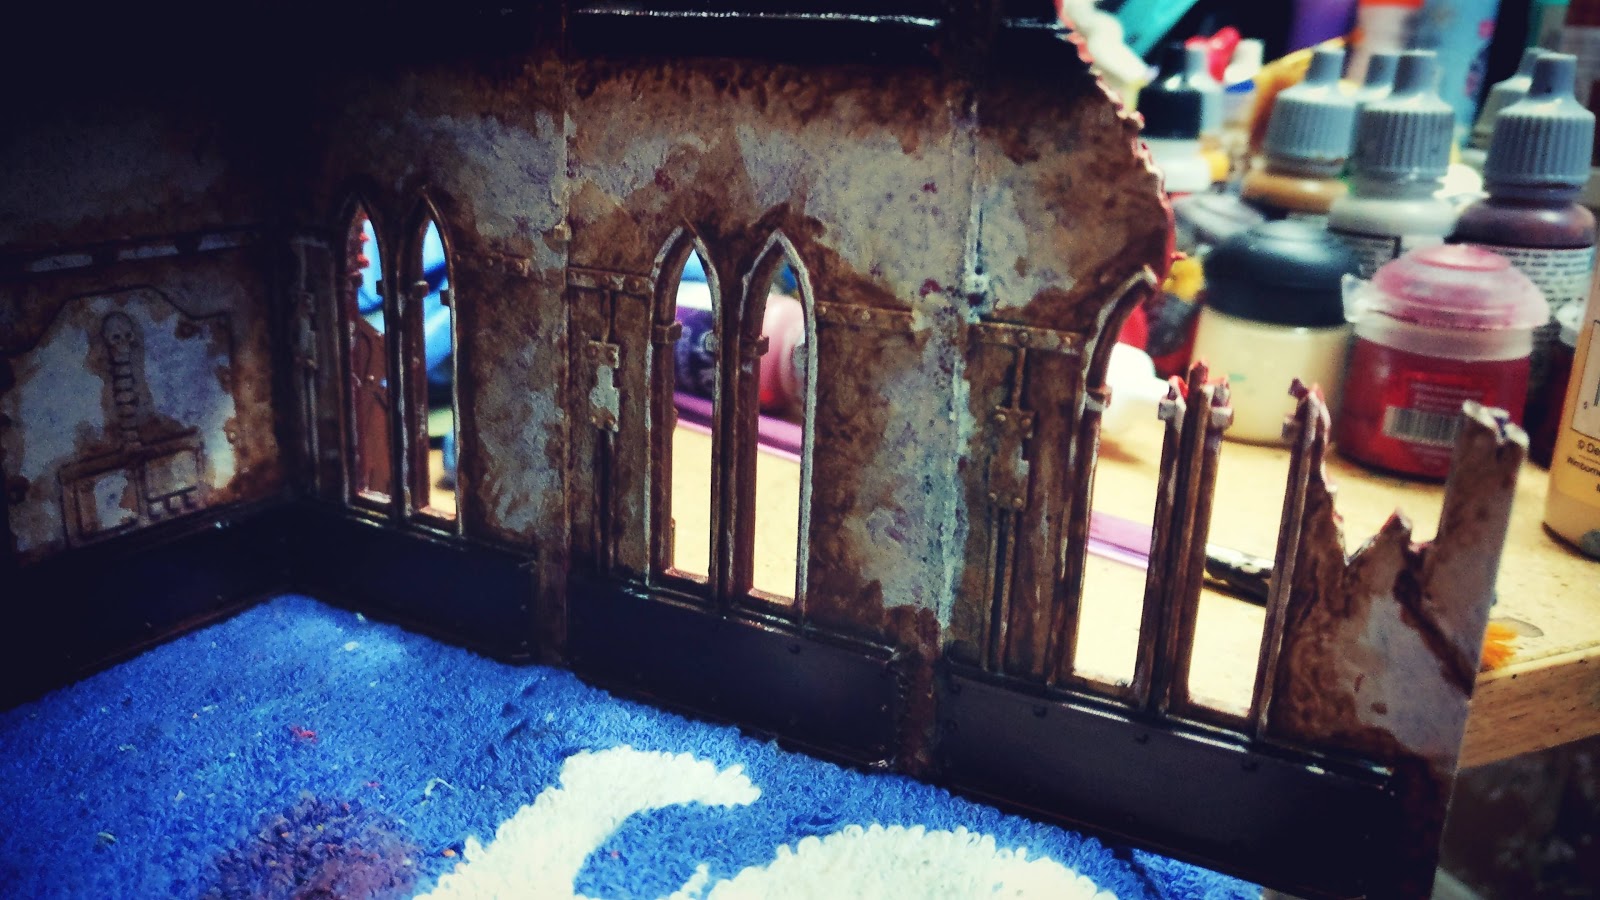
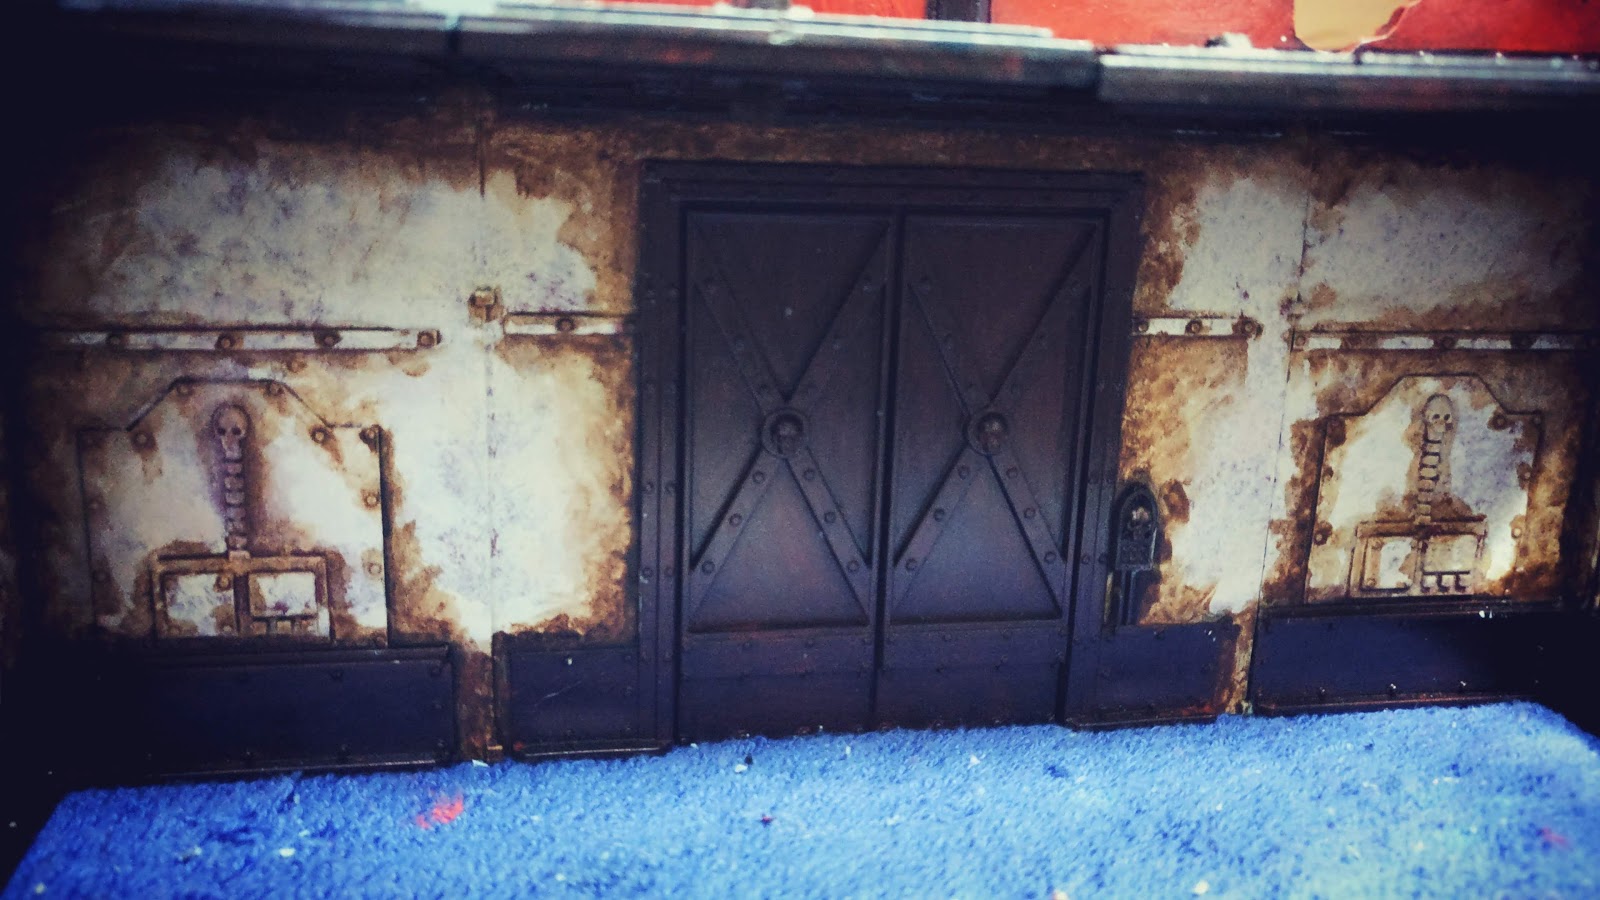
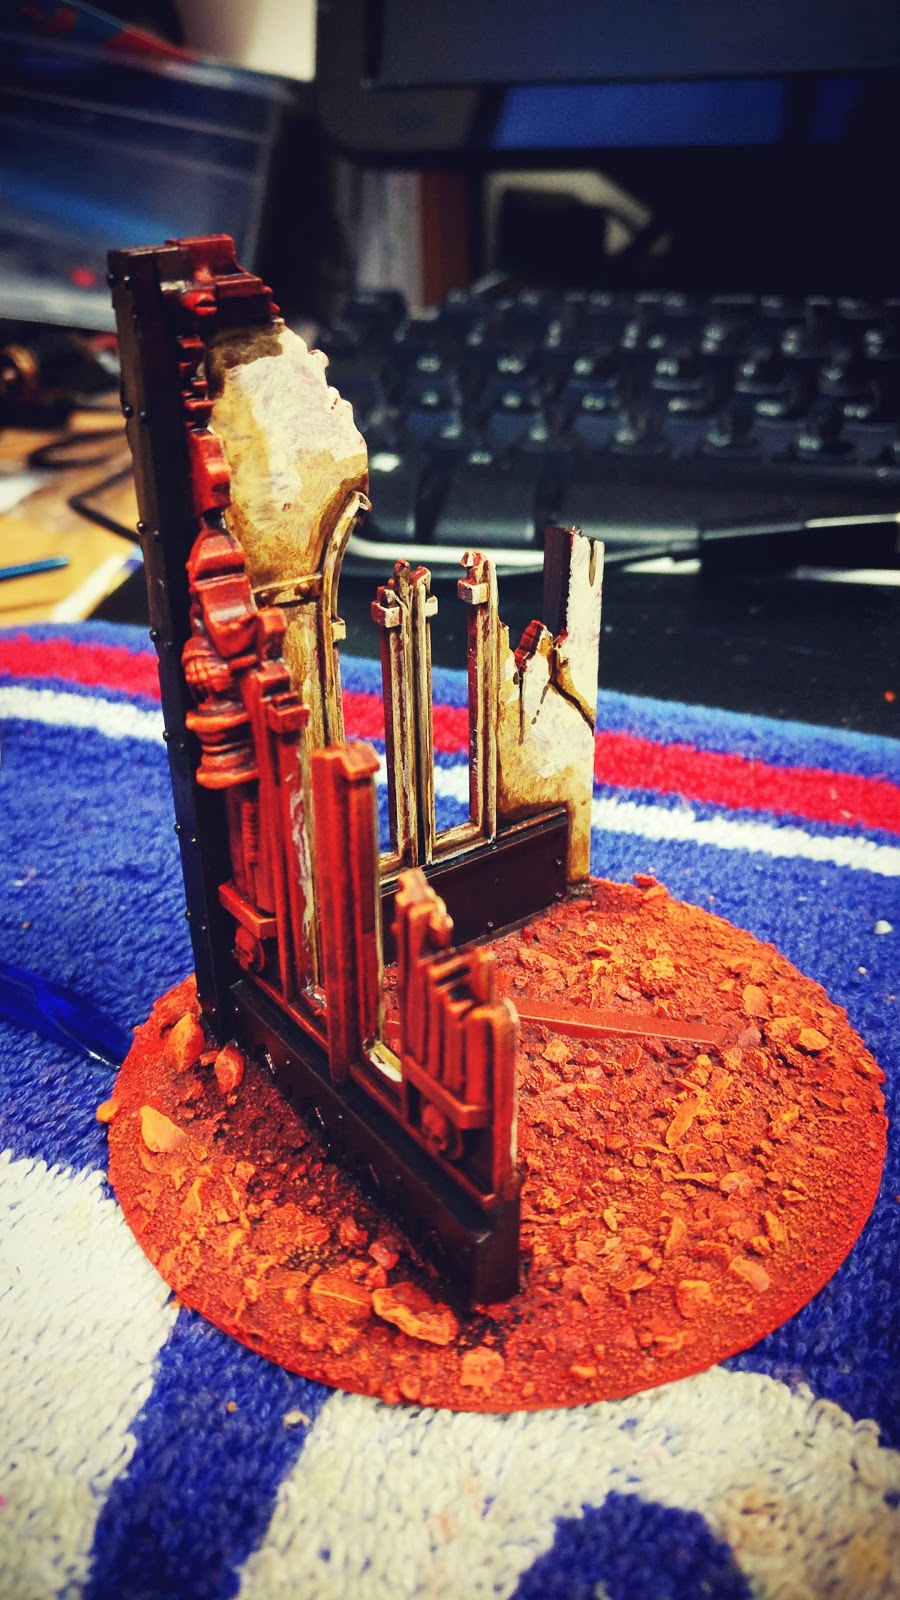
He built the ‘scrap city’ as you would expect – shattered ruins just inside his DZ with my zone devoid of terrain. There was a nice ‘choke point’ between the two ruins so I couldn’t assault the Fortress en masse [theoretically it could be one shotted by the Lancer and the Gallant]. A thin bubble wrap of Cultists were going to prevent those shenanigans, while the rest hid indoors. Craters in both access points to his DZ would also slow my charges, which fit the narrative mission description in place of barricades.
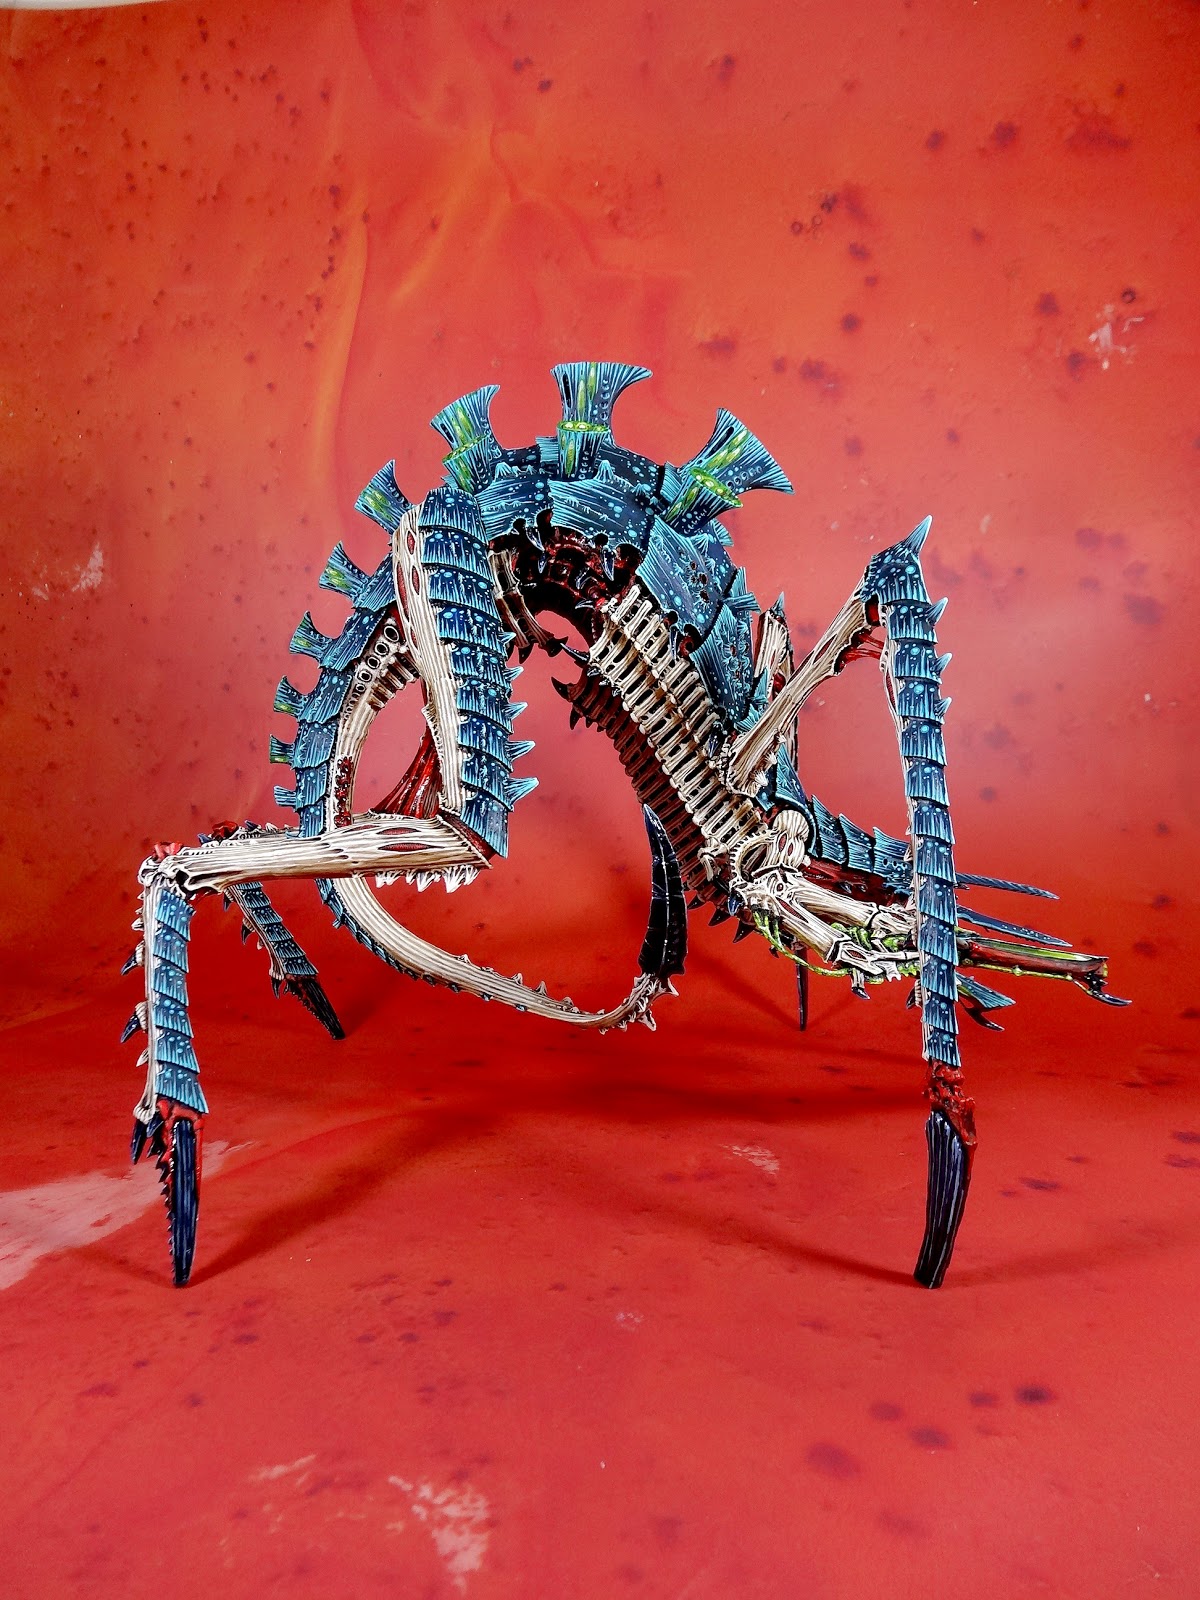
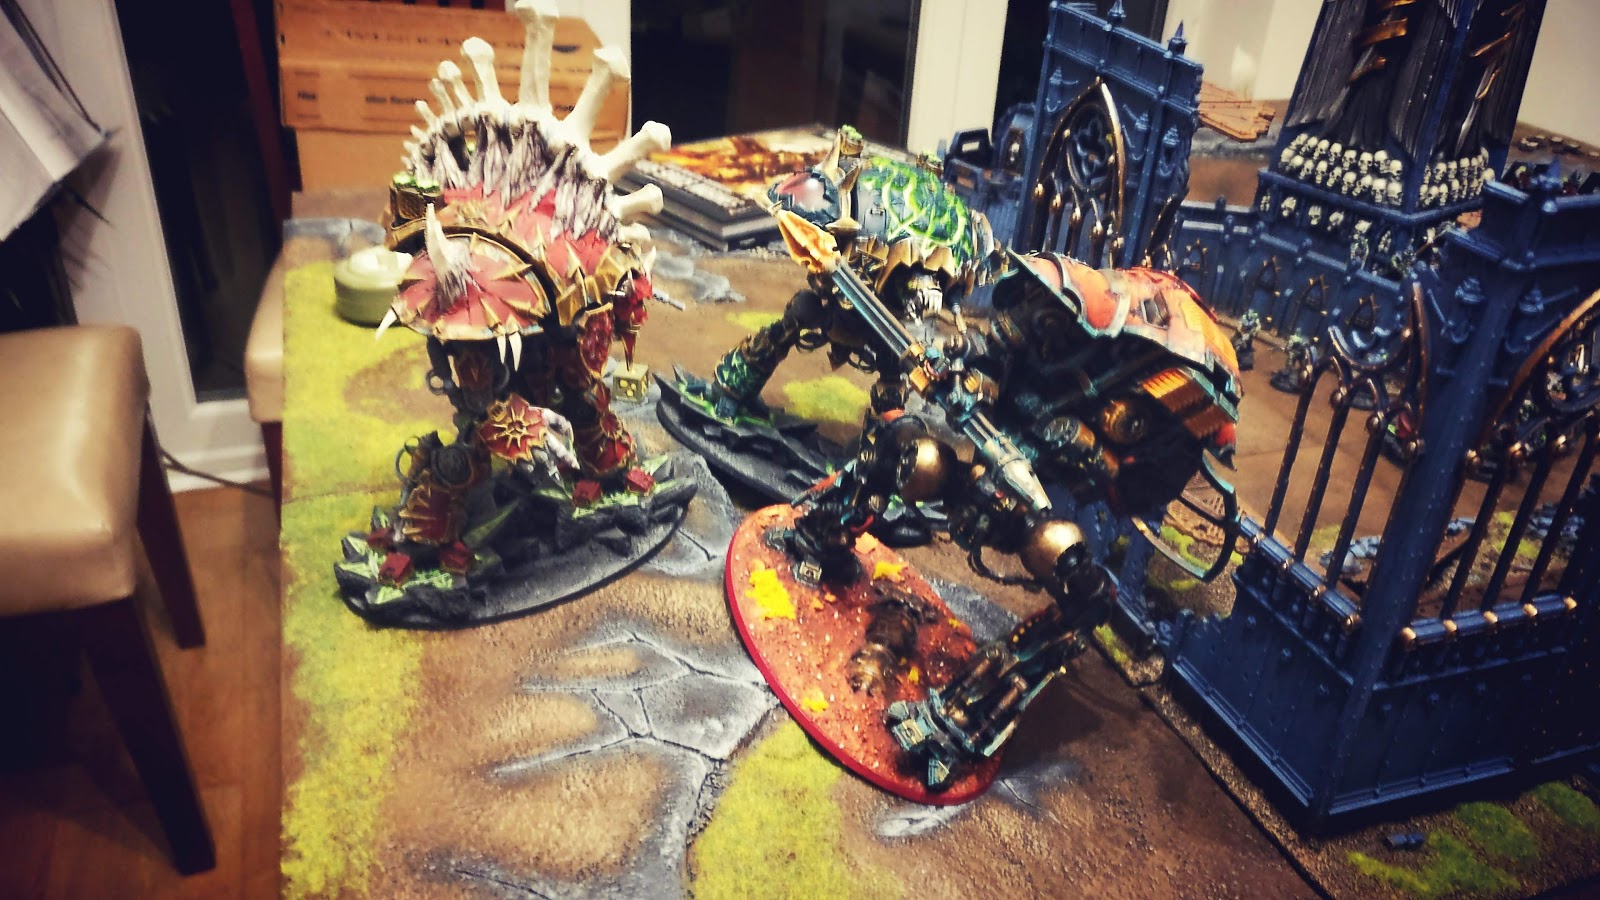
A unit of Obliterators were in the middle building with a Sorceror, the two Knights at the back of the board. Abaddon would teleport in with two other units of Oblits. I had my Galant, an Errant, Lancer, two Warglaives and a Dark Angel Outrider detachment of three units of three Ravenwing Bikes and a Techmarine. I got first turn but Liam won the initiative, which he was initially going to give up but I pointed out he’d get a turn of shooting with the Oblits if he didn’t. So he shot at my Lancer, stripping away 6 wounds [I think].
With my turn I pushed forward, the Lancer mvoing at Flank Speed round the top of the ruins, on the other side a Ravenwing bike squad could just fit down the alley between the suin and the board edge. The other Knights filled out the middle.
Ser Ellenbogen held the centre ground with his primary concern the Obliterators in the ruins.
All my Knight’s heavy weapons fire was put into the Oblits, with some obseceleny good dice rolling eventually wiping them out.

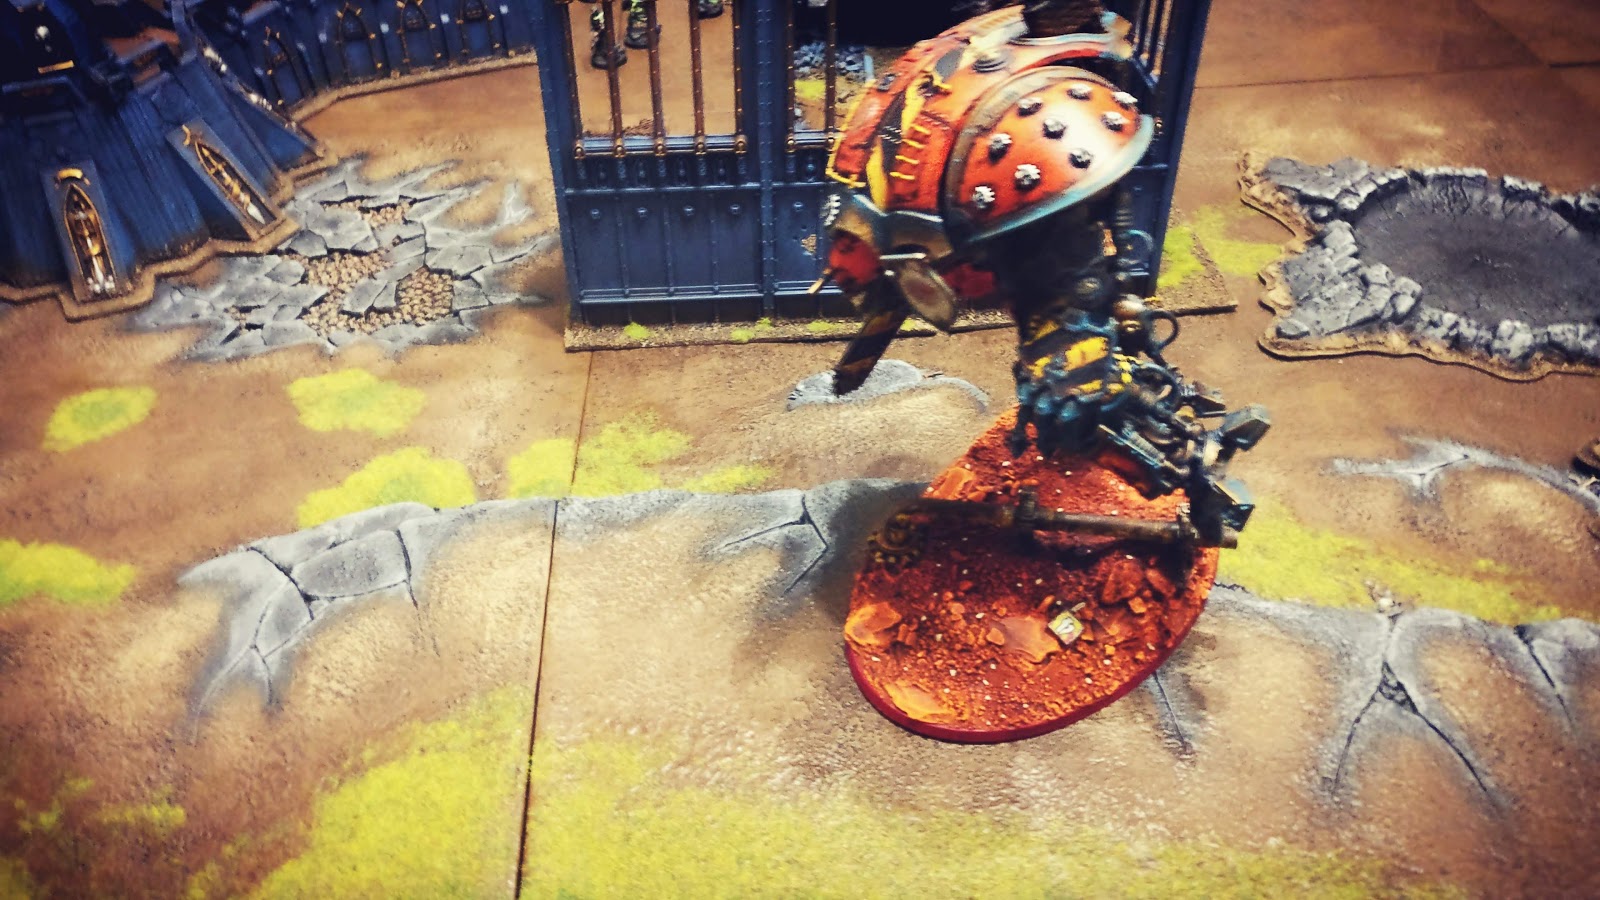
The Warglaives added their guns to the mix, while targetting the cultists with their lighter weaponry. My Lancer had discharged it’s Shock Blast into the Oblits too but it had a bigger target in its sights for the Combat phase.

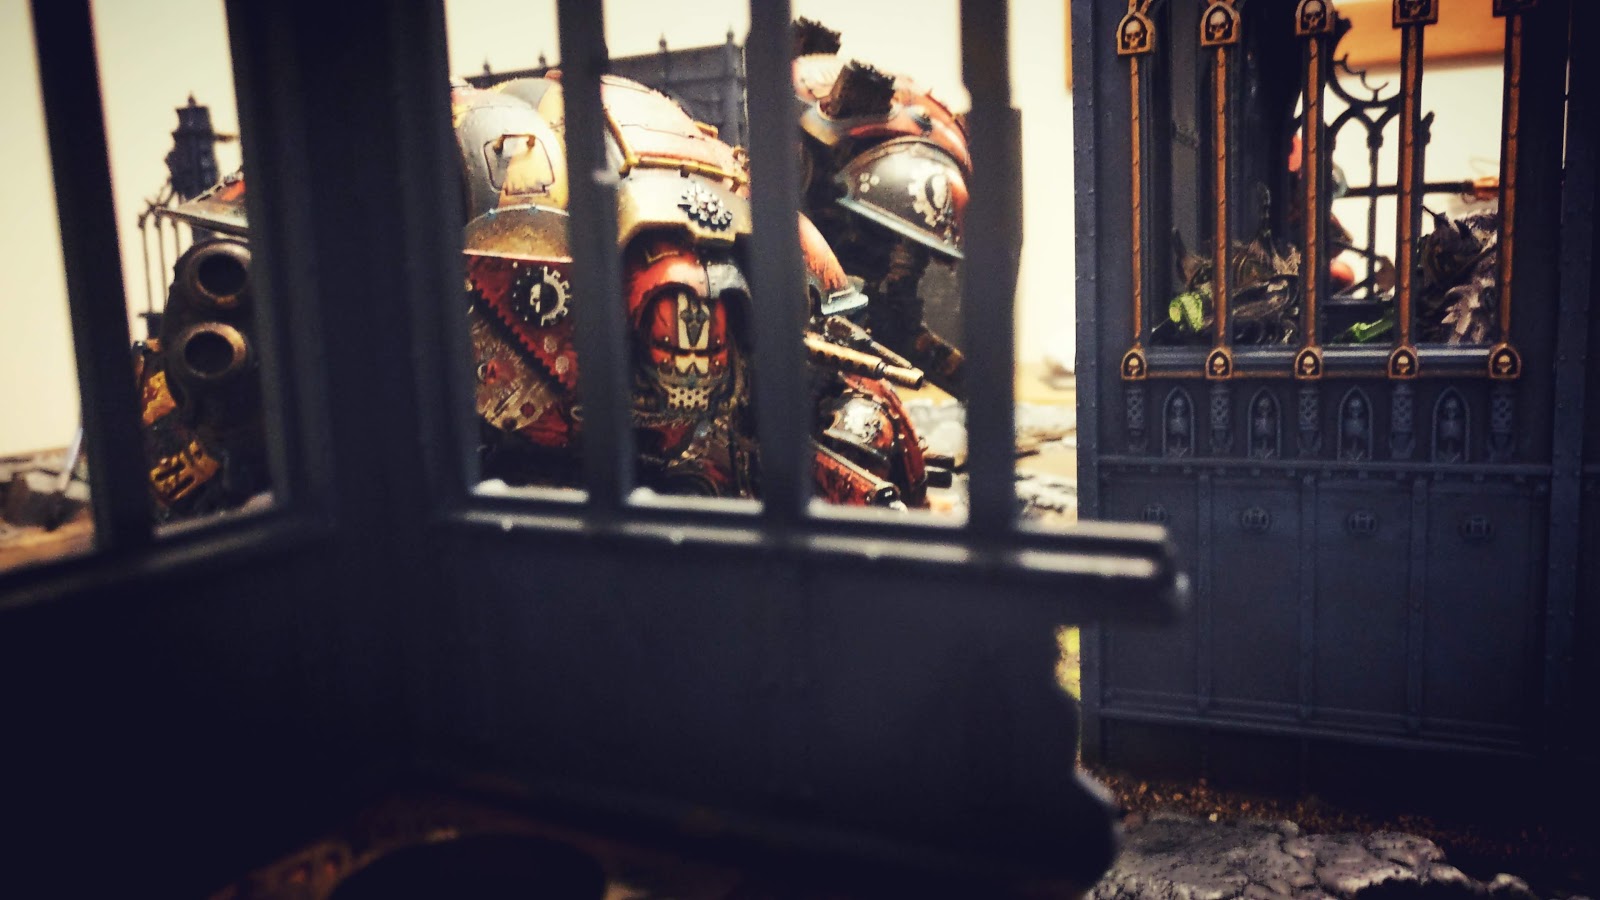
Those Ravenwing that hadn’t advanced poured Bolter fire into the Cultists trying to thin their ranks and remove the bubble wrap to the Fortresws.
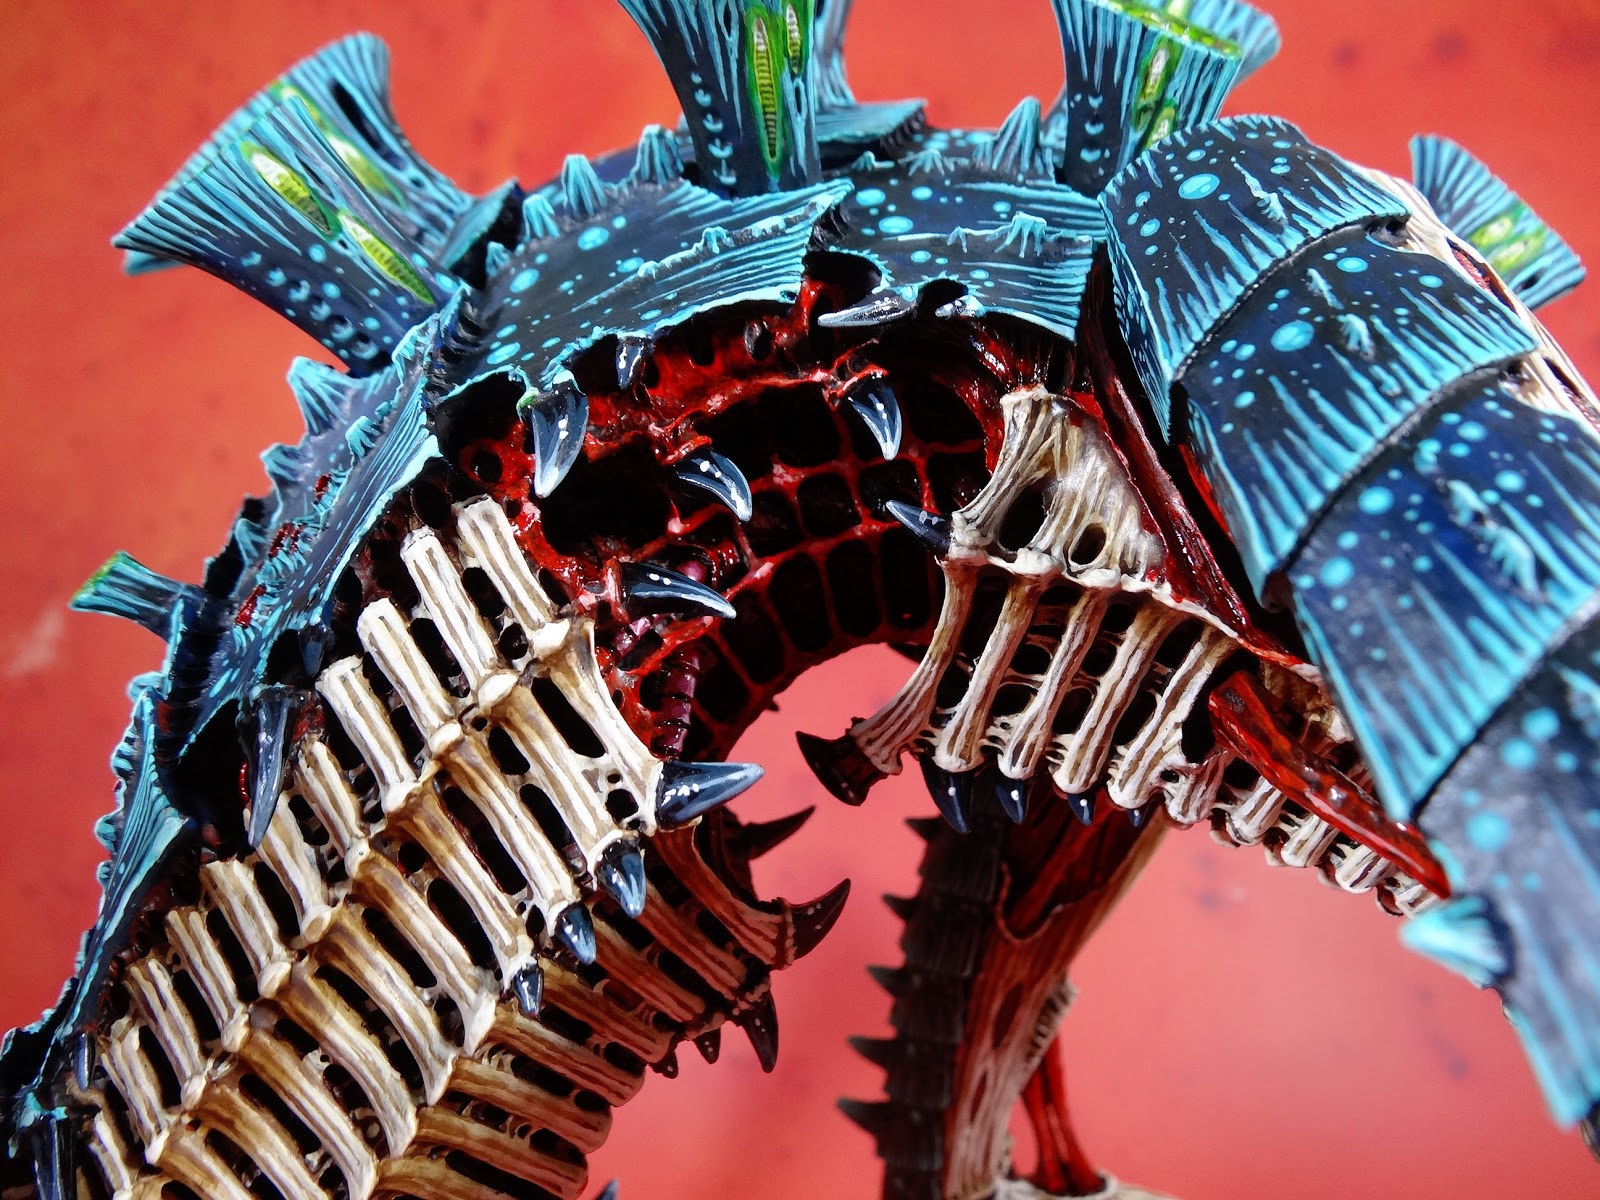
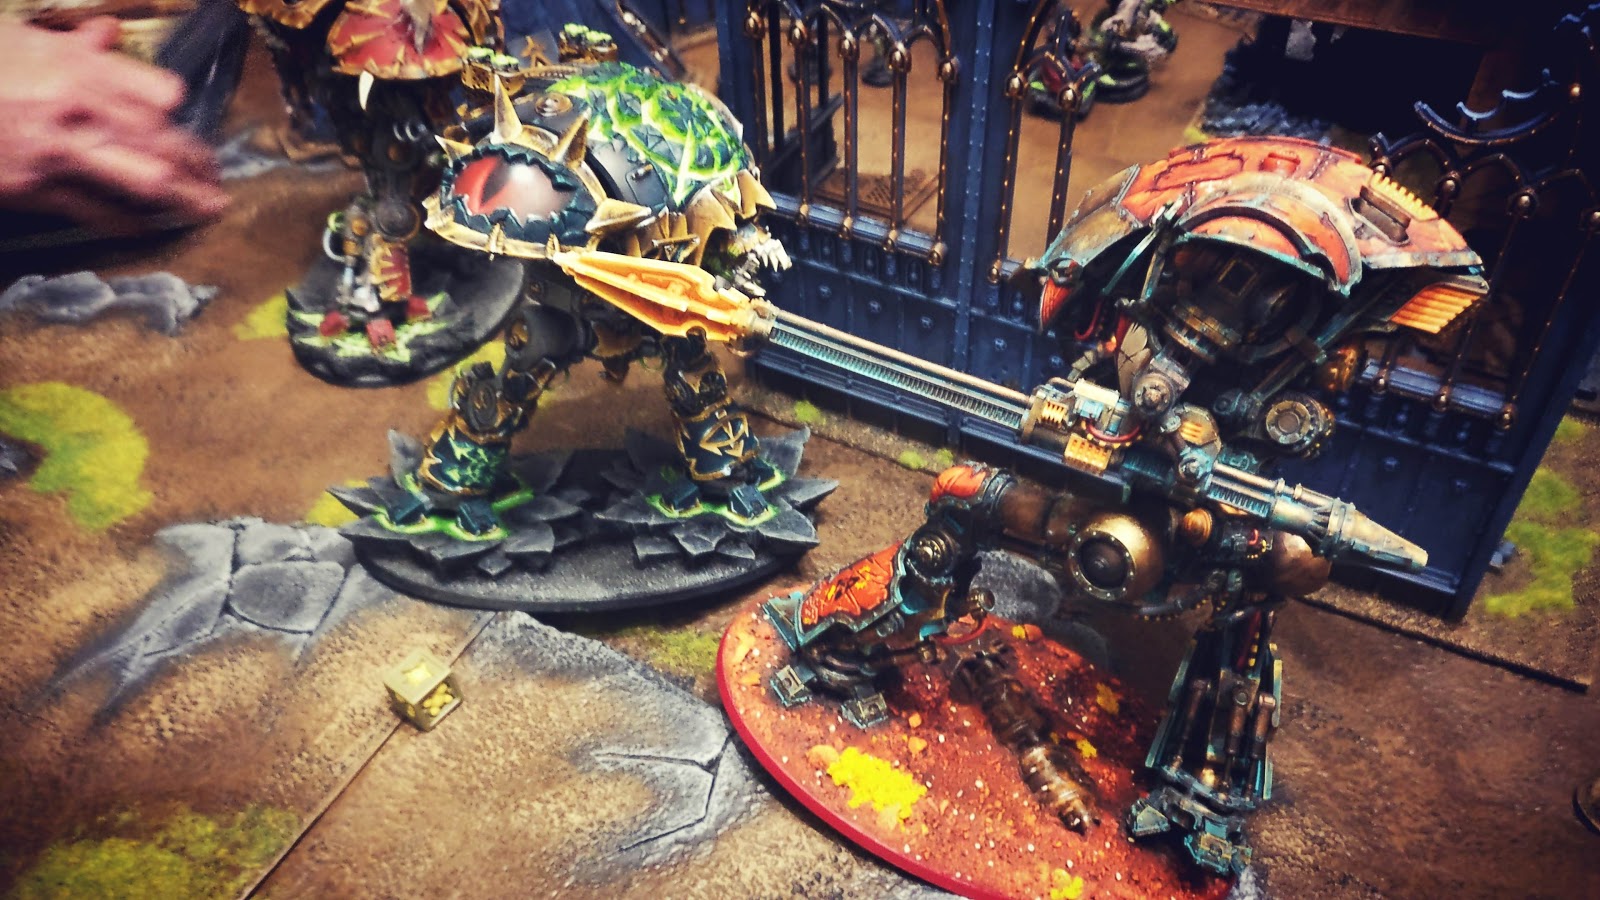
My Lancer made it into combat and I was able strip all but one wound off Liam’s ‘Black Legion’ Gallant. Probably wished I’d fired that Shock Blast at it.
The lancer was outnumbered now, the Khorne Gallant stepping in to finish what the other Knight couldn’t, but not before the Chaos Sorceror had cursed the Lancer so it could no longer make use of its Invulnerable save – that 4++ Ion Gaunlet Shield going to waste this turn.
Thankfully it’s 2+ Armour of the Sainted Ion save had managed to keep 1 wound left on the Knight and by interrupting I was able to destroy the Black Legion Knight. The Khorne Knight finished it off.
Abaddon [Typhus] and two more units of Obliterators teleported into the middle of the board, blasting away at Ser Ellenbogen. I think he took significant wounds.
Ser Ellenbogen charged into the Oblits and Abaddon, joined by two units of Ravewning, one of which was totally annhiliated by overwatch when they charged in – a really stupid decision.
Ser Ellenbogen fell, either by the same fate as the bikers or in combat, but not without his reactors overloading – wiping out one unit of Obliterators, wounding Abaddon, killing another Oblit, possibly the Sorceror a bunch of cultists, 2 Ravenwing and wounding both Warglaives – he sold his death HARD!
With the path clear Abaddon moved into the breach. One Warglaive was blasted to pieces by the remainign Obliterators while Abaddon would wipe out the second.
Lady Pettorini had traded blows with the Khorne Gallant and would finish it off this turn but was down to just 4 wounds. Those double sixes probably helped [perhaps if I’d written this report the day after as I intended I might recall what it was for] I had not known they got 5 attacks and hitting on 2s, Liam asked if I’d actually ever read my Codex!?
As it was getting late we decided to call it, we tried one last ditch attempt to get Lady Pettorini into combat with the Fortress – an 11″ charge would have made contact and she’d have auto hit 5 times wounding on 2’s and 6 damage potentially wrecking it in one turn, but she couldn;t make the charge.
I think Liam faired much better than he expected. I realised the next day he should have had all the Oblits on the board from the beginning. Two other squads would have taken down on of the Knights in turn 1. Then if he’d swamped the crater with the Cultists it would have stalled my adavnce through the middle [not that I actually got far through the breach] and his other Oblits could have held the Fortress, which hadn;t been particularly effective with its own shooting – that BS 5+ is rubbish. Remember when its missiles use to be Vortex missiles, now they’re some anti-personnel rubbish.

Anyway, a good game even if I did lose more Knights than I’d like but I always do. However, Lady Pettorini survived and killed a Knight so I’ll have to give her an honour badge/purity seal. Overall it was just great to get to use them and see how Liam played so I got more experience. Although I probably still had more advantages with the stratagems, Liams extras – deployment, Fortifications, more CPs and stealing the initiative really helped to balance it out and lthough I took the minor victory it was a very close game.

Terrain is everything – Sanctum Imperialis – The blues [greens and turquoisey bits]

Annoyingly I was beginning to stall on this the raw bronze matched the red walls so well with the  cream interior complimenting it all and I was going to throw all that turquoise into the mix?! But before all of that I needed to gild the doors a little so they were a little more brassy/polished bronze. At least that was all I’d hoped it would be.

I’d already gone full verdigris on the roof top. There had been an original plan to do it rusted steel but if I chickened out of weathering the buttresses [obviously I didn’t when you look closely] I’d have explored the effect in the roof at least. Unfortunately, even with my Photoshop mock-up and the reality in my hand I started to doubt this route even more. It was probably what prompted me to build some new figures! The roof is fully highlighted but I’ll be putting some shadow washes on as I’ve been observing some patina’d overhead power cables at some of the train stations on my commute and black shading appears in some areas. Ideally that should have captured by the Warplock Bronze base – at which point we question why I did any of that but I’m a slave to the process…

Ultimately I just threw on the Hawk Turquoise. I came to the realisation I should just not care. If it goes wrong so what? This may well look odd and garish on the battlefield but often reality isn’t always colour matched and complimentary, sometimes things just do look out of place. Failing that I could always repaint!

Having thinned the paint down a lot I needed to paint one side of each of the buttresses and leave it to dry properly before flipping to do the other side or the paint would just bleed everywhere.

A bit of a faff but now I’m ready for the highlights which will be mainly drybrushed so it should be straightforward. Just need to crack on and do it.

GW Manchester Battle of the Brush – March – Characters

Following on from February’s Battle of the Brush [or ‘Tale of our Warlords’, as it’s also known], March’s category is Characters. I entered my Space Hulk Genestealer Broodlord, aside from the Terminator Librarian [which might feature in June…?] it was my most recently completed character. Obviously if I could paint something in time I would but my priority is my ongoing projects so some months it will be legacy miniatures as my entries. So long as they’ve never been in the cabinet before, the store is OK with that. Luckily my Sanctum Imperialis will count as a ‘Large Miniature’ in May, if I get it done that is!

Anyway, I didn’t get a lot of pics but these are the highlights. I think I was lucky in that I did capture the top three etntries with this Wight King gaining the top spot.

Gandalf was 2nd I think but he was absolutely stunning. You can even see Sir Ian McKellen in his face.

Riding Shadowfax too, and Merry or Pippin [I forget which].

An Isharann Tidecaster and some kind of Troggoth

Watch Captain Artemis and Spirit of Durthu – this Sylvaneth army is growing month on month so I lookk forward to seeing more entries.

Some additional entires, including a Biophagus.

Moar dakka?!

One of their taster tables, I like the fact it has the standard Realm of battle board next to the Sector Imperialis gamboard. I quite fancy having a couple of those to sit next to my own board as a transition to a more urban area, even if it’s a nightmare to play on!

I’ll be taking regular pics throughout the months for this challenge, so enjoy.

‘nids part 264 – Genestealer cult – Aberrants – Avoidance tasking

Having concluded that my Sanctum Imperialis should be verdi-gris I promptly ttried to avoid the task. Sadly I didn’t even avoid it with any of my other priority projects. I spent one night making the torso of my Redemptor Dreadnought [more later] and the Aberrant Hypermorph. The next, night fully intending to paint I only went and made up all 8 of my remaining Aberrants. It says something when building until 1am is a more appealing task than painting that building green! These two are from the new Aberrant kit, but I think the power hammer dude has a Deathwatch Overkill head – they’re more gormless looking

I went with 3 power picks, because with 13 Aberrants in total I planned to kitbash another 2 and the spare hammers seemed an easier proposition to convert, although I may just be completely wrong on that viewpoint.

Having 4 Deathwatch Overkill models already I needed to do a couple of things to differentiate these. The first had its raised claw cut and tilted downwards. Then the second claw holding a skull was removed and a spare claw, possibly from a Space Hulk Genesteal was attached – it’s slightly bigger than normal. He also got the ‘elephant man’ head from the new kit but it might have been a mistake as you can’t radly see the side of the face covered in skin. The other figure got a new kit headswap.

The robed guys, first one had it’s raised arm removed and thn effectively put back in the same position because I couldn’t remember what it was like. I did put a little ‘dewclaw’ in the elbow joint though. I also swapped out the skull holding claw for the smaller Stealer clawed hand. Lastly the power pick was separated from the chest and pointed outwards. The power hammer dude got a new kit headswap, allowing it to look in a different direction.

I might need to add some chitinous armour plates and possibly some adrenal glands/toxin sacs to make them look different to their duo-pose bretheren below. I also need to decide on bases, do I get another set from bases4war.com or just  do my own? Obviously there’s a financial implication and although the bases are effectively complete the washing, sanding to fit the feet, gluing and washing again to get rid of the dust is as much effort as PVA, grit and little bits of debris…

Here’s my early attempt to kitbash 2 more Aberrants, although one could be another Hypermorph so would need an ‘improvised weapon’ of some sort meaning I’d actually need to kitbash a third. Anyway, I had some oAssault on Black Reach Orks lying around doing nothing so they’re bulky enough to form a base. I cut the arms off and trimmed down the neck to fit the steel collar of the eventual head. I also have a spare Genestealer leg to replace a foot so it’s more ‘Tyraniddy’.

I realised this hammer came with an upper-torso, so I’m going to really trim back the top of the Ork so it replace it. I’ll greenstuff some robes as well to try and cover the orky fashion up too.

Here’s where I’m at with my Redemptor, I couldn’t even leave this stock. I had a big Dark Angel chapter badge I was going to split but then I found this one that I’d already removed the sword from and it fit perfectly. I might also put the Dark Angel Relics on a rope on the exhaust manifolds on its back, as that also fits perfectly. I’m going to bling the shizzit out of this, loads of purity seals as I’m guessing he earned them already to be in this thing! 😉

And his hips.

Hopefully this procrastination was sufficient to get me back to the Sanctum, we shall see.

Terrain is everything – Sanctum Imperialis – it’s not easy being verdi-green

If you follow the 40kaddict Facebook group you’ll have seen some of these pics already. The plan was always to do full-on verdigris on the uprights, buttresses and external skirting boards, despite adding some highlights to the bronze. First was a wash of Army painter Hawk Turquoise.

Then another wash of my turquoise craft acrylic, followed by another drybrush of turquoise/white mix and I think it matches quite well my Matt Black Hero of the Imperium statue.

But putting it next to the big piece I was wracked with doubt about losing the bronze. It’s such a consistent effect and will not stand out too much on the battlefield – tonal backdrop that does not detract from the miniatures.

But I realised I could Photoshop it to see the end-result and with the small piece rotated I could copy+paste elements across.

I also got to conceptualise the red glass finials, although didn’t add the patina in the door relief. Asking in the group got a mixed response but I think the majority said go for it.

 The patina is my thing and as much as the terrain shouldn’t take away from the models this is a piece in its own right.

If you look around there are always architectural elements that do not fit a single aesthetic. Not everything is designed to be harmonious and share the same palette of colours so I’m going ahead with it… And while I was in Manchester I came across this example to illustrate my point.

Not sure whether it was the inspiration [long in gestation] because they’re just green painted drainpipes, not weathered copper, but you get the point.

So, more turquoise next.

Terrain is everything – Sanctum Imperialis – moar from the inner sanctum

The big piece needed its grunge shading, it’s come over all Tudor dwelling like.

Welcome to the grotty grotto.

I just wish I could leave things at this stage…

…but you know I can’t and I’ll be all over this with more paint…

2nd highlights, not sure if I’ve lost or gained with this? Definitely lost some of that oil paint effect 😦 but it was a bit OTT

I think I’ve got a mixture of both + and -. I just sponged on an even lighter shade.

Still some details to pick out and some shade applied in the recesses.

All the internal bronze ‘skirting boards’ need a sponging of Balthasar Gold. Ultimately the net gain or loss doesn’t really matter. I’ll do my process and what the end result is will suffice so it’s best not worrying about it really.

Strong Tone wash in all the creases on the medium piece, as well as 2nd highlights.

At least there’s consistency across the pieces. Don’t know whether those two panel things on the right hand side are electrical switch boxes with wires/cabling going inside or just structural features. If they’re cables I’ll do my usual of a red and a yellow/black stripe.

The little control panels should be fun to paint.

Corner piece, first highlight on the left, second highlight on the right plus some verdigris on the bronze skirting boards. They were indoors at some point so they would never be as weathered as the outside brassy bronze. Still need to finish off the base as well but otherwise I’m almost finished with this piece.

Verdigris pictures next…

Terrain is everything – Sanctum Imperialis – the inner sanctum

I was a little disappointed with how my highlights had gone in my previous post so I decided to bring back the redness with a glaze of Bloodletter, followed by some purple shadow washes and I’m much happier.

Here’s a before and after, although colour accuracy is far from perfect you can see it’s definitely changed and more importantly for the better!

But despite the desire to make these buildings fit the Red Planet BASE! of Ferron Proxima so it wouldn’t be too distracting in battle I had decided to flip that vision for the interiors.

We paint the insides of our homes and offices independently of the exterior anyway and bone [Magnolia] seemed like the obvious choice. This way from the outside it blends in with the board but from a different angle viewing the inside you get a whole different effect.

I scruffily stippled on the paitn as I will be adding a lot of shading to make the dilapidated interior I have visualised in my head.

Aeverything has been shaded with my Burnt Umber art acrylic. It’s a funny paint with the consistency of tooth paste that looks like a desaturated brown, but when thinned and dries has this aged speia tone that is very reminiscent of Blanchitsu.

I have never done this before, but I theorised it would look like this and once again I’m in love with the brush marks.

I haven’t quite visualised the next step, I know it needs more shading in the recess but a stippling of the lighter colour will cover up some of the underpainting already visible and possibly the brushstokes I need to retain.

That said the bone colour isn’t right so I really need to find the subtle path to what I’m after, even if I don’t quite know what that is yet.

Luckily I have the small piece to test my approach. I’ve added the Strong Wash in the creases so I might focus on this to get a sense of what I need to do on the bigger pieces.

I also need to do all the Burnt Umber on the biggest ruin so I should be achieving both quality and quantity in my output for the next update…

Blog at WordPress.com.

Up ↑

Design a site like this with WordPress.com
Get started