What’s on my palette?

Nearly six weeks since my last confession…and how’ve I been doing?

  • Capillary towers – painted and complete
  • Skyshield Landing Pad – painted and complete [pictures to follow next week!]
  • Finished the Epic Reaver Titan
  • Started painting 10 Termagants [and added a further 10 last night that will be primed soon]
  • I also primed and base-coated 5 Deathwing [well I have to at least pretend I’m interested in them]
  • Added a further 4 Spore Mines to my painting list [for giggles]
  • Won a Tervigon on ebay and have set about trying to remove it’s CC claws and head [only bled once so far]
  • Stripped the Land Raider Proteus
  • Started the walls to the Skyshield

So there are some pics to follow for most of these. But first up here’s the last aborted attempt for the Skyshield walls that resulted in me ‘keeping it simple’ and familiar with the frame and Milliput process. I tried using Silicone Sealant which I probably would have gone with except for one thing – it’s Silicone, nothing sticks to it! I thought a coat of Vernidas might ‘set it’ hard, but it cracked when I flexed it. Equally Tamiya Clear Red X-27 wouldn’t stick to, or harden it. So although I can create a nice organic shape that looks like alien excretions it’s not going to solve my problem. I’d just like to point out the ultimate solution would be to create the walls in Milliput, then make a mold and cast clear resin for the ideal effect I imagined. But that’s not the simple answer, which, given the time available I need to go with. So that leaves us where we’re at – with building the five remaining frames.

I’m going to base the gaunts first and then add the colours after, the advantage being the rough and ready drybrushing is covered up by the neatly applied Termagant colour scheme.

 I thought I may as well start the final 10 at the same time, no point waiting. Three needed paint stripping with Fairy Power Spray and two needed remedial repairs to their base. Had some fun putting adrenal glands on the base of their tails. They’re more for identification purposes really than upgrades.
5 more snapfit Termagants with Adrenal Glands on their tail!
The Dark Vengeance Deathwing, again I’ll do the bases at the same time as the gaunts. At least they’ve progressed since my last ‘confession’.

Dark Vengeance Deathwing
 Another Tervigon… I don’t know why either? It was £24 and it was one of those ebay auctions that you bid on and suddenly find you’re winning and then hope someone else will snipe it before the auction ends. Still, for Throne of Skulls we’re not supposed to have proxy models, so I’m not sure whether I can still justify my Carnifex/Tervigon conversion any more. It’s new rules so maybe a new regime. Either way I’m going to try and magnetize it so I can maybe use it also as a Tyrannofex. I’ve applied Fairy Power Spray to all the joints. It does help to break down the Poly Cement weld a bit, sufficient to remove the head so far. I’m replacing the Tervigon head [which I’ve already used on my other Tervigon] with my spare Tyrannofex head, but, I’m removing it’s lower jaw and adding the spare Mawloc mandibles. The T-fex jaw has a blade underneath that obstructs the Termagant spawning sack. The Mawloc mandibles will frame it instead, although those ‘bamboo’ crests may have to go. Either way the opening may make a decent representation for a mouth mounted Miasma Cannon – given it makes a Miasmic ‘Spit’ attack and it’ll look cool and different too!

New Tervigon, for £24!
Four new Spore Mines

I had plans to make a couple of Tyranid Void Shield Generators for Throne of Skulls too. This was the final epiphany from my last ‘What’s on my palette’. I’d thought to create a couple of them, based on the following  concept but I can’t take them AND my Imperial Strongpoint so they’re hanging fire and I may well reconsider the design. I actually added the ‘battlements’ with suitable room for 10 gaunts to ‘man’ them, but then noticed they’re ‘impassable’ buildings so didn’t need to add space. Anyway, they may or may not get done, we’ll see. I also took out the bits for my Tyranid Icarus Las-cannon emplacement but have decided not to pursue that just yet as it uses the T-fex Rupture Cannon I may need to magnetize to create my Tyrannofex.

I also picked up 3 more Tyranid Warriors and a Carnifex on ebay. I intend to make 2 of the Warriors into Hive Guard and have the remaining one either with a Venom Cannon or Deathspitter. The Carnifex was also a bargain, I think in total I may have made something like a 65-75% saving and this came fitted with a Fleshborer Hive to make it a Dakkafex, which was my intention anyway, bonus! I also plan to pick up a Venomthrope, two more Zonathropes and one or two Biovores, depending on availability. To cap it all I may go insane and look at something from Forgeworld too! I might be able to get a good deal on something so we’ll see. So much for my Winged Tyrant being the ‘treat to myself to celebrate finishing the Tyranids’.

And THIS is why the Dark Angels are languishing! So I’ve still got to get the following done:

  1. 20 termagants
  2. Skyshield Walls
  3. New Tervigon
  4. 4 Spore Mines
  5. Deathwing

That’s the priority order. Everything except the Termagants would be nice to have, the gaunts are essential.

PS, I also broke the 200 follower barrier and had an increase in the amount of hits this month by 25%! High Score again – you guys rock!


‘nids part 124 – PROJECT Y Scratchbuilt Tyranid Skyshield Landing Pad pt6.

When last we left the Landing Pad I’d been quite content to have masking tape as the base for the detachable walls. It had texture and was flat enough so that where the walls join would not look all goofy – change of plan! Having primed the pad with Red Oxide car primer I was particularly underwhelmed by the result on the masking tape as it just looked like sprayed masking tape. So I quickly whipped up some PVA and plaster and coated the edges. I think I’d even added the first set of washes so to back track like this was quite a step. I hoped I could just spray the edges without losing too much of the wash already done. I don’t usually rewind like this so if I did, trust me, it must have been sub-par.
I stupidly did not mix some water with the plaster first so the end result was a mix of PVA and plaster but it had quite a few clumps of plaster did did not mix properly [face palm]. Thus the end surface was all over the shop, my lovely flat join was gone and when I came to try and sand it the stuff was just armour plated. I was forced to using my Dremel to get through the stuff, with the end result cracked and pitted but at least somewhat level compared to when I began.
Now I’m hoping whatever sculpting I do on the walls will hide some of the mess on the join but the resultant texture and cracks on the edges are considerably better than the masking tape alone. The flatness is a compromise but I think I’ve done enough that it will only be something I’ll notice and if I can live with it then others will overlook it.

With the usual quick progress when it comes to painting my flesh colours, it’s mainly based on the same Vermilion craft acrylic I do my Red Planet Basing and there’s just so much I have to paint I use a big brush and this means it’s painted so much quicker. The Vermilion was highlighted twice with white and I cut in some Bonewhite for the Sphincter ring, I’m not sure biologically speaking if that makes sense but I wanted to break up the expanse a little bit and it gives the Capillary support something to hold onto.

I introduced some blue and purple into additional thinned paint washes. I wanted the sphincter to be subtly different, like the roof of the Bastion. I then did a quick dry/moist brush with Vermilion over the blue/purple to smooth the transition. The washes were all in the stretched bits to highlight the Capillary supports and lift them from the surrounding flesh colour. 

Here’s my test fit of my first wall. I added extra pieces of plasticard at the end, using sprue as additional support. Then I had a piece of clear plastic sheet that came wrapping my son’s birthday cake. I’ve cut it to fit and will add Milliput flesh strands across the divide. I think I went a little short on this one. I was aiming to be Termagant head height but the Imperial one is much taller and I think I should probably add around 8mm to the others. If I’m clever I think I can add some extra height on these with the Milliput strands.
I’m obviously less concerned with the walls as a priority as it’s playable without, only I’m sure if I don’t push on with it I won’t bother. Building the wall supports are quite fussy and making the strands will probably take about a nights work each, as I’ll have to do both sides. I’ve also got to make sure I don’t leave too much of the Milliput exposed on the rear view when I won’t be able to paint it – I’ll see the Terracotta. I’m hoping Tamiya Clear Red X-27 will solve the problem. 

And lastly I utilised the cracked PVA/Plaster to create some veins around the edges. 

Just thinned blue paint just to add some more dimension to it.

Next step – matt varnish, then gloss varnish and then Tamiya Clear Red X-27

Tyranid Capillary Towers part 1. | part 2. | part 3. | part 4. | part 5. | part 6. | part 7. | part 8. part 9. |
Tyranid Skyshield Landing Pad part 1. | part 2. | part 3. | part 4. | part 5. | part 6. | part 7. | part 8. |

1000pt battle report[ish] – nids vs Eldar – The first run out with the new Codex

I got to open my 2014 account with PeteB the other week. New Year, New [OLD] Codex. This isn’t a battle report as such, I wasn’t paying too much attention to keeping track, really it’s an observation of how things are different and how they may be very much the same. PeteB took the photos, I was too flustered moving bodies, and OH how many need moving now! Due to the opposite view that PeteB had it’s another reason I’ll struggle to describe the action as it unfolded, but I’m extremely grateful for his impression of David Bailey 😉

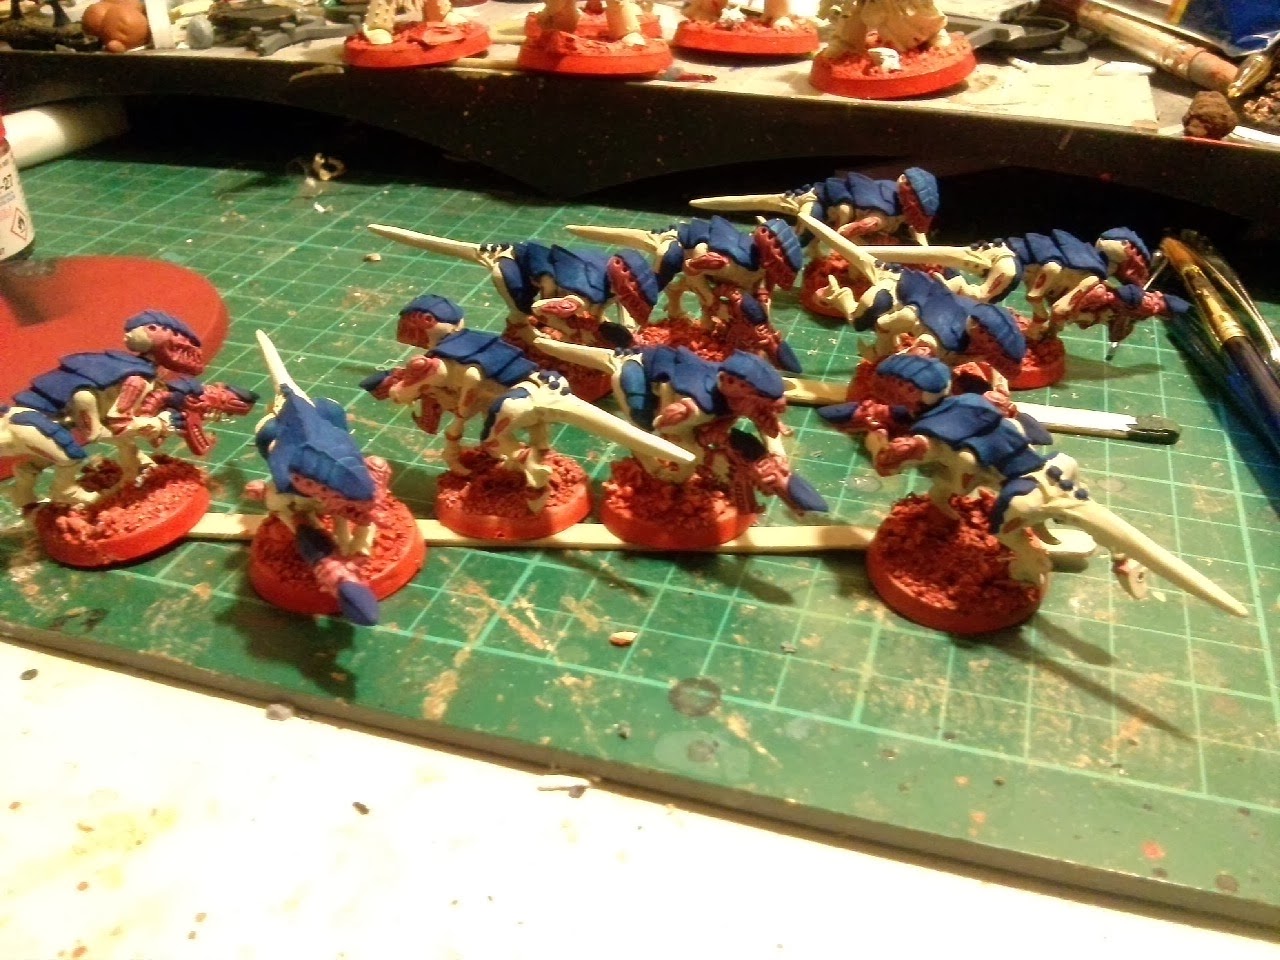
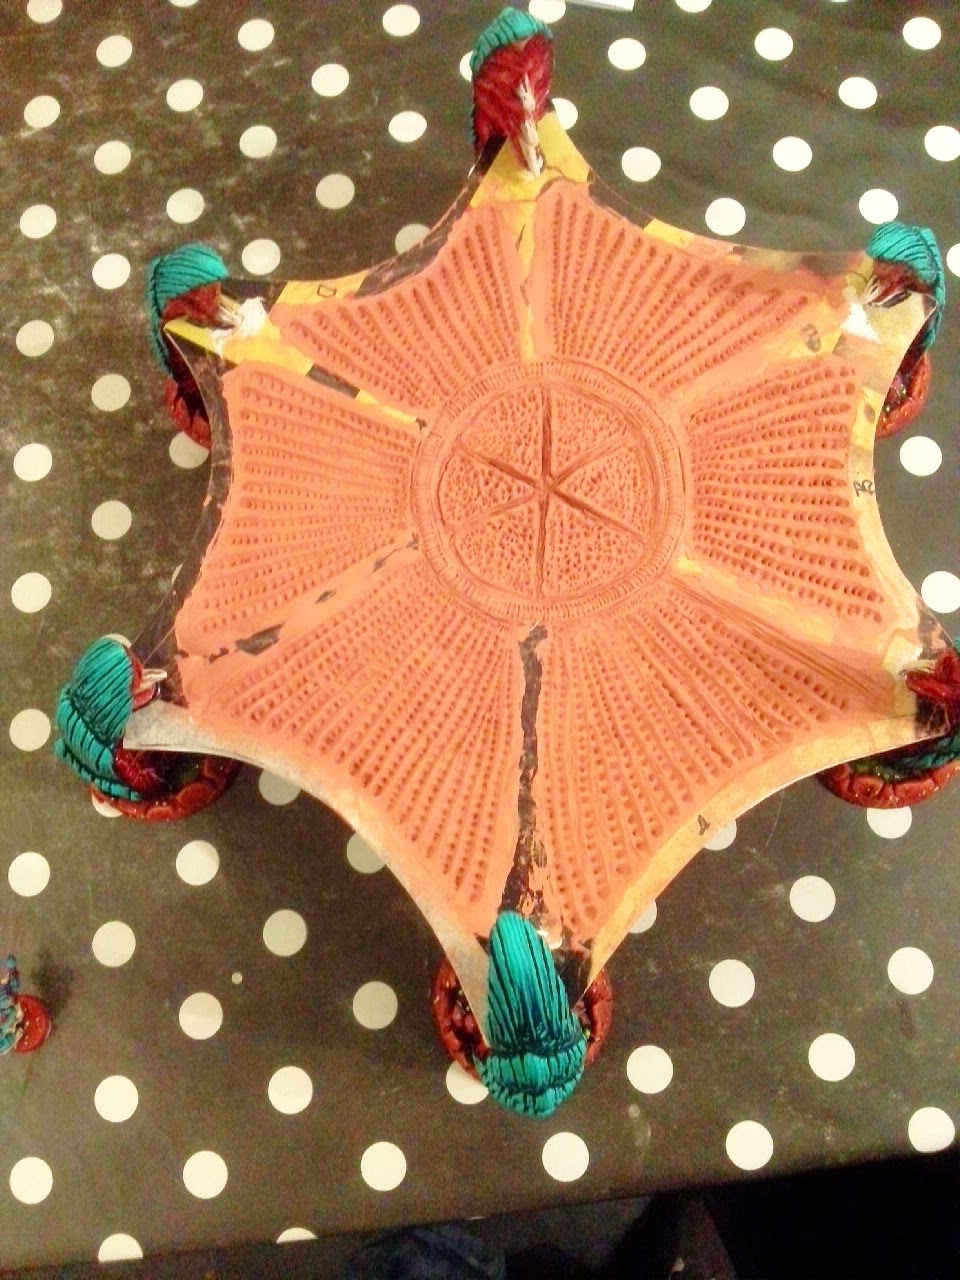
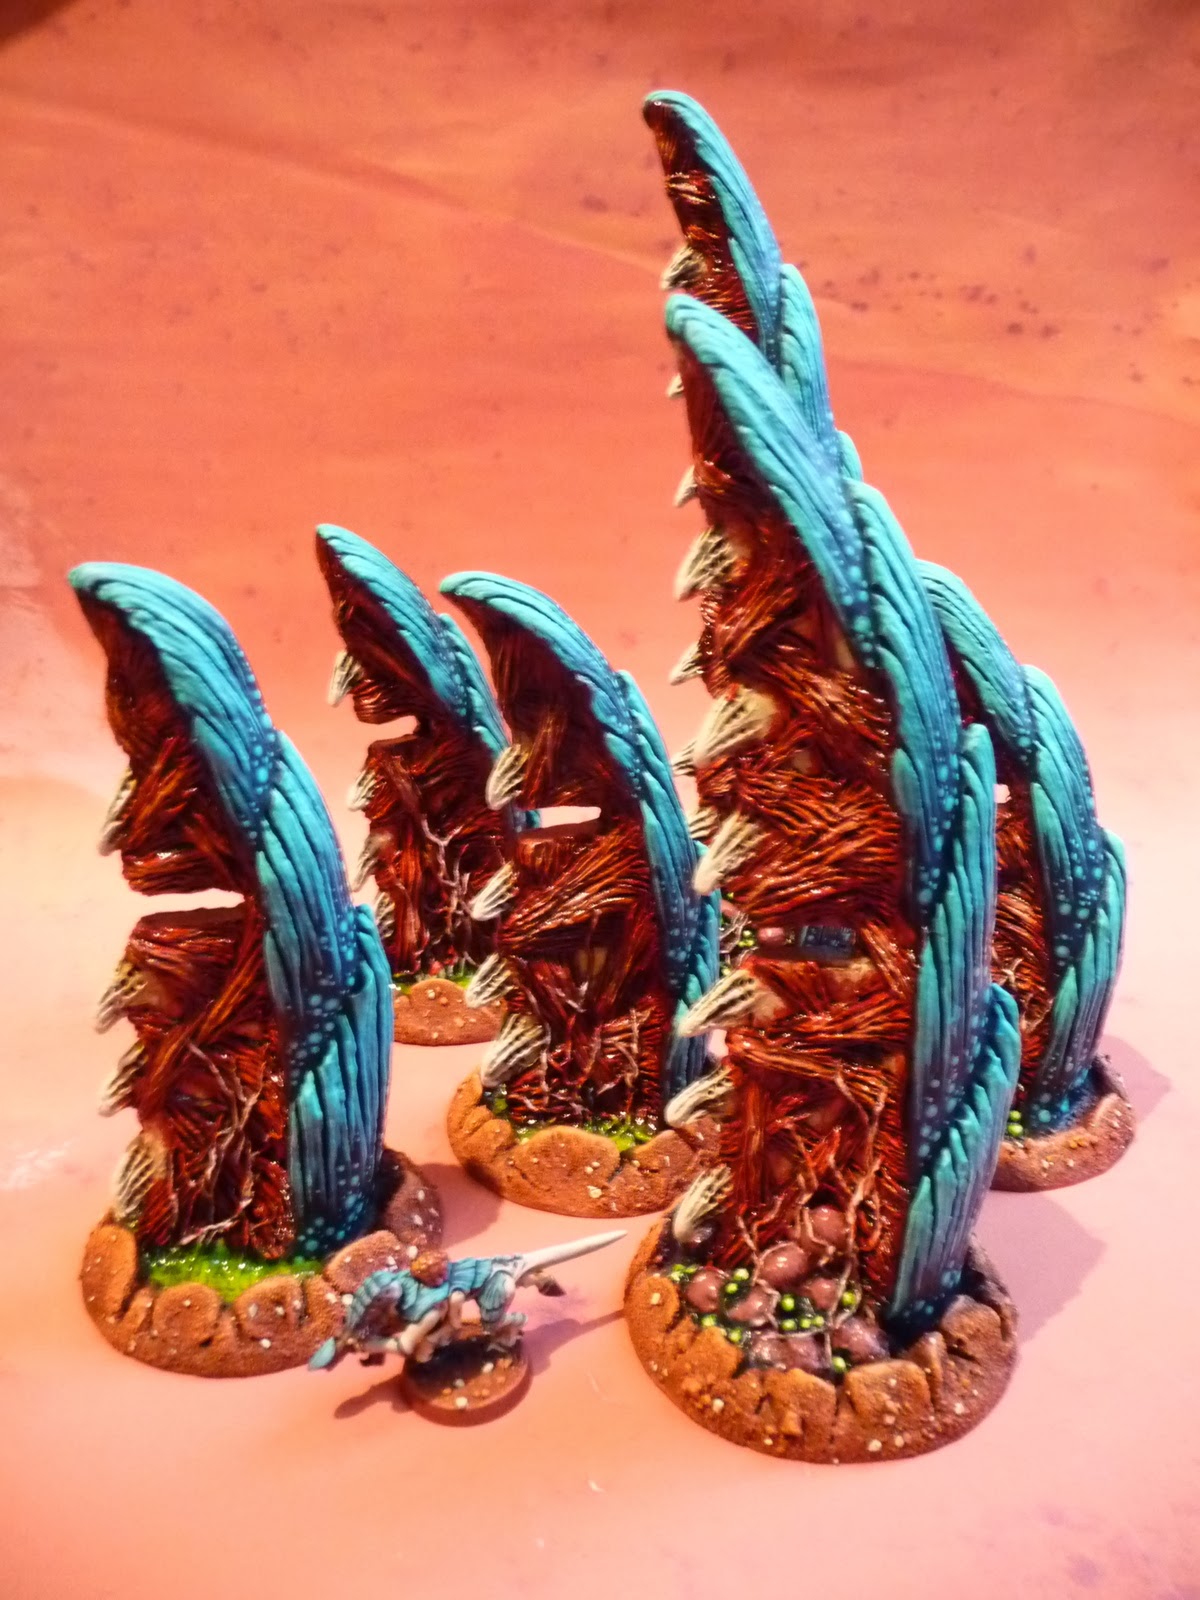
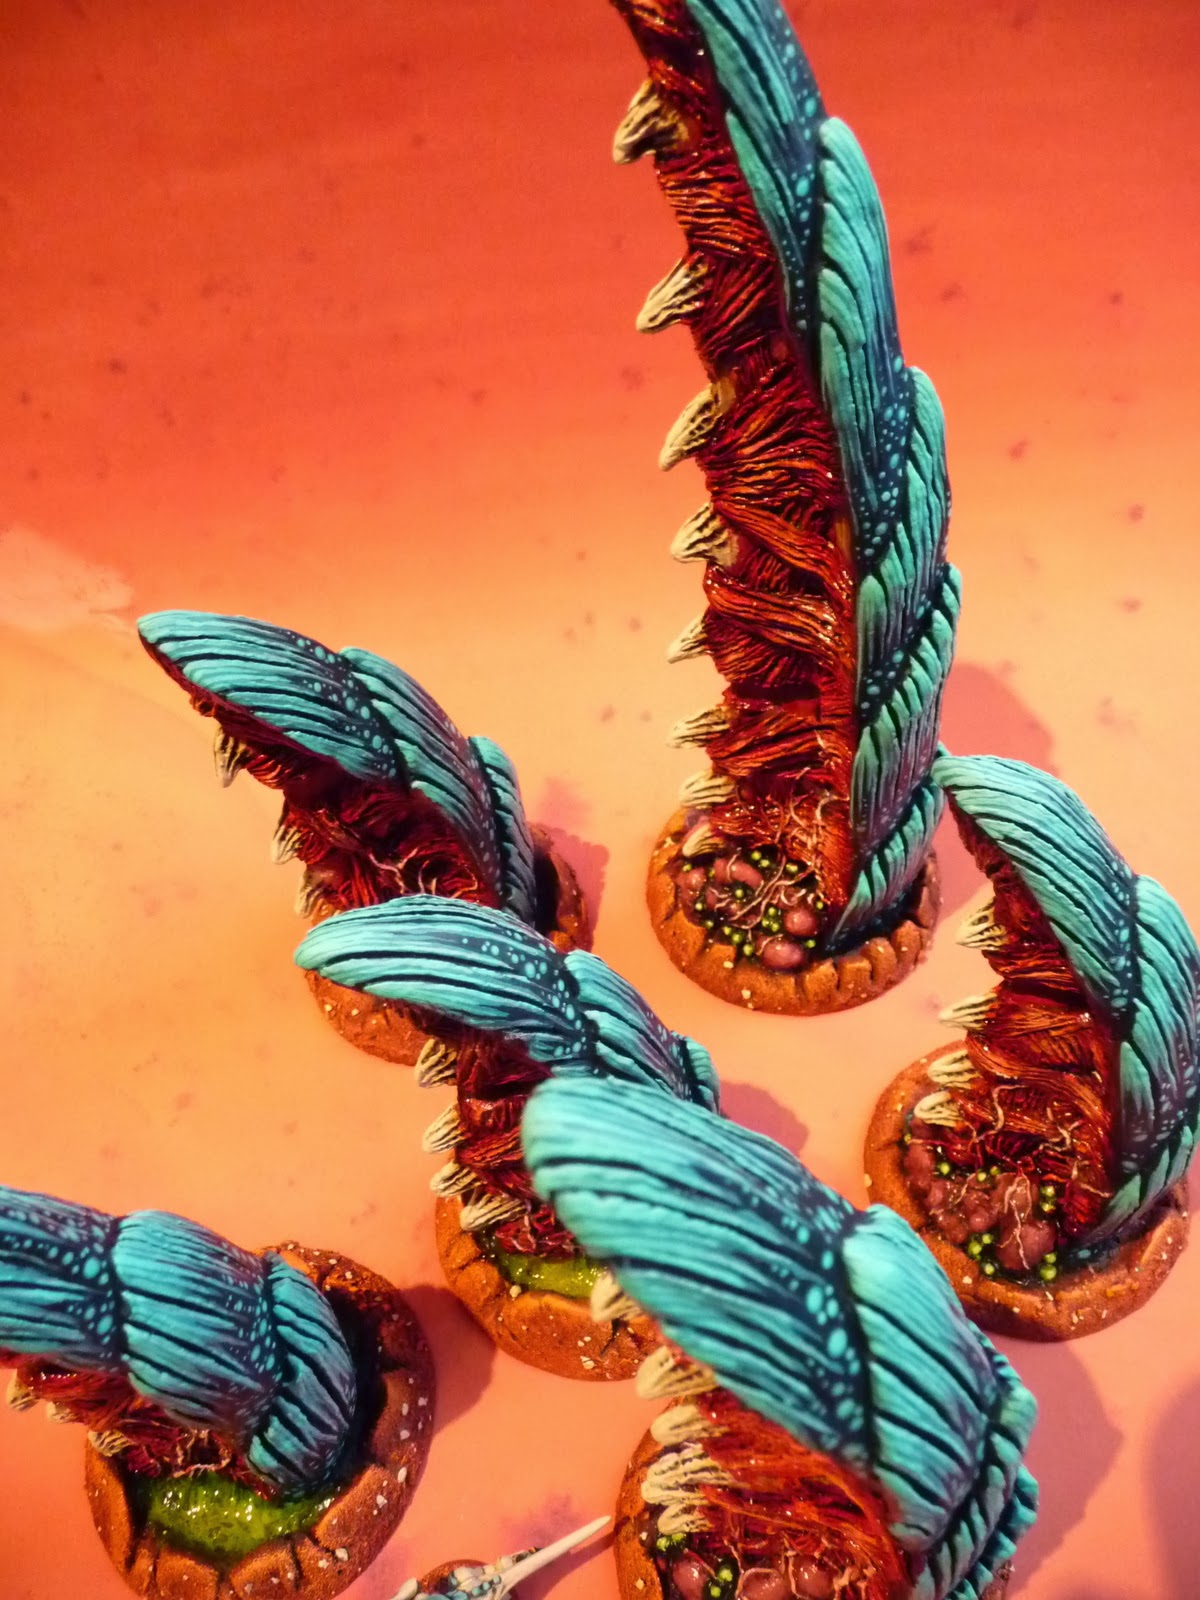
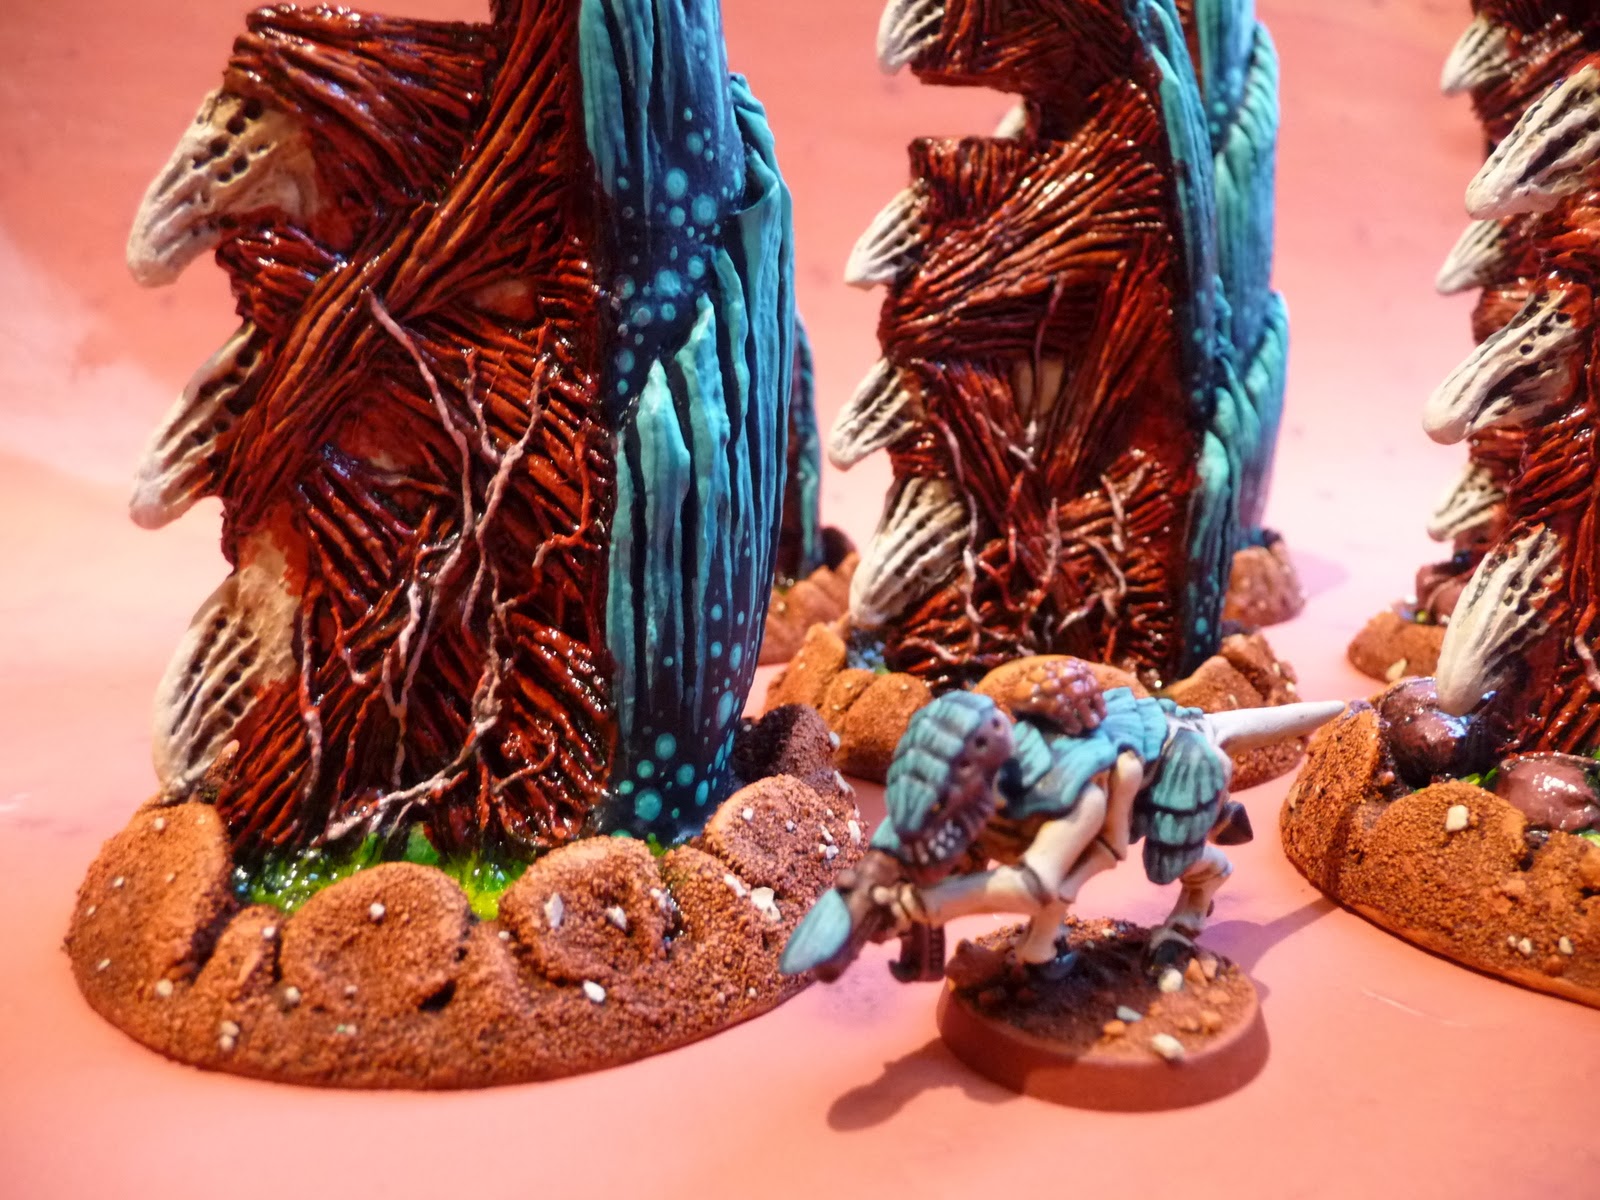
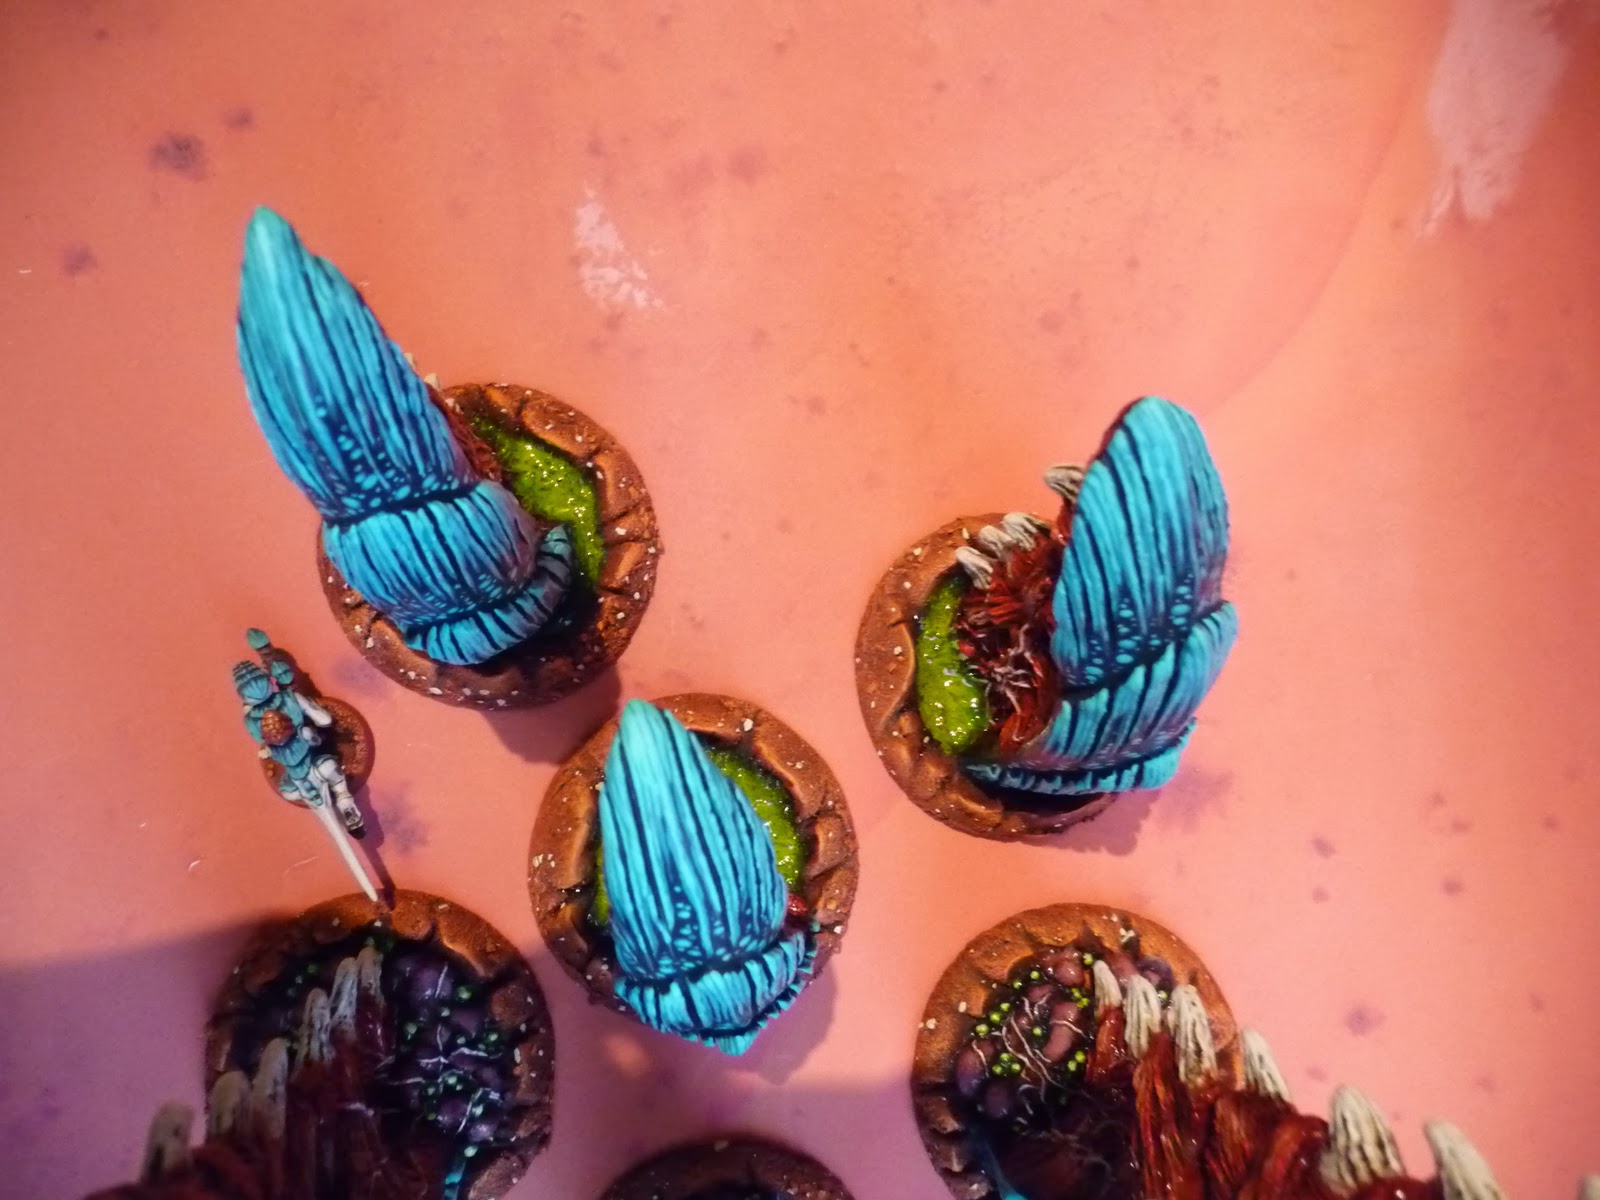
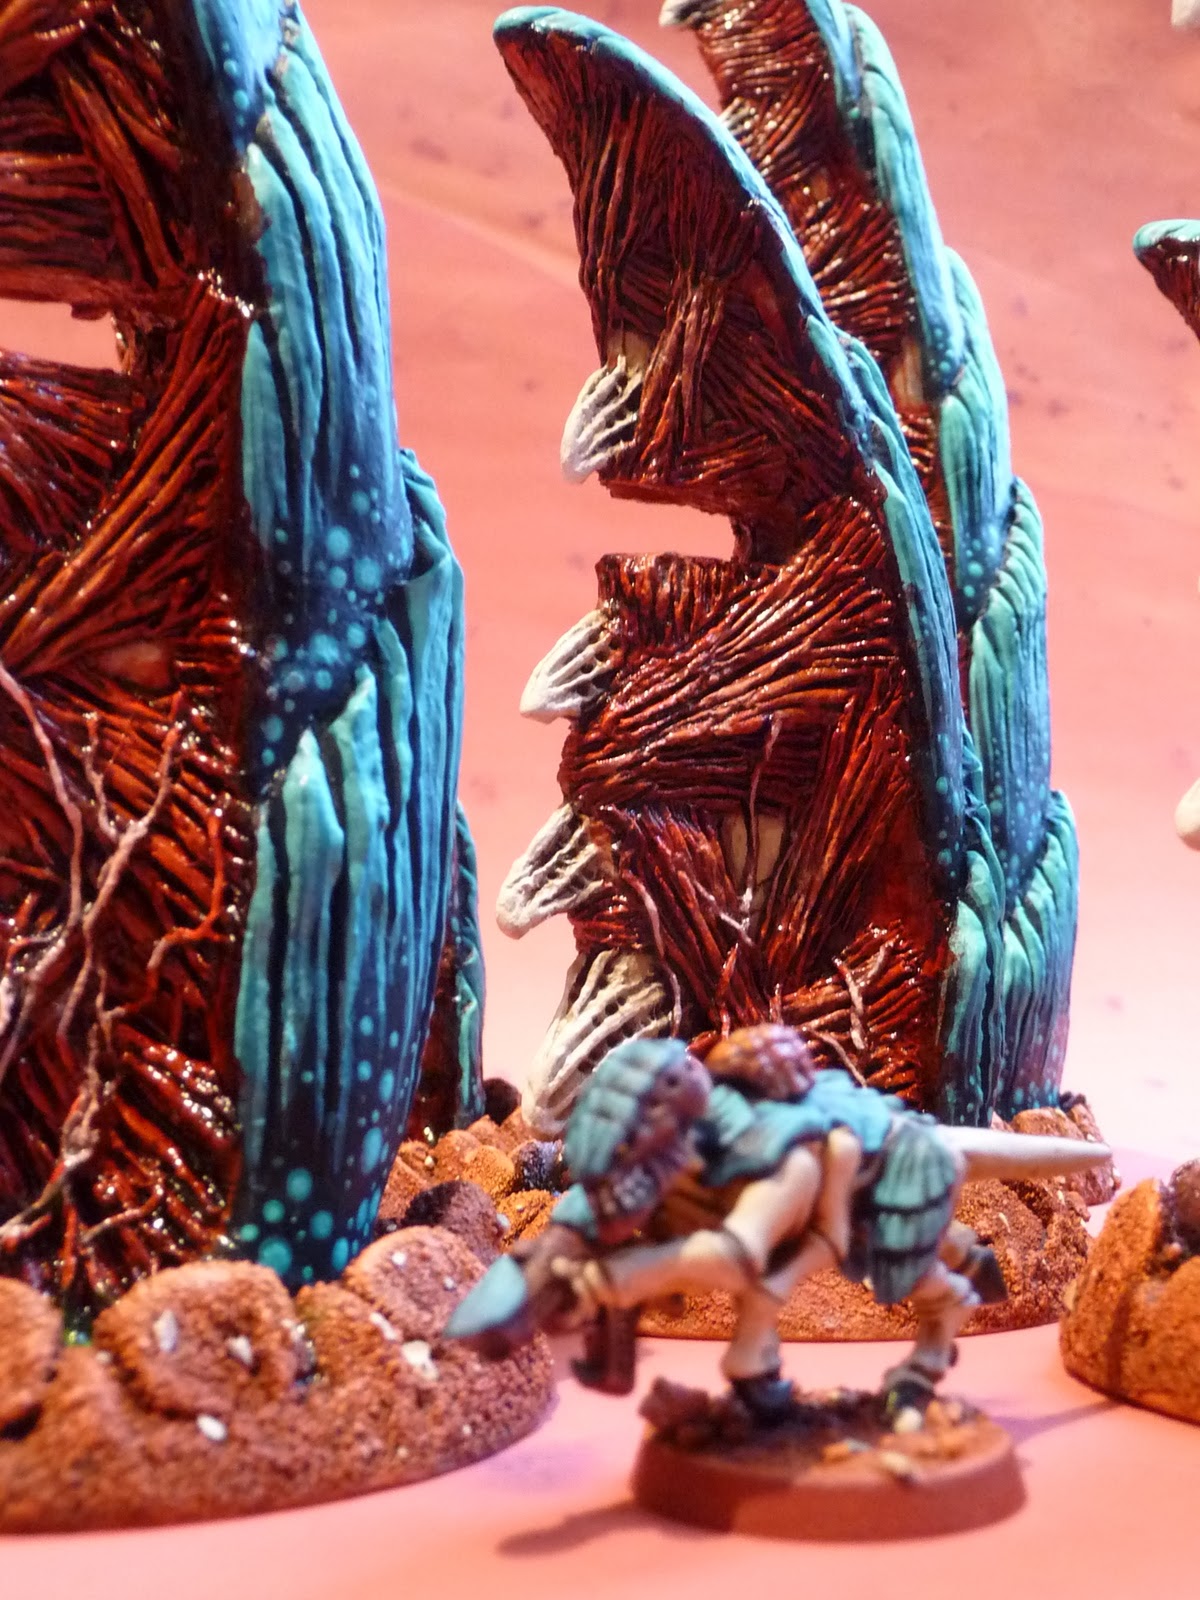
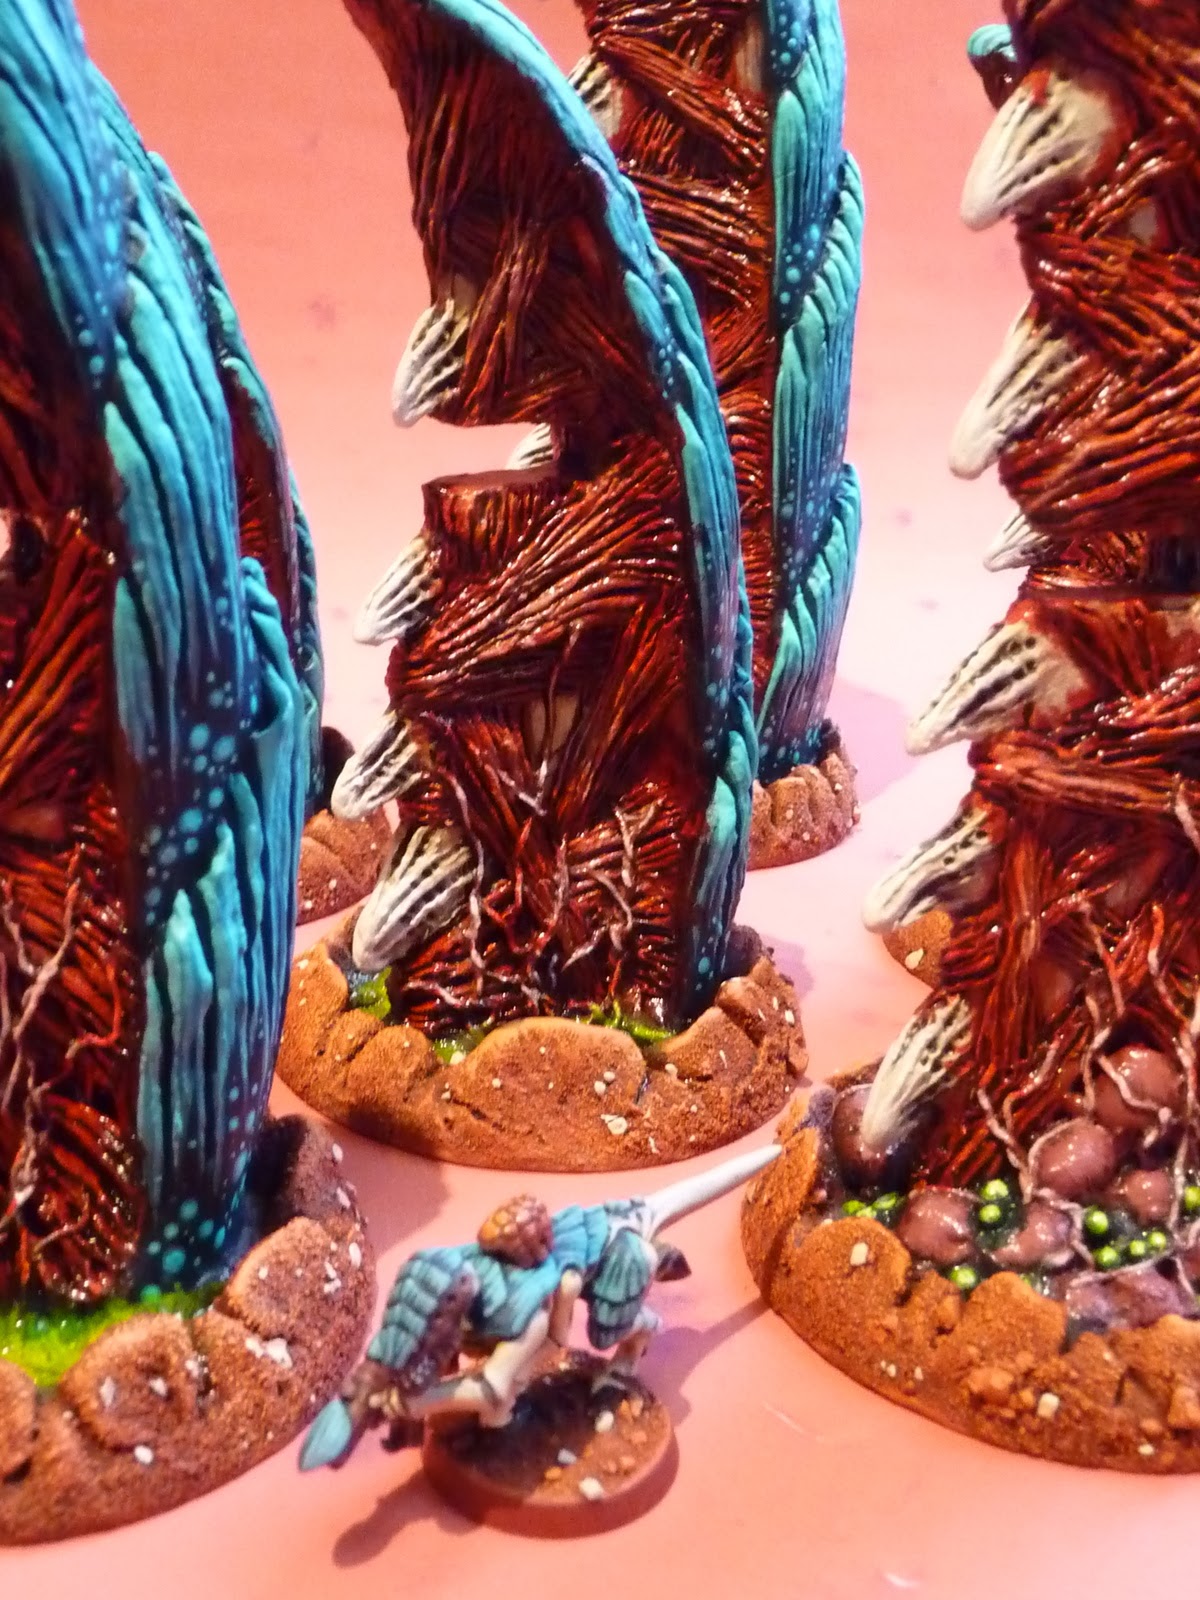
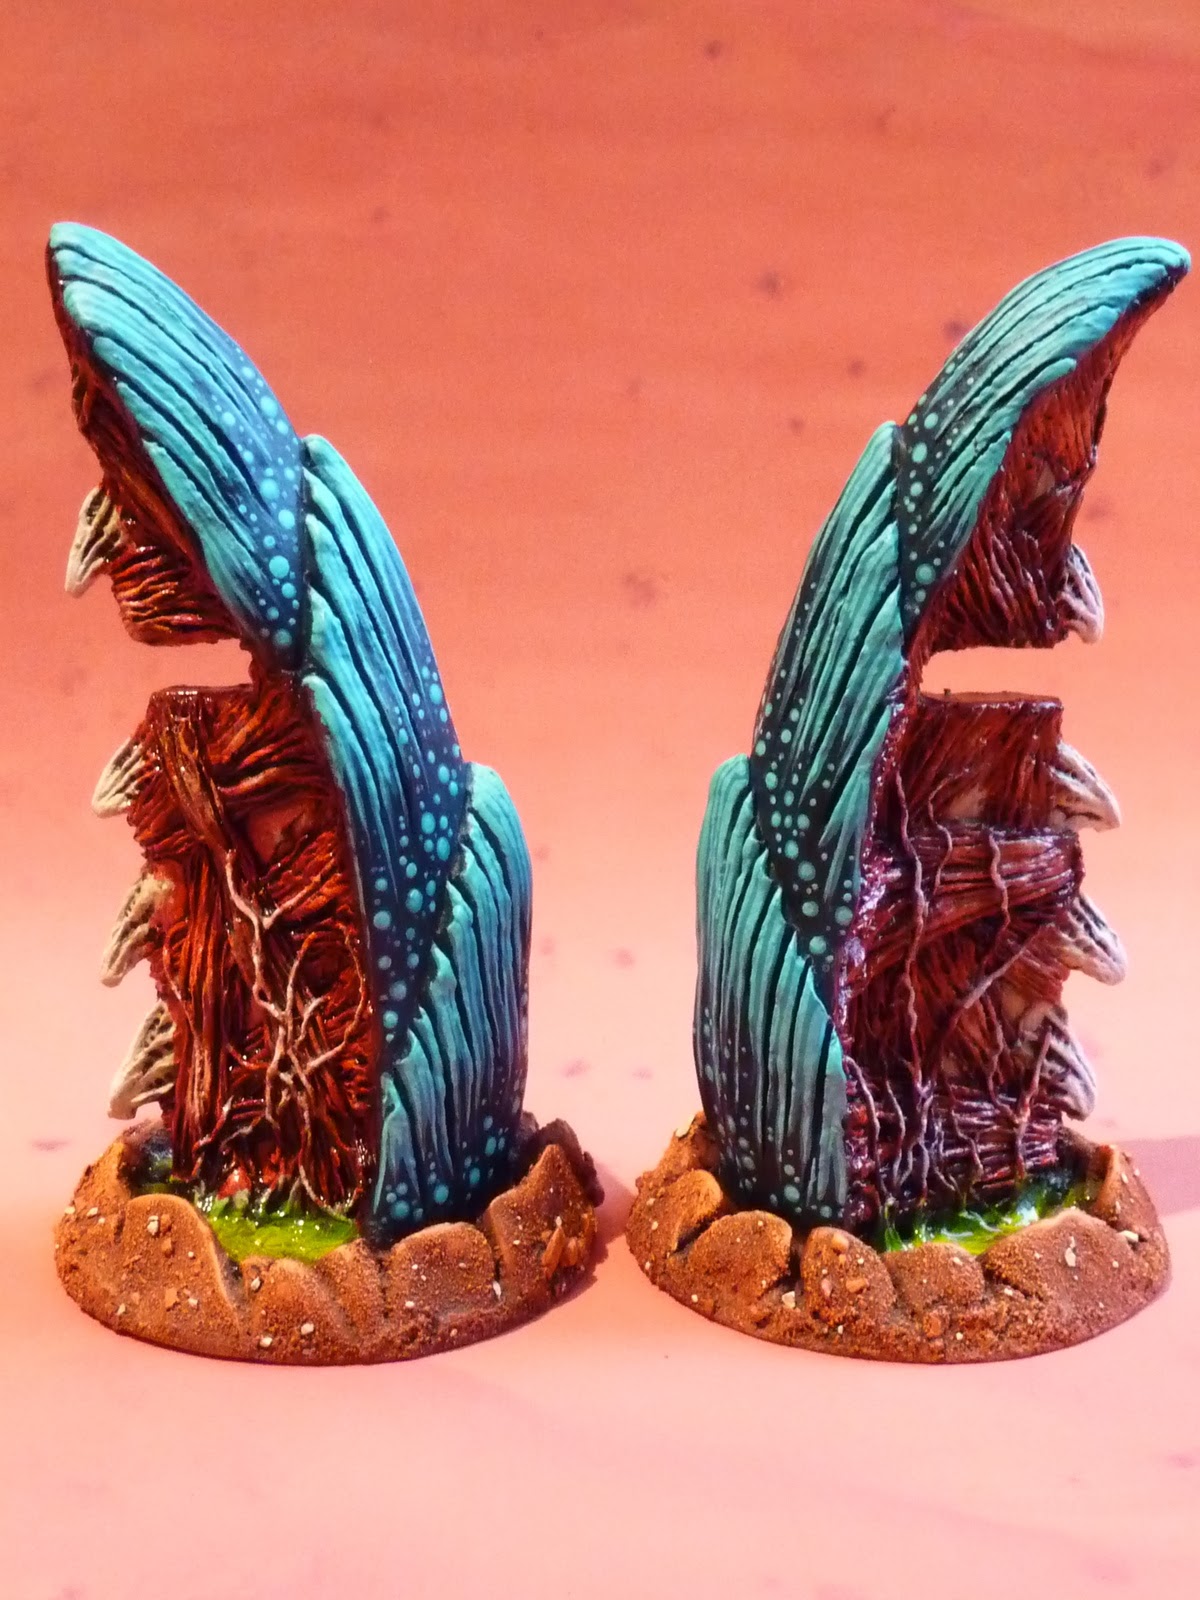
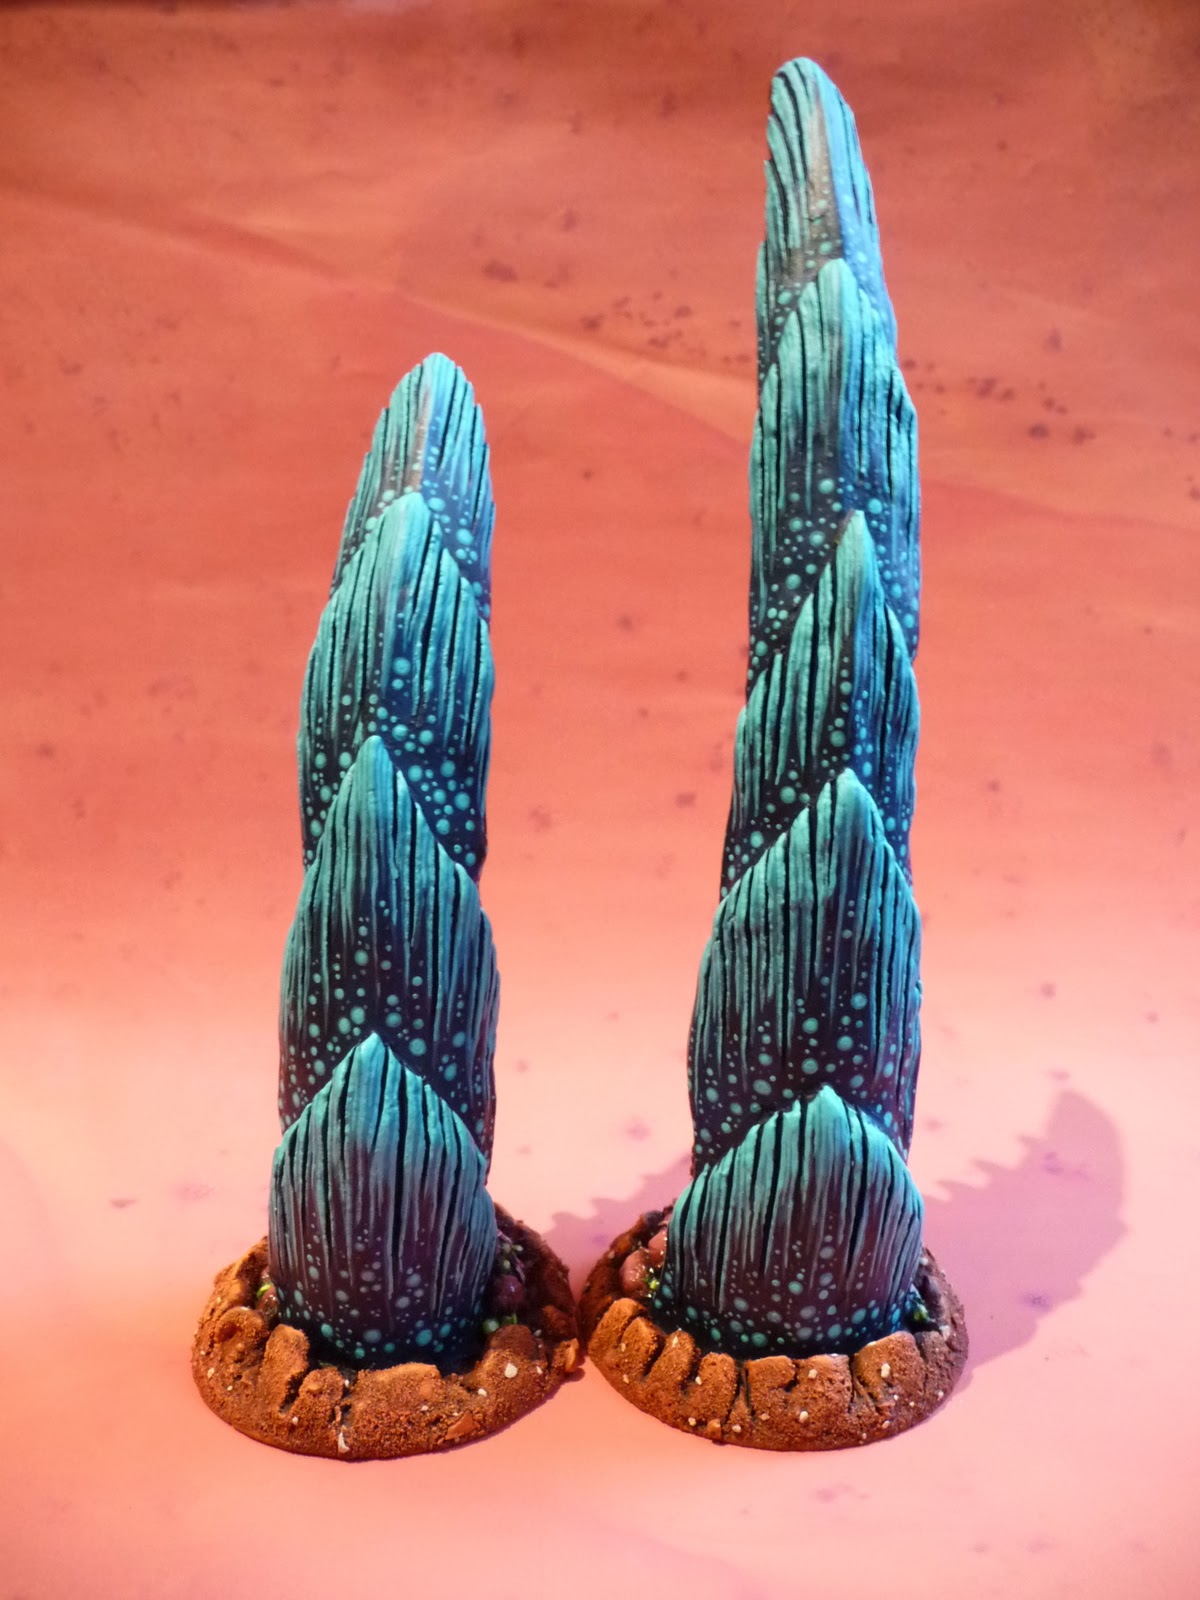
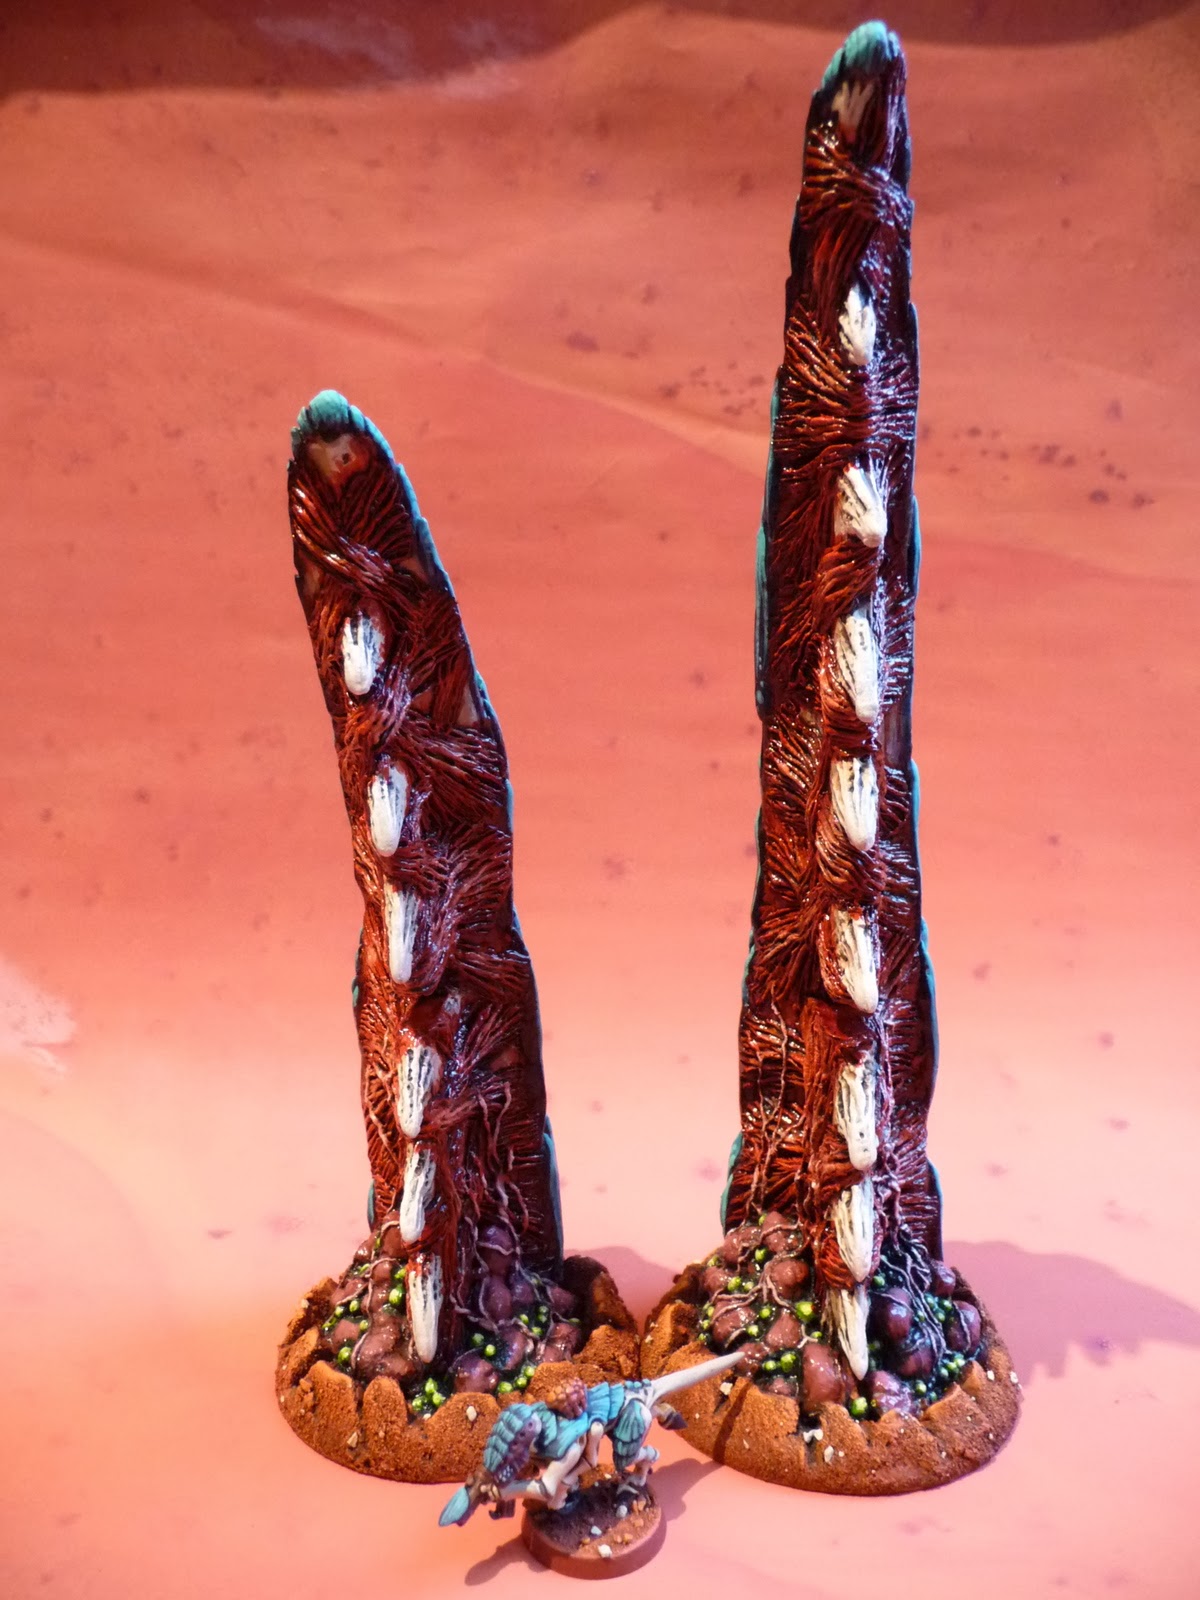
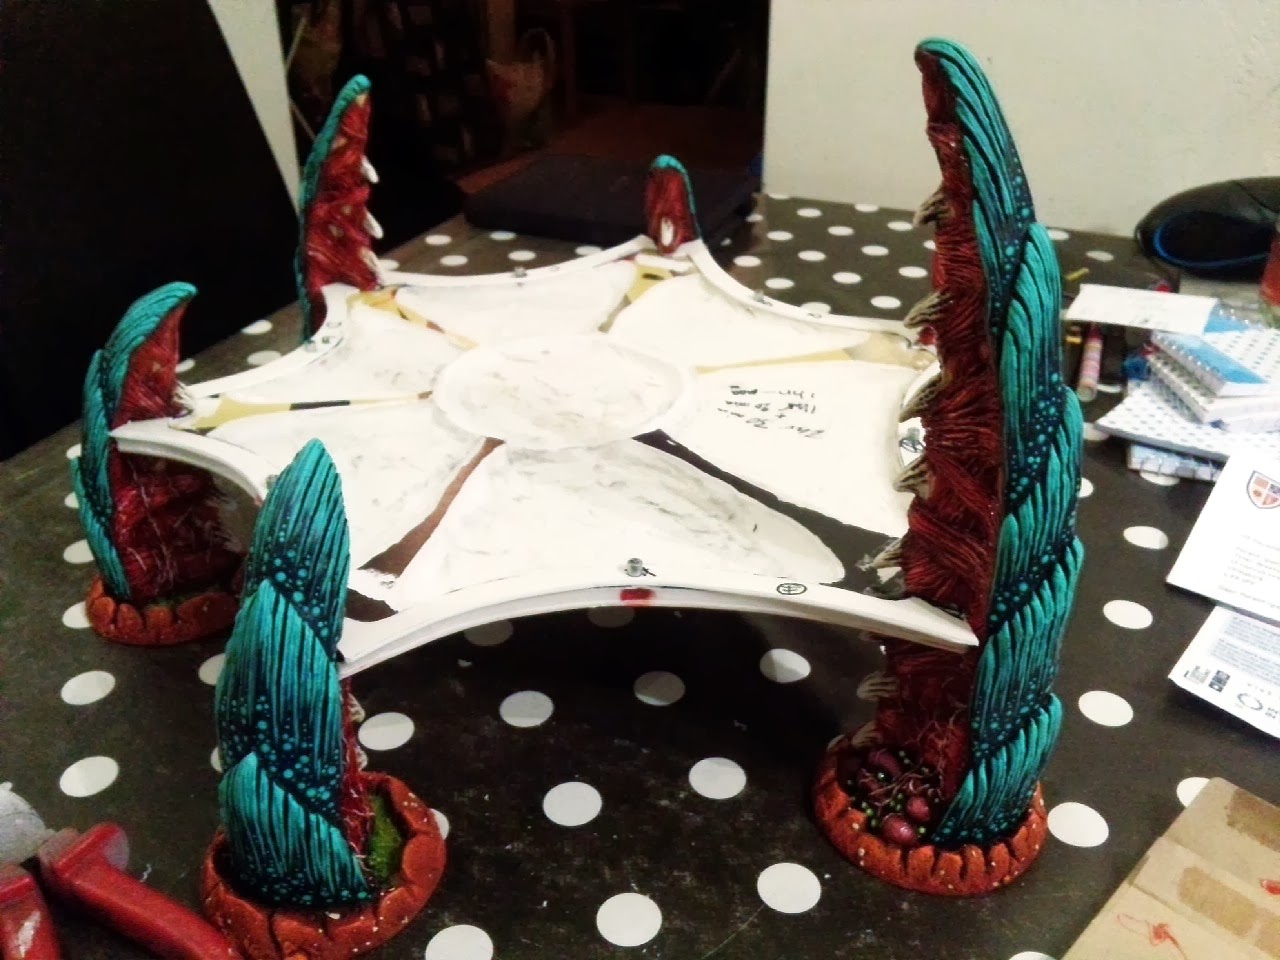
We set up the terrain as a sort of Xenos-henge, with my Capillary Towers surrounding a reclamation pit and various craters and redundant Spore Pods for added LoS blocking terrain. It was Vanguard strike and I think there were 3 objectives, I had one and PeteB had the other. I may have stolen the initiative which allowed me [thanks to Catalyst] to run my Termagants over to the Infiltrated Striking Scorpions on my left.

Thanks to the mixed load out of Devourers and Fleshborers [+1 to the new Codex] I was able to bring 34 shots to bare on the Striking Scorpions. I think this translated as 2 or possibly 3 dead. The real concern was that my Tervigon was now only just in Synapse range even with a conga line and where as in the past I’d have spawned some more gaunts to man my Quad Gun and then moved off to support now I had to move and then spawn. It was a very fine balance, very difficult to reverse the previous order of action and having to think ahead of where the Tervigon will be and not where it begins was extremely hard.

The real issue that presented itself was just how damaging Instictive Behaviour can be. It was at this point that I realised should my 30 Termagants fail IB they could potentially fall back. As you can see, it’s a big brood and in heading left along my board edge I was only 7″ from potentially fleeing. It’s here that I realised how detrimental IB could be [-1 New Codex]. In the old days that would never have been a worry. With such a potential failing I wondered why it was a 50% to run off the board? Surely a 1-2 is fall back 3-5 is Seek Cover and 6 is the lucky bonus one where you Seek Cover and get Stealth. Think about Grounded results and reserves, they’re on 1-2 – the bad things happen on the lower rolls. I’m sure if the odds on something bad happening had been reduced the IB chart would be less contentious.

Spore Mines were the other anomaly I discovered. Considering how there is nearly half a page discussing the various rules relating to their use it seems lacking in how they actually function. There seems to be no proximity detonation anymore so PeteB’s Eldar were free to dance around them like they weren’t there. There’s also no clarification of what happens when they are shot at, do they explode as per their rules or just get shot. This was in the old Codex I’m sure, so why not cover the situation here? The last thing is can a cluster explode from deep strike? Presumably not as the explode in the assault phase, and Deep Strikers can’t assault.Although it does not say they are assaulting, just explode at the initiative 10 step. Otherwise you’re paying for a unit that sits there and gets shot to pieces, which in fairness is what most every other Deep Striker does but these are T1, their sole purpose is to drop in and explode, if they have to wait a turn there’s just no point and for me would move from an auto-include: potential S9 large blast Deep Stike for 30pts! So, I’ll probably not bother.

In fairness to the new Codex the end result was not really due to a change in rules, despite the lowered BS my Hive Guard are still ineffective against high armour saves. Strength 8 will wound a Wraithlord, it just won’t damage it! 😦

So with my major concern over Synapse it suddenly became imperative the Termagants were shot again, that way I could ‘go to ground’ thus making me immune to IB. All I then needed to do was get my Synapse within range and they would automatically recover. This Duck and Cover approach will become a nid players friend I think. Everyone needs to get with Bert:

My Flyrant came in no problems, I was hoping I could force a Morale check on the Dire Avengers and being close to the board edge hopefully they’d flee off. The planned worked, insomuch that I killed sufficient to force the check but they passed with ease. Which left the Flyrant very exposed which resulted in him being dead the next turn

Incidentally I did get another round of fire on the Scorpions, after they fled back up field but rallied in their turn. Another 34 shots but I think only 1 kill!

With my Termagants instantly recovering with the Tervigon getting into range I headed for the little objective on the bottom of the pic. I was hoping Catalyst might put me in a position the Wraithlord couldn’t reach but sadly it wasn’t the case. In the end the Termagants were tied up in combat and PeteB was hard pressed to get rid of them, he even claimed they were worse to deal with than what I used to field. I suppose max brood size does have it’s benefits.

There have been plenty of reviews on the internet of the new Codex, many I agree with so I’m not about to repeat what’s been said, particularly when they’ve often been comprehensive of their unit by unit analysis. What I am going to say is I am one of the disappointed Tyranid players. Apparently that means I’m a whinger and WAAC player as all those who have found light in the new Codex.

I really think it depends on your view point and the route you’ve come to it. Having not played the 4th Edition Codex I was not hit hard by the 5th rules but I could understand the implications. Maybe that’s what’s going on here, new 6th Codex players are wondering what the fuss is about… the Codex is a disappointment because the pluses are far outweighed by the minuses. The things we’ve lost and the new things that have been implemented are not mitigated by the good stuff. The Flyers are a high point but even so they’re lower price and higher wounds than a Flyrant are counterbalanced by the lower toughness which means they’ll die just as quick, if not quicker. The Exocrine and Haruspex are still only slightly above interesting but with the resurgence of the Carnifex and it’s real world cost – I picked one up with Fleshborer Hives as twin-linked Devourer [what I was going to do anyway] for around £13! What’s the real incentive to go for the new model?

Anyway, I’ll plug along regardless. This is only a slightly worse position than we were in 2010 and I was quite happy to continue sending the bugs out. I’m convinced I’ll spend more time skulking again, hiding from fire and hoping to weather the storm. When you had durability you could be aggressive, without it you need speed and I really think we failed to get that. The only speed we had were Deep Strike capabilities and they’ve gone, if a way to replace that had been found it might also have solved the loss of Iron Arm.

Still it was an interesting dip into the new Codex, but very slow, it was 1am by the time we’d packed up! Hopefully everything will speed up but plenty to think about moving forwards and what to take for Throne of Skulls.

P.S. One other thing, anyone else find the positioning of the Weapons and Biomorphs section and the Colours of the Hive Fleets just a bit awkward. I’m constantly going backwards and forwards between weapons and biomorphs and the Army List section but to do so I keep having to flick past 22 pages of models. So much easier if the Hive Fleet had come before the weapons.

‘nids part 123 – PROJECT Y Scratchbuilt Tyranid Skyshield Landing Pad pt5.

This isn’t much of an update as really it’s just the fact that the DAS clay is dry now and you can get a sense of scale and perspective with the towers. However, it’s a two-fer, in fact it’s technically a three-fer and there is a bit more progress further down the page.
A sense of scale with the Termagant in place.

A close up of how the Capillary Tower slot interacts with the Skyshield Landing Pad.

And here I am testing just what is visible once the Aegis Defence Line is positioned in front of the pad.

At ground level any Termagants will be invisible underneath , although taller models will be able to get a bead on them. Of course if they’re next to the wall they’ll be ‘visible’, that’s what the save is for but I’m planning for all eventualities at Throne of Skulls to ensure I’ve somewhere to hide against Apocalyptic Barrages – under/inside the pad and then against D-Weapons I’ll just have to hide behind my Bastion.

The fleshy musculature has been sculpted onto the support fibres from the 6 Capillary Towers. I laid down masking tape on the edges so I could get a flat base for my detachable walls. As you can see each tower slot is labelled and each wall will fit snugly up against the respective Tower. The footprint of the slots are mapped out and everything is coded so I know what goes where. A considerable amount of time has been spent finessing this although there are still gaps in places but the tolerances are acceptable.
Here’s a close up of the pad deck. It’s considerably thicker than I planned but I’ve alwasy struggled with fine detail and hopefully this will be more durable because of it. It has bowed a bit, despite my efforts, following the drying of the DAS clay but it actually looks more like stretched flesh because of it. The fibre muscles must have taken around an hour to an hour and a half to do. I think I had all this very clearly in my head but it all seems to have evaporated, so they’re guestimate times now I’m afraid.

And here’s the third bit, I’ve added Milliput to the edges and then scored them to look like many layer of fibrous tissue. It’s not great but it should suffice when it’s painted. In truth the Milliput was far less forgiving than the DAS clay but I wanted something strong to anchor the edges for durability and strength in the whole piece. I think there was about an hours work here.

So sculpting is done, hooray! Next up the painting, Red Oxide spray primer and some fun 🙂

Tyranid Capillary Towers part 1. | part 2. | part 3. | part 4. | part 5. | part 6. | part 7. | part 8. part 9. |

part 10. | part 11. | 

Tyranid Skyshield Landing Pad part 1. | part 2. | part 3. | part 4. | part 5. | part 6. | part 7. | part 8. |

‘nids part 122 – Scratchbuilt Tyranid Capillary Towers pt12. TO DONE!

Aside from an application of my Vernidas gloss varnish in the three male towers these are all but complete. Once again Tamiya Clear Red X-27 is awesome, I’ll need to get some more at this rate.

I’m less convinced of the tendril vines, they don’t show up a great deal but I’ve already changed the colour  from my first Reclamation Pool I didn’t want to introduce another variant.

Each fleshy musculature was gloss varnishes prior to any Tamiya Clear Red X-27. That ensures that the pink of the flesh is still glossy and wet and the highlights painted on get some use. When the Tamiya Clear Red X-27 goes on it’s not all over, in joints and at the end, with some Army Painter Heavy Tone mixed in where I want it darker.

Army Painter Heavy Tone [equivalent to Badab Black] makes the Tamiya Clear Red X-27 matt so in some cases a quick dab of extra gloss varnish was required to make it look wet again.

I was dubious about doing the lime green pit throughout, thinking I should have stuck to just the flesh sac versions but now I’m loving the variety and it’s a really cool effect with the gloss varnish.

The Vernidas was applied afterwards and filled this baby up, and then somehow shrank down. A second coat though has retained a lot of it’s thickness. I’m thinking the underlying material must absorb soemthing from the varnish. I think next time I’ll do a thin coat to seal the base and then try a thicker coat.

Ultimately this isn’t a ‘water effects type substance’ there are various resins and water looking substances. Vernidas is cheap in small doses and convenient for me to get although I’m sure 250ml of Vallejo water effects is considerably better value. Howevere, it;s doing the job admirably.

I did have a think about getting some and probably will, not sure what crazy idea had brewed that required more water, maybe it’ll come to me

I’m also looking at ways to transport them, I may end up getting a pick & pluck foam tray to store them in.

Currently bubble wrap and some jiffy bags will suffice 😉

OK so this is just the four rotations of the three pairs, just so you get a full view of everything.

I think the one on the left is my favourite, it’s got a little more character and heft to it.

And the four and five tier towers, I surprise myself I really do sometimes.

So, next up completing the landing pad. Then I will look at the walls but March is fast approaching and I may have to abandon those [the Mk I Land Raider has been abandoned too 😦 ] to paint more Termagants 😦 and maybe fit in something completely off piste – an Icarus Las-Cannon. I’ve got the bits I’m just not sure I’ll have the time. I did want to make some Void Shield Generators too but I can’t fit them in my Fortification slot. If ti was a full Stronghold Assault mission I could get three, including the Void Shield Relay Network and the Vengeance Weapons Batteries. Instead I’ll have to make do with the Bastion, Aegis and Skyshield.

Here’s my big blue tick, for getting it done!
Tyranid Capillary Towers part 1. | part 2. | part 3. | part 4. | part 5. | part 6. | part 7. | part 8. part 9. |

part 10. | part 11. | 

Support your local blogger – Chucking Monkeys: Magnetising your Haruspex/Exocrine

In a quick search on whether you could magnetise the Haruspex/Exocrine I came across Monkeychuka’s blog. There’s a great step-by-step tutorial that I couldn’t wait to share with everyone. Should I part with the funds and get one I’m definitely going to follow his tutorial. Not only that I found out he follows the blog, and my mate Liam’s too and we’re in amongst the likes of Dave Taylor miniatures so we’re going up in the world.

Anyway, check out the cool tutorial and the other cool Tyranids, Necrons and crazy terrain conversions, lots worth looking at.

 Chucking Monkeys: Magnetising your Haruspex/Exocrine: Many people, myself included, tend to think of the new Haruspex as a pile of shite.  Thats not to say they don’t like the model.  They w…

Blog Wars 6 – Just found some Space Wolf pics

I know this was last year but I just found some pics of an awesome Space Wolf army that was at Blog Wars 6. As I’m a little short of content forgive the Fenrisian interlude, well it beats whinging about the Tyranid Codex anway. So just enjoy the pics and hopefully normal service will resume shortly.

Have I shared my Son’s dice cube shot? I think boredom was setting in at this point.

A freebie – Ymgarl Factor markers

I’ve amended the Ymgarl Genestealer Markers to represent the new Ymgarl Factor mutations. There’s not a great deal to say about it but should you feel inclined to spend 40pts on something that’ll buff a model on alternate turns then they may come in handy, knock yourself out! Oh and did I mention these were FREE, that’s right FREE!

Just a reminder of my Patented method of constructing your own markers:

  1. Print
  2. Apply double sided tape to back
  3. Stick to mounting card
  4. Carefully apply sellotape to top if you want them pseudo-laminated
  5. Cut out with craft knife/scalpel
  6. Amaze your friends and enemies with these awesome Tyranid Psychic Markers
  7. Tell them to visit 40kaddict.blogspot.com for their own free markers.

‘nids part 121 – PROJECT Y Scratchbuilt Tyranid Skyshield Landing Pad pt4.

2 fers already! Well, what do you make of my Sphincter? I’m really surprised I was able to recreate the one from the top of my Bastion. It’s really easy to achieve this, score three lines and then poke with a soft tipped bullet shaped sculpting tool. The outer ring was a clay sausage that was then embossed with a wooden coffee stirrer that had been but through a hole punch to make a C shape. With hindsight I just realised I have a hole punch with a variety of sizes that would have been much easier to create the tool but it still worked.

And the whole pad. When this dried the foamboard started to warp so I will have to weight this down when the next set of clay goes on. There will be even more used and most likely make the whole base much damper.

I started some of my shield wall tests. Quick frames of sprue, I’d be happier if they were curved but they tend to snap so I’ll dry run the process. I know the plan was melt plastic but I tried these ideas first, although these pics are before the attmepts dried. PVA on cling film – didn’t work, not strong enough and looks rubbish.

PVA on tissue. It’s actually OK, not ideal but if everything else fails I may consider it. The end result isn’t very durable but it might look all right after painting. The red thread is to add some 3D veins inside the membrane.

Cling film and Vernidas Gloss Varnish. I really thought this would set rock hard but it hasn’t. It’s just like cling film stuck on plastic sprue, which to be fair is what the PVA and cling film looks like. so another fail.

I’ve some other ideas to try. Transparent silicon sealant, molten plastic cutlery, blown molten CDs, maybe even molten pop bottle plastic. Oh the fun of melting stuff.
So probably another hour or hour and a half on this. Losing track of time now, sorry.
And here’s your second update and the lengths I’ve had to go to to ensure the pad doesn’t warp. There’s even a CD under the pad to hold it in a convex position to counteract the concave nature of the centre warp. 
Next up stretched muscle fibres along the six ‘webs’ but I’ll leave it a few days to dry thoroughly before I mess about with it again. I’ve also got to ensure the tower slots don’t get any clay on by sculpting around the areas they sit – very fussy.
Tyranid Capillary Towers part 1. | part 2. | part 3. | part 4. | part 5. | part 6. | part 7. | part 8. part 9. |

part 10. | part 11. | 

Tyranid Skyshield Landing Pad part 1. | part 2. | part 3. | part 4. | part 5. | part 6. | part 7. | part 8. |

‘nids part 120 – PROJECT Y Scratchbuilt Tyranid Skyshield Landing Pad pt3.

Another short but highly important update. Here I’ve magnetized the base of the Skyshield detachable walls. Having cut the strips of plasticard to fit I then added a magnet just off-centre of the middle of the arc. I removed a chunk of the foamboard and hot-melt glued a corresponding magnet inside the core. This way the cardboard and glue should hold it in place so it remains solid.

I thought about adding two magnets at each end but thought this overkill and in reality having one in the middle works better as when the plasticard chooses to not sit flush with the landing pad it is usually bowed up in the centre. The magnet pulls it down flush. The only wall arc that went awry is the one nearest the camera below. For some reason the shape of the arc is a bit wonky. having printed out a template I stuck this to the foamboard, then made a 12-14mm inset all the way round, this was cut out to when I used my dremel for all the sculpted areas. The remaining edging strips formed the templates for the plasticard versions but somehow arc ‘F’ [as it’s known] must have moved when I was tracing it onto the the pasticard, still nevermind, it’ll do.

Next up I’ll be starting the clay sculpting on the pad, something I’m looking forward to. This whole magnetizing aspect was preventing progress so although the hour spent doing it shows very little progress it’s quite a hurdle overcome. However, the creation of the forcefield walls is an equally big hurdle but I can deal with that after I’ve sculpted the pad at least.

Handily I wrote on the pad some additional effort. The 1hr is for the magnetizing and then absentmindedly I retro explained the other two efforts as ‘min’ thinking I’d written ‘max’, look I am doing this at 11ish at night. The 2hr30 I think has already been added in my last update, but I think the 1hr 20 is some additional time somewhere, I’m not sure for what so lets just add it move on.

Tyranid Capillary Towers part 1. | part 2. | part 3. | part 4. | part 5. | part 6. | part 7. | part 8. part 9. |

part 10. | part 11. | 

Tyranid Skyshield Landing Pad part 1. | part 2. | part 3. | part 4. | part 5. | part 6. | part 7. | part 8. |

Blog at WordPress.com.

Up ↑

Design a site like this with WordPress.com
Get started